Quick question.....have you ever gotten excited about giving your place a mini makeover? Let me ask you another question....have you ever re-painted your space only to become disappointed because of the paint colour you chose?
If you answered yes, I've got good news for you!
Today, I'm going to share my [easy] 5-step process on how to pick the perfect paint colour for your home. After I'm done with you, you'll say goodbye to any tired old walls and confidently choose a paint colour that you will love for refreshing your space.
Get my FREE Perfect Paint Colour Checklist & Coordinating Paint Colours Guide

I'm trying something new here today by providing you with a video. Truthfully, I created this video months ago and haven't had the guts to post it until now. Ugh! If I'm being honest, I don't love how I look or sound on video AND....I'm certainly not a professional video editor that's for sure, so it's taken me some time to muster the courage to put myself out there. BEWARE...some wicked, awesome, editing skills are comin' atcha in just a moment. LOL.
Okay, okay, self-deprecation aside, there is some pretty valuable content that will help you with your next painting project. So, without further adieu, check out my video on How to Choose the Perfect Paint Colour for Your Home or if you prefer to read, skip the video and follow my 5-step process below.
STEP 1 - SOURCING
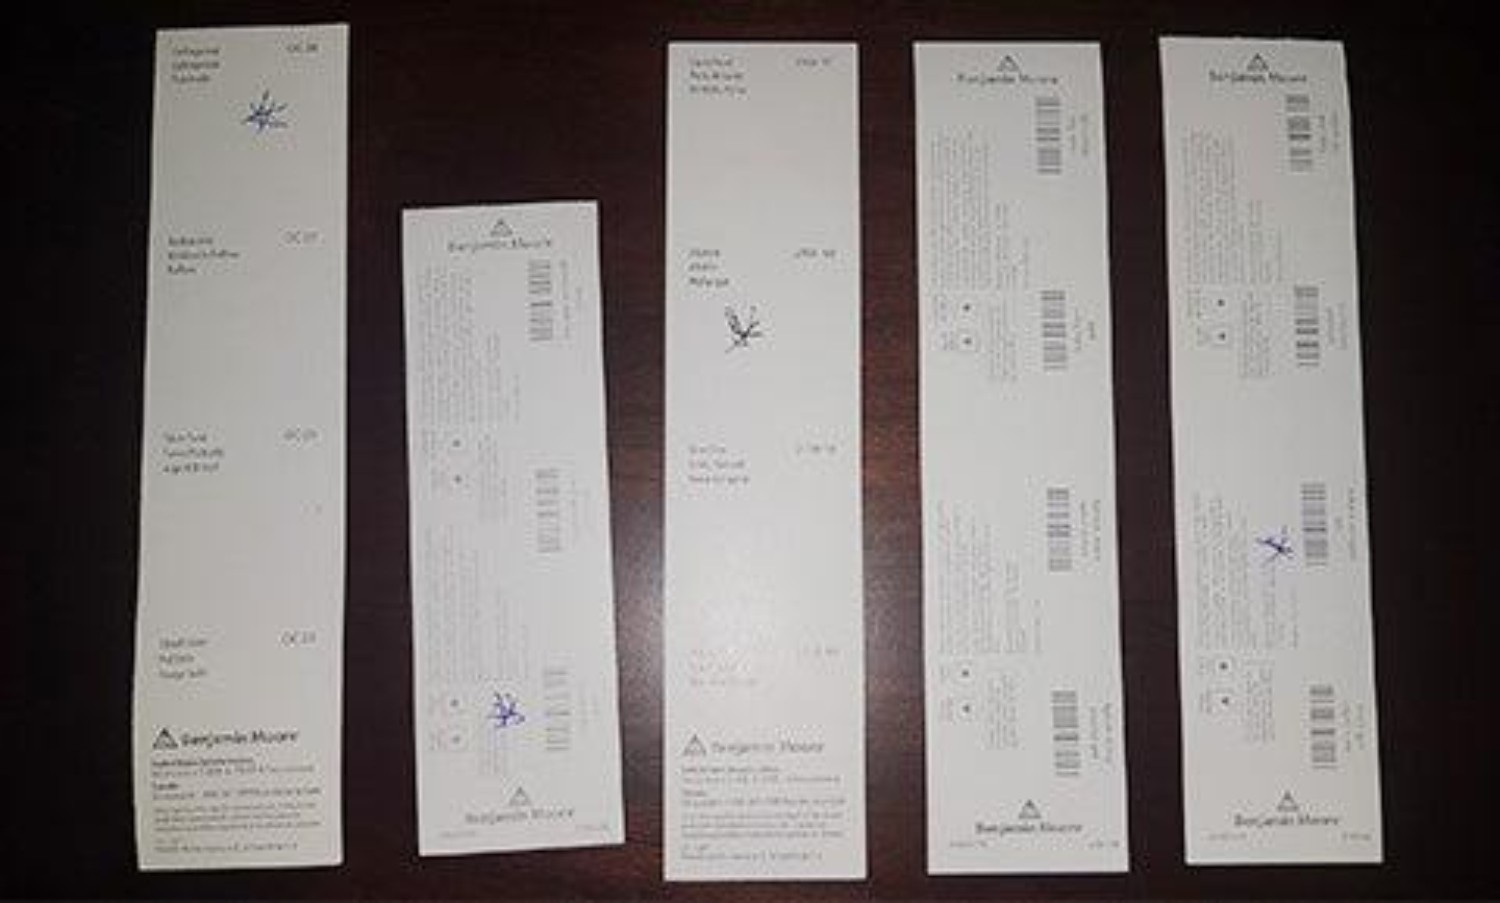
The first step is to source some paint colours. Head on down to your local paint store, hardware store, or wherever it is in your town that you buy paint and browse through their samples. No need to be too picky or choosy right now, just pick out a few samples that really speak to you. Bring a pen or pencil and a file folder with you so that you can indicate your favourite colours on the back of each paint sample. You'll be amazed how quickly you can forget which ones you liked the best if you don't mark them down.
Not sure where to even start with picking paint colours? Take the style quiz to give you a general idea about what colours would suit your style best.
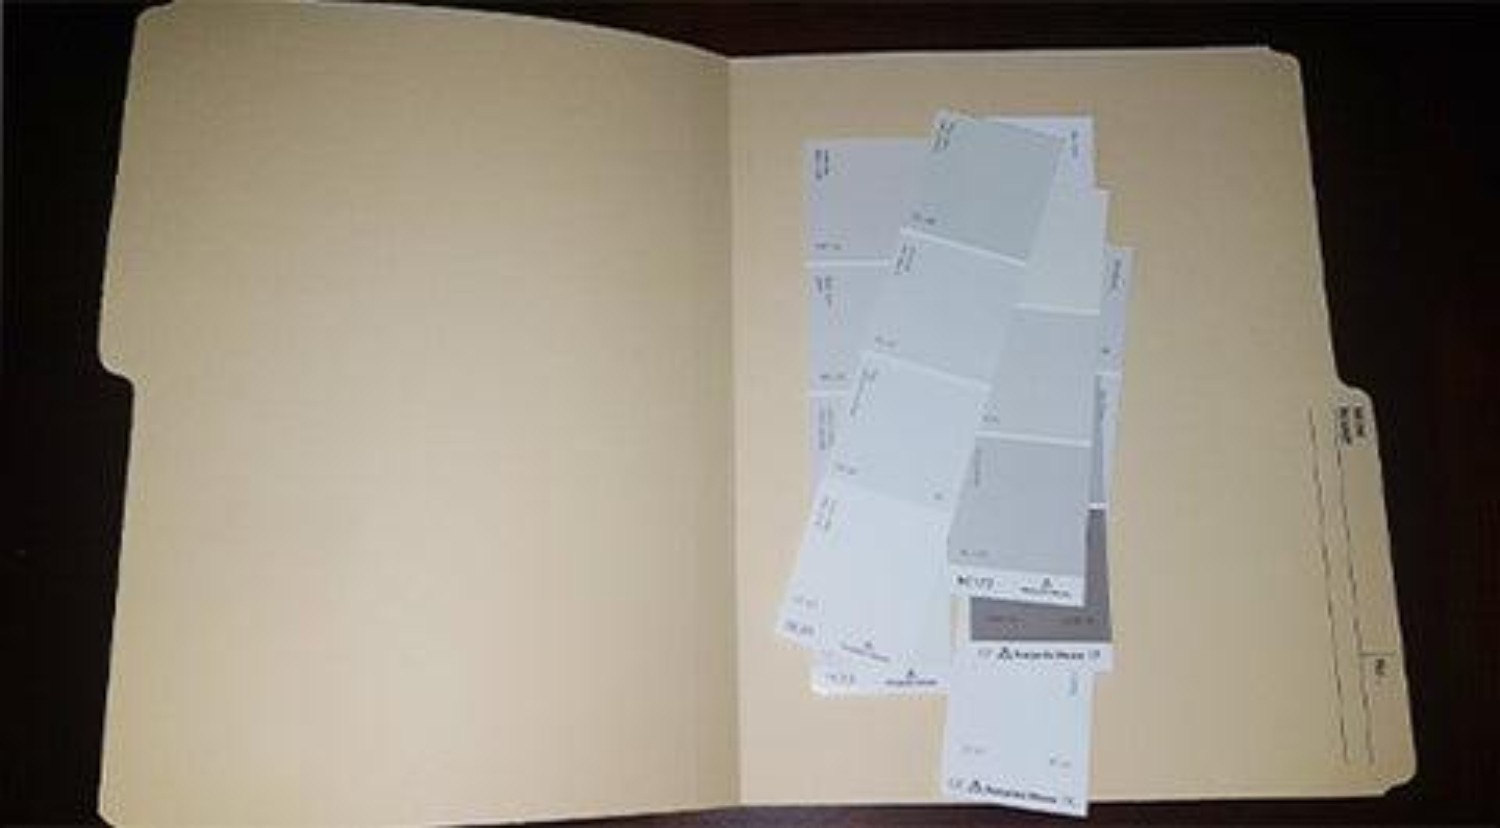
Once you have a bunch of samples that you're happy with, pull them together and put them in that file folder that you brought so that they are all in one place and safe from getting damaged. DO NOT buy any paint at this time. Instead, you're going to move on to Step 2.
STEP 2 – NARROW YOUR CHOICES
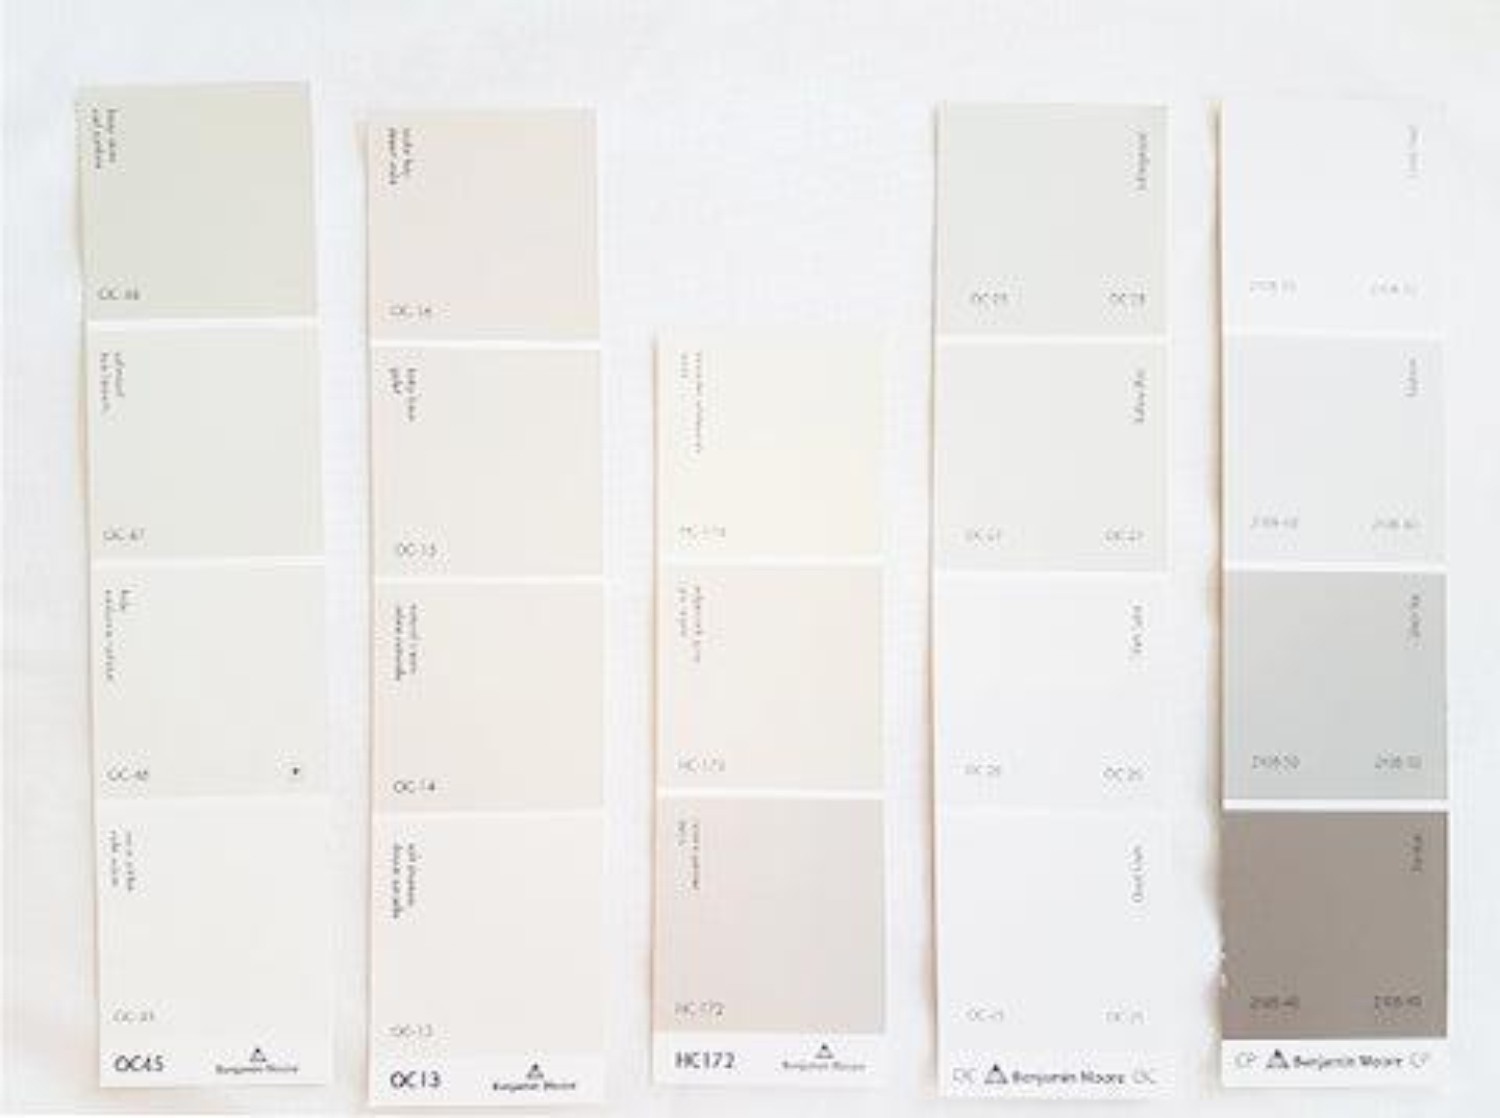
Now that you have all your paint samples chosen, bring them home and in the daylight hours spread them out on a table. If you have a white tablecloth, place the paint samples on it - the white background will help to give each colour a frame of reference.
The reason why you want to bring the paint samples home with you is because the lighting in the paint store will be different than the natural light and the lighting in your home. You definitely need to factor this in when picking a paint colour.
Once you have all the paint samples spread out on your table, eliminate the ones that no longer interest you. Try to narrow it down to a maximum of five paint colours. Then when you have your five favourites picked out, set them aside to look at them again in the evening hours when it's dark outside and your lights are on. You'll notice that each colour looks slightly different.
NOTE:
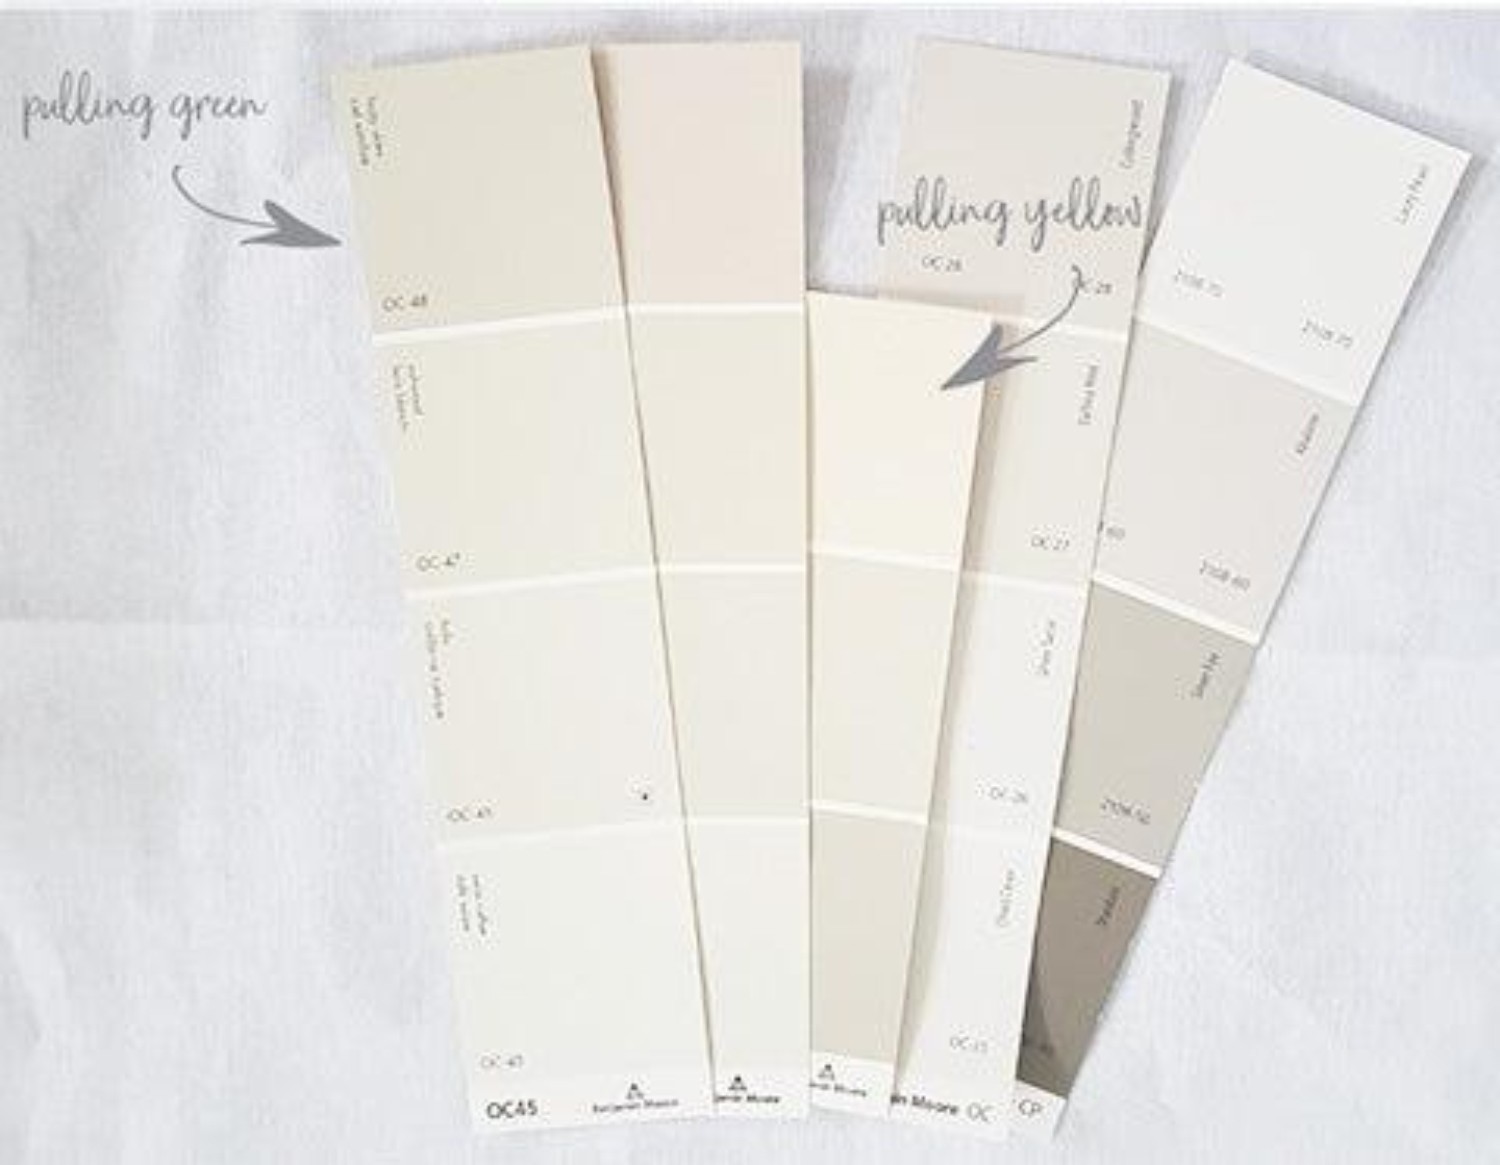
If you think you see undertones of certain colours in your paint samples, you probably do. In some cases, you may not like a certain colour and want to avoid it. One way to help you see undertones better is to fan the paint samples together so that the colours overlap. You’ll notice that undertones more easily this way and therefore be able to see which paint colour is pulling the undertone you’re trying to avoid. Eliminate any colour that you no longer like the look of.
STEP 3 – CREATE YOUR OWN PAINT SAMPLES
Let's face it, the little itty bitty paint sample cards that we get from the paint store just won't cut it when it comes to visualizing how a colour will look on your walls. So now I'm going to task you with making your own paint samples. You’ll need some thick paper stock (about 80lb should do it) or some Bristol board.
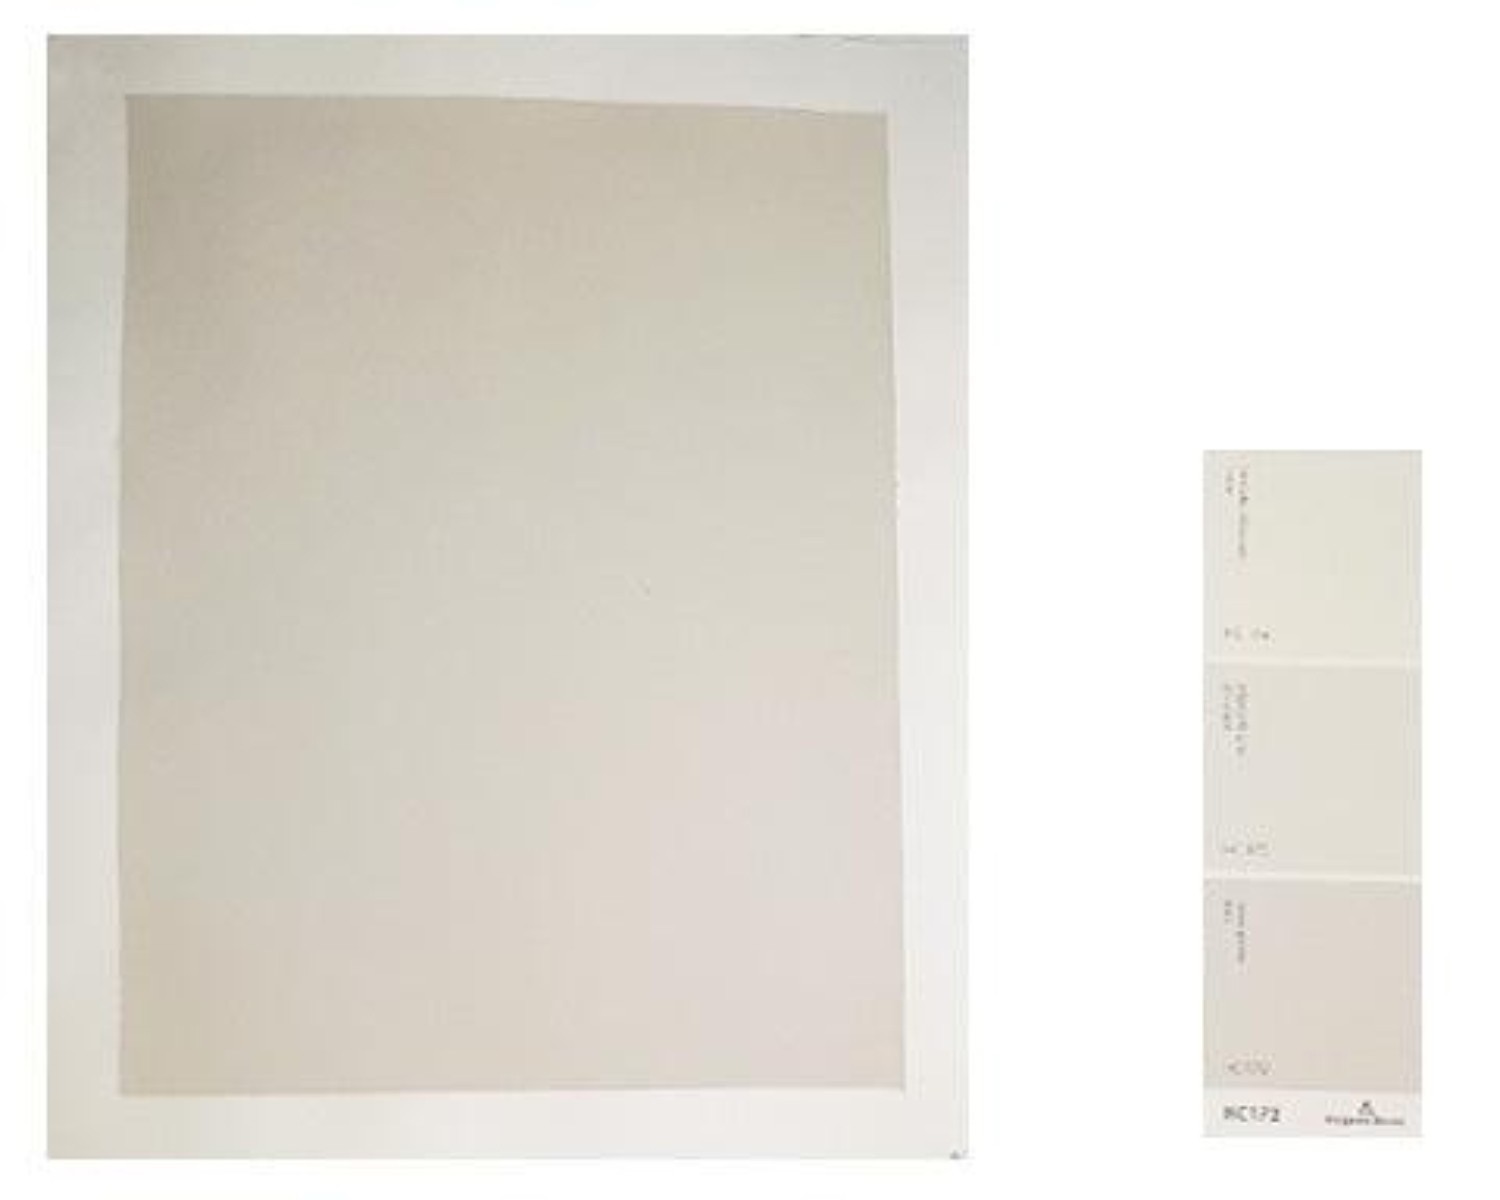
You’ll also need, painters tape, a few paint brushes or mini rollers and paint sample pots for the two to three paint colours that you've narrowed it down to. Don’t spend a ton of money on this. I grab most of my supplies from the dollar store.
Once you have all your paint and supplies ready you're good to start creating. If you bought paper stock then go ahead and paint one colour per sheet of paper. If you bought Bristol board you'll need to cut it into however many pieces you need for samples before you paint it. One key tip here is to run a piece of painter's tape along each side of the paper so that it doesn’t get painted and leaves a white border behind. The reason you need to do this is that you don’t want the current wall colour to influence your new wall colour choice which is why I’m not telling you to paint directly on your walls. By leaving a white border around the paint colour you’ll be able to imagine how it will look on your wall and against trim without being distracted by the current wall colour.
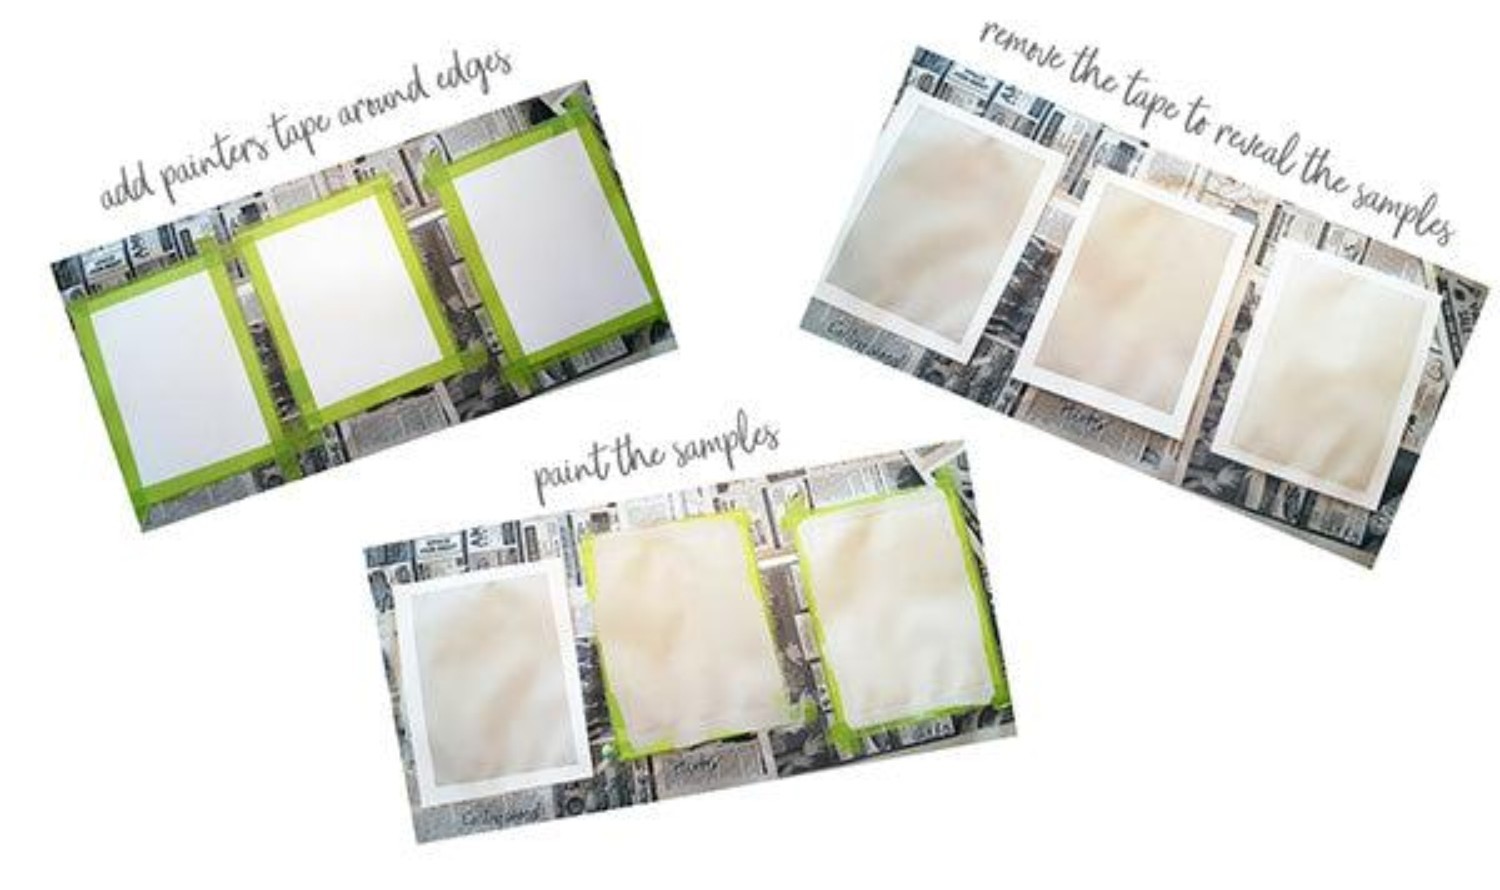
Once you have your homemade paint samples painted, leave them to dry and get ready for Step 4.
STEP 4 – REVIEW & REVEAL
Remember what we did in Step 2? Well now we’re going to do it again but on a larger scale. Take the paint samples that you created, remove the taped border and use painter’s tape to hang them (side-by-side) on a wall in the room that you intend to paint.
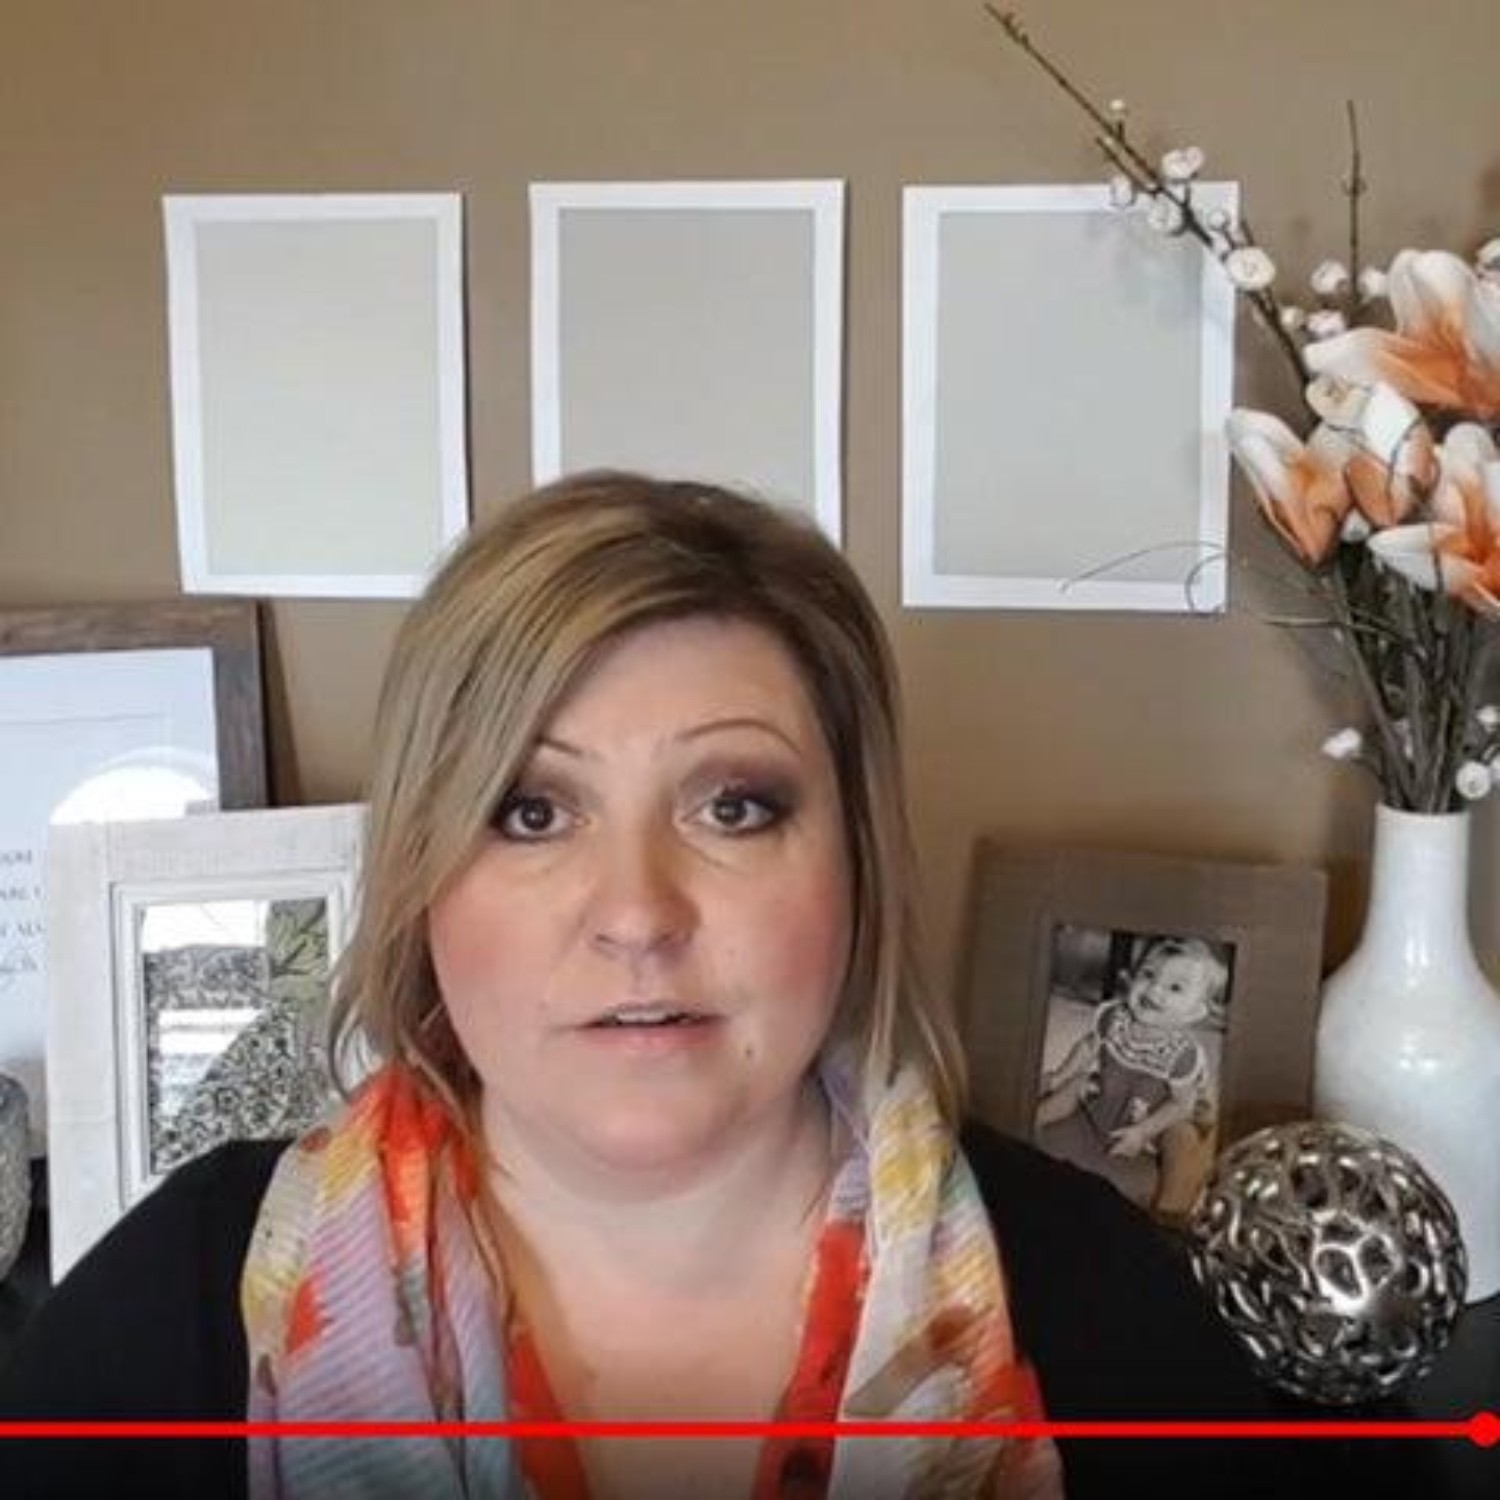
Paint colours from left to right: Halo, Revere Pewter and Collingwood
Again, make sure to look at them in daylight and evening hours to make sure you like the colour in all lights. If you have the time, repeat this process on each wall for best results. If you don’t have that kind of time, then just choose the wall that you spend the most time looking at to make sure you love how it looks. One final thing to factor in is the time of day that you use the room the most. If you’re having a hard time deciding between your 2 or 3 colours then choose the colour that you like best for the time of day that you see it the most.
Let me give an example to explain what I mean better. What I mean is that if you are at work during the day and you spend most of your time in your living room or family room in the evening after the kids have gone to bed then make sure that you choose the colour that looks best in that room in the evening hours after the kids have gone to bed. Once you've picked your favourite paint colour you're ready for Step 5, which is to paint.
STEP 5 - PAINT!
If you know what you’re doing, go ahead and purchase your paint and start painting. If you’re not an avid painter, I recommend contacting WOW 1 Day Painting. They are professional, reasonably priced and get the job done in one day. So convenient!
Which colour do you think I chose? Let me know in the comment section below if you think it was Halo, Revere Pewter and Collingwood.
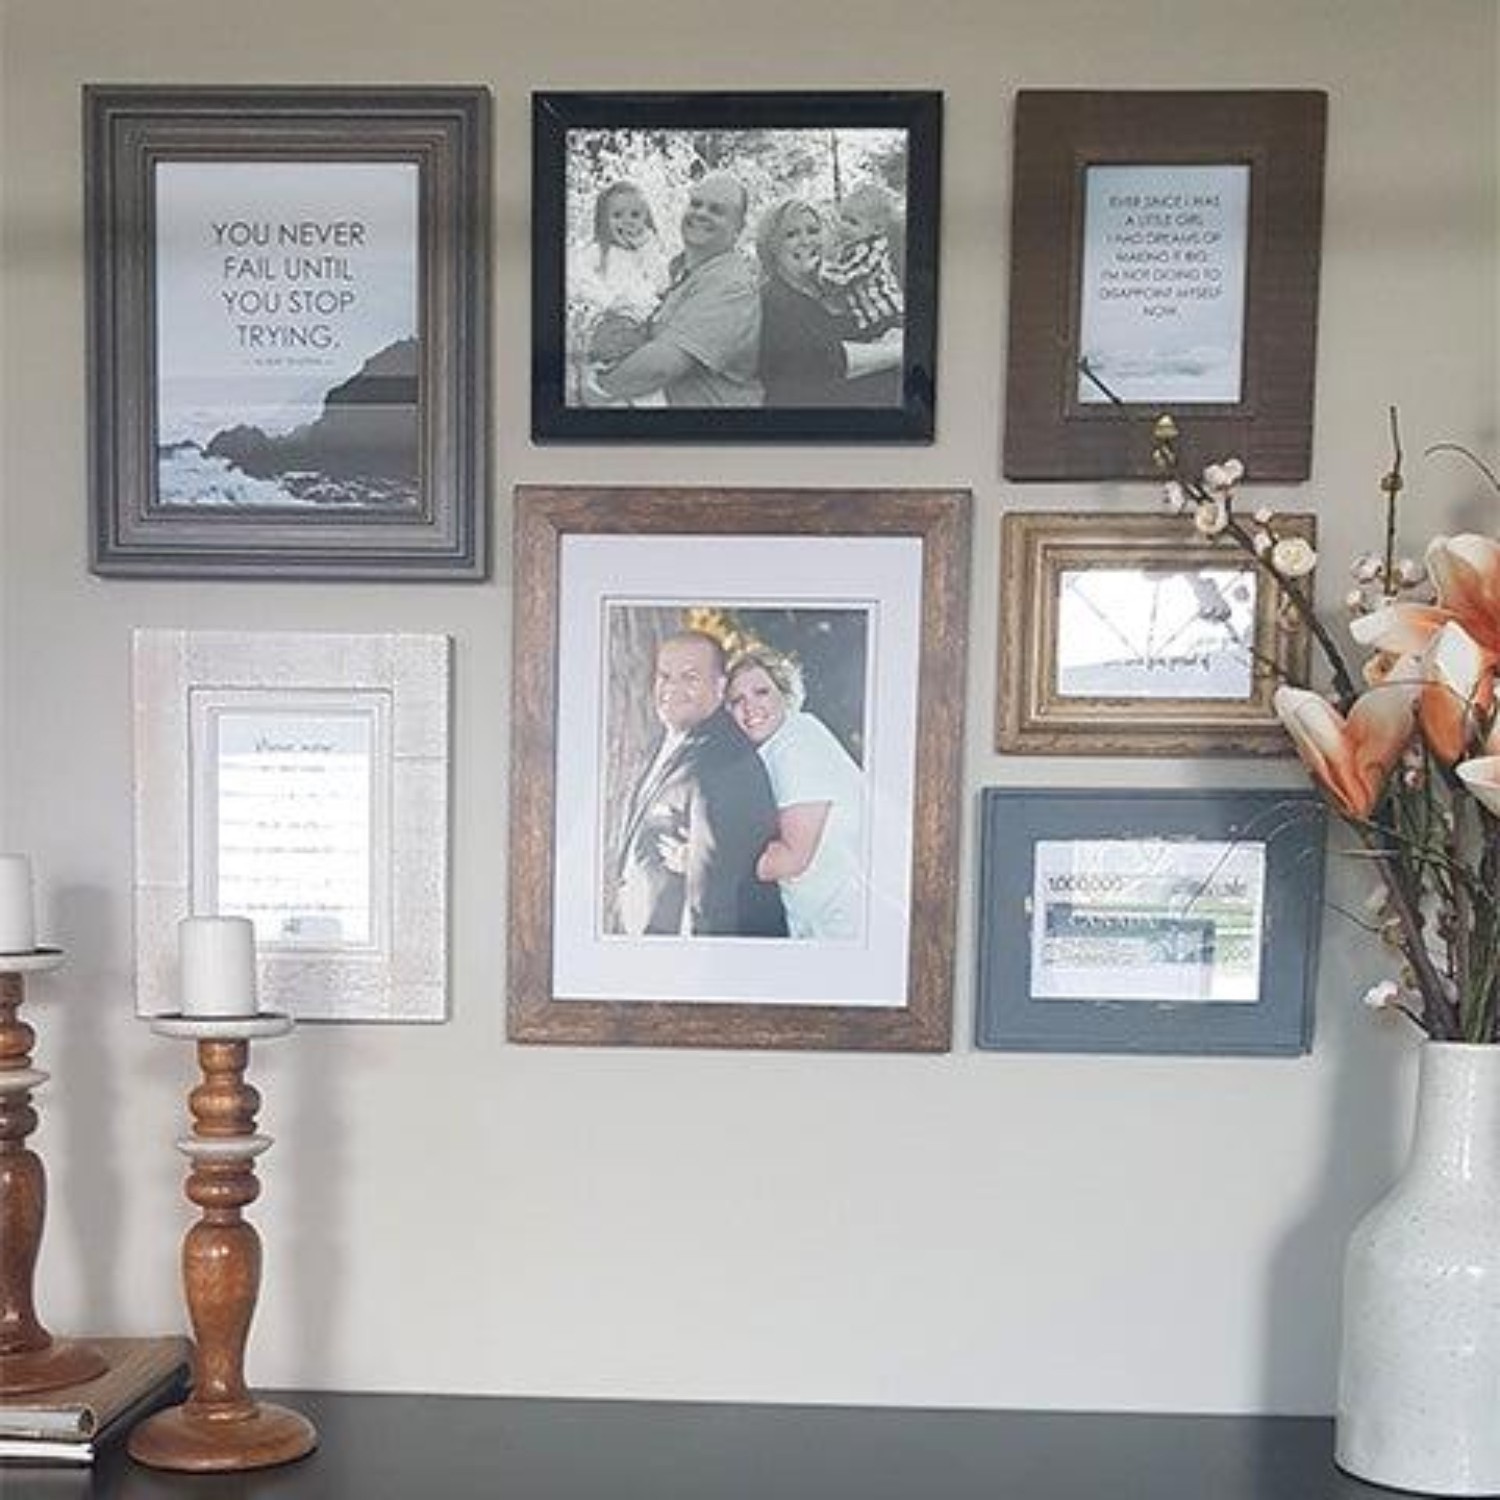
So that’s the gist. I hope you found these tips helpful. Don't forget to Get my FREE Perfect Paint Colour Checklist & Coordinating Paint Colours Guide.
Let's talk about your project. No pressure, no obligation, just a friendly conversation about your vision and how we can help bring it to life.

