When designing spaces for clients, one thing that often seems to trip clients up is understanding how we effectively mix wood tones when it comes to decorating their homes. The fact that we incorporate pieces of furniture from different collections to create something that looks carefully curated and collected rather than match pieces from the same "set" causes clients to hesitate because they worry about the wood tones not coordinating well together.
Since the era of using matching furniture is finally over, it can feel intimidating when trying to figure out how to mix and match wood tones and finishes. If you’re finding yourself asking the same questions, don’t worry…..we have a few guidelines that will help make mixing wood tones a breeze!
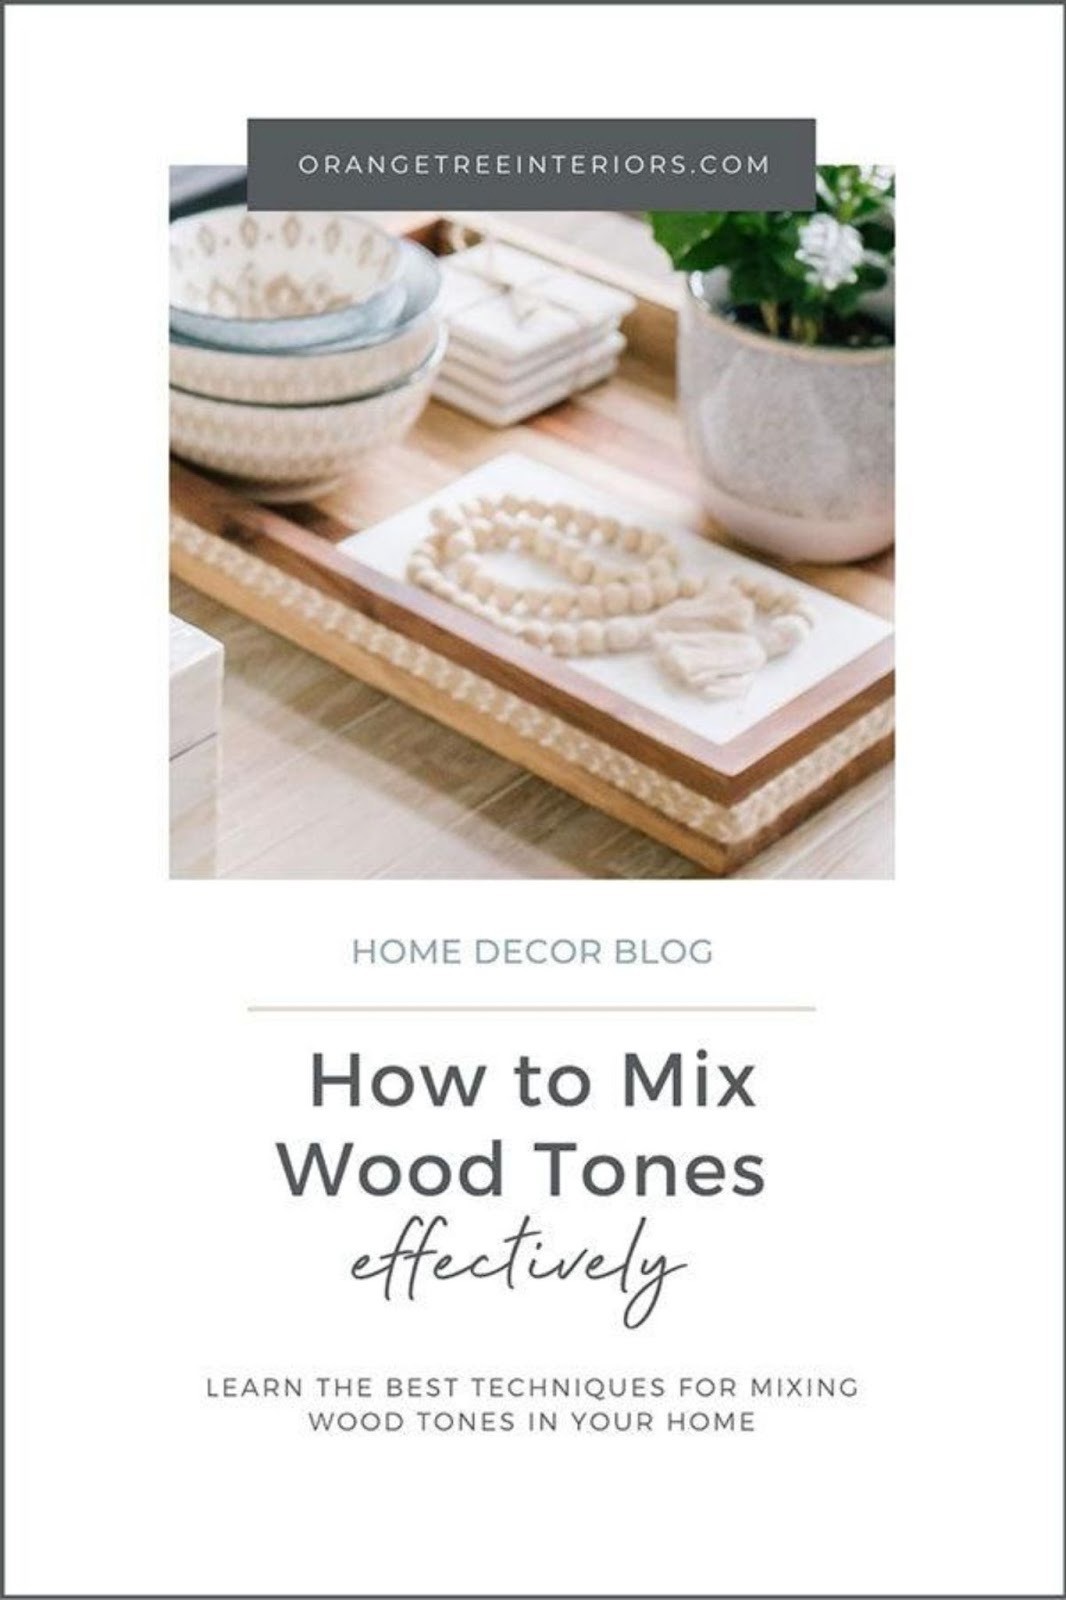
There’s really no magic formula or rulebook when it comes to mixing wood tones, but rather a set of simple guidelines that will help ensure your selections look intentional. Despite your uncertainties regarding mixing wood tones, you can and should mix the wood elements in your home to create dimension and interest that will elevate the overall design. Here are some guidelines and pro-tips to effectively mix the wood tones in your home.
1. Identify the Dominate Wood Tone and Use It as a Base
One of the first things you should do when determining what tones to use is figuring out the most dominant wood tone in your space. If you have wood floors, this is a great starting point and should be your dominant wood colour. If you don’t have wood floors, look to any millwork (eg. wainscotting, trim, beams, pillars, etc) or a statement piece of furniture to become the dominant wood tone in your home.
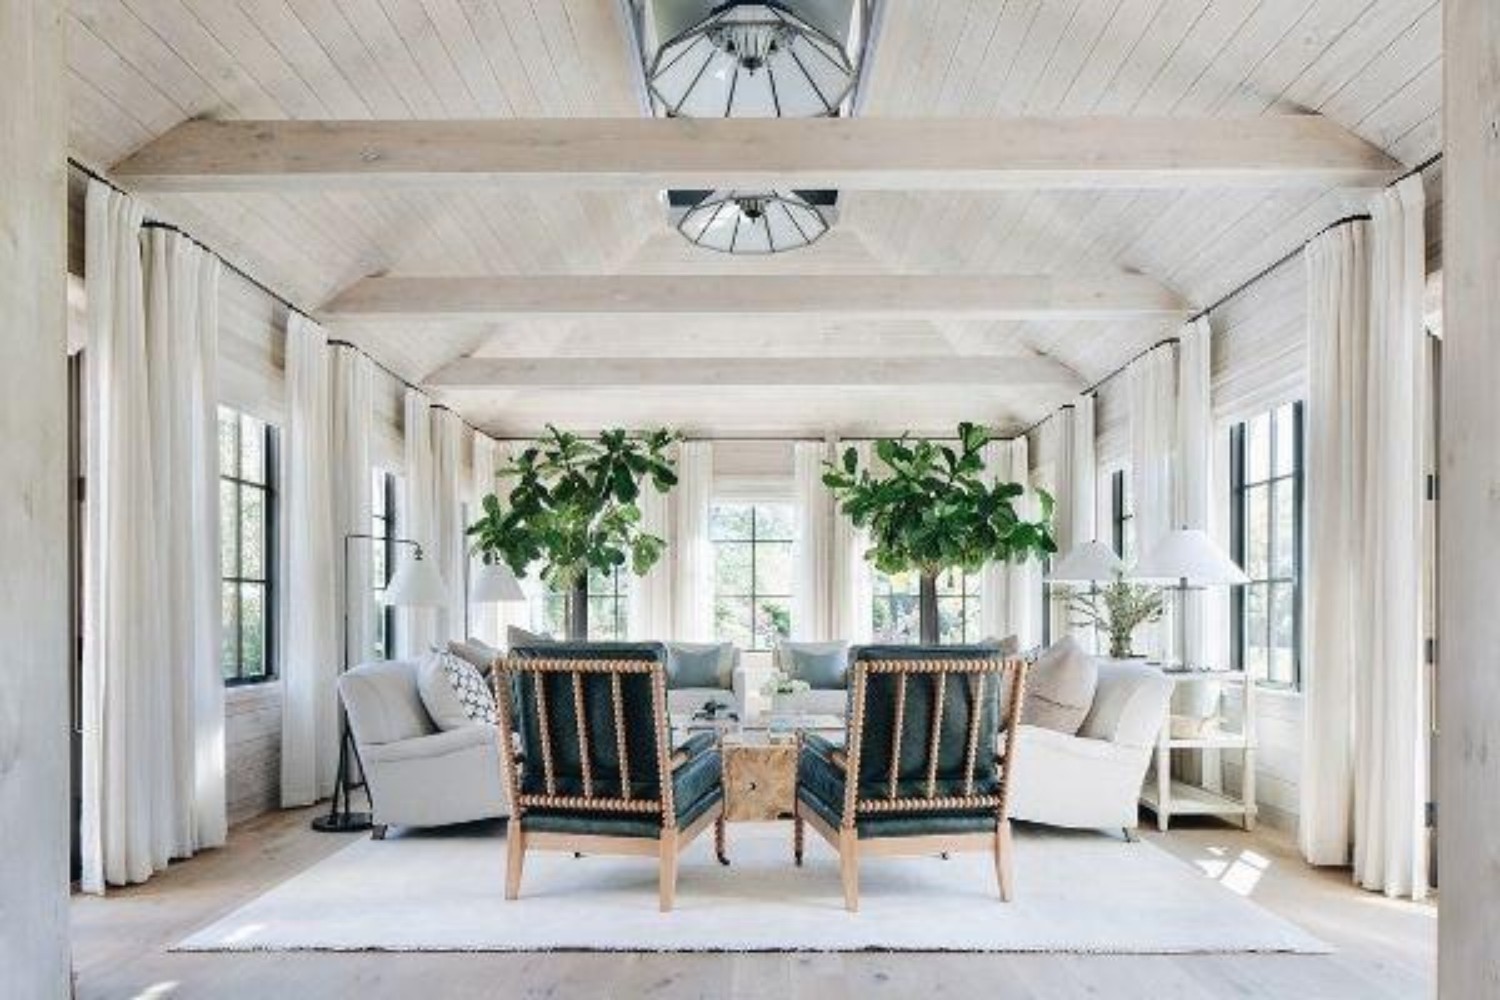
By picking a dominant wood tone in your space, it creates a good starting point and guideline for the rest of the furnishings in your space. This way you can play with the tones and values of wood furnishings based on the dominant selection.
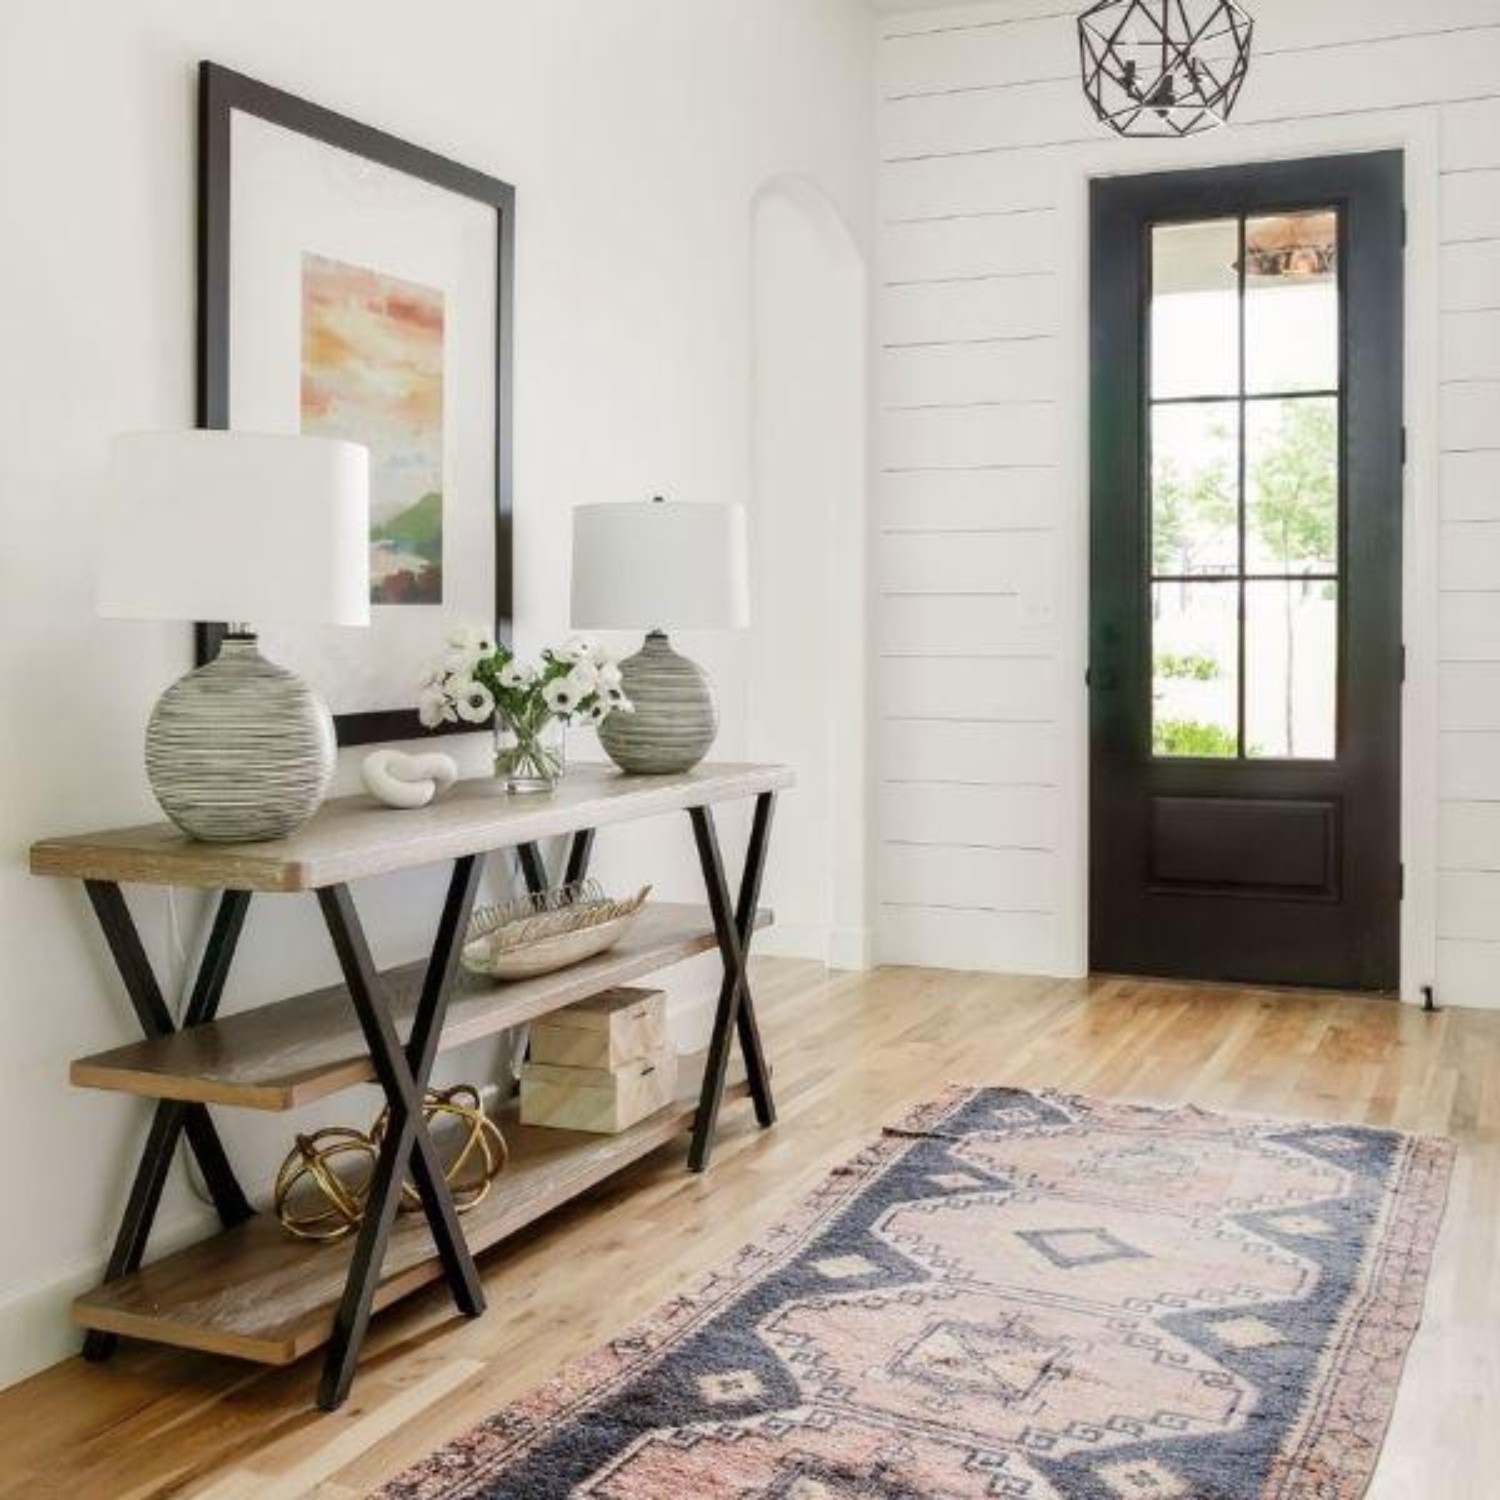
2. Match Wood Undertones and Mix Acc
ordingly
Just like you were taught way back in art class, there are different undertones that you can work with: warm, cool, or neutral. A rule of thumb when working with undertones is to stay within the warm tones OR stay within the cool tones when mixing different woods. It's best not to mix and match.

Therefore, if your dominant wood tone is warm, use woods and stains that have yellow, orange or reddish undertones. If your wood has a cool undertone, then it’s best to stick woods and stains with grey, taupe, pink or green undertones.
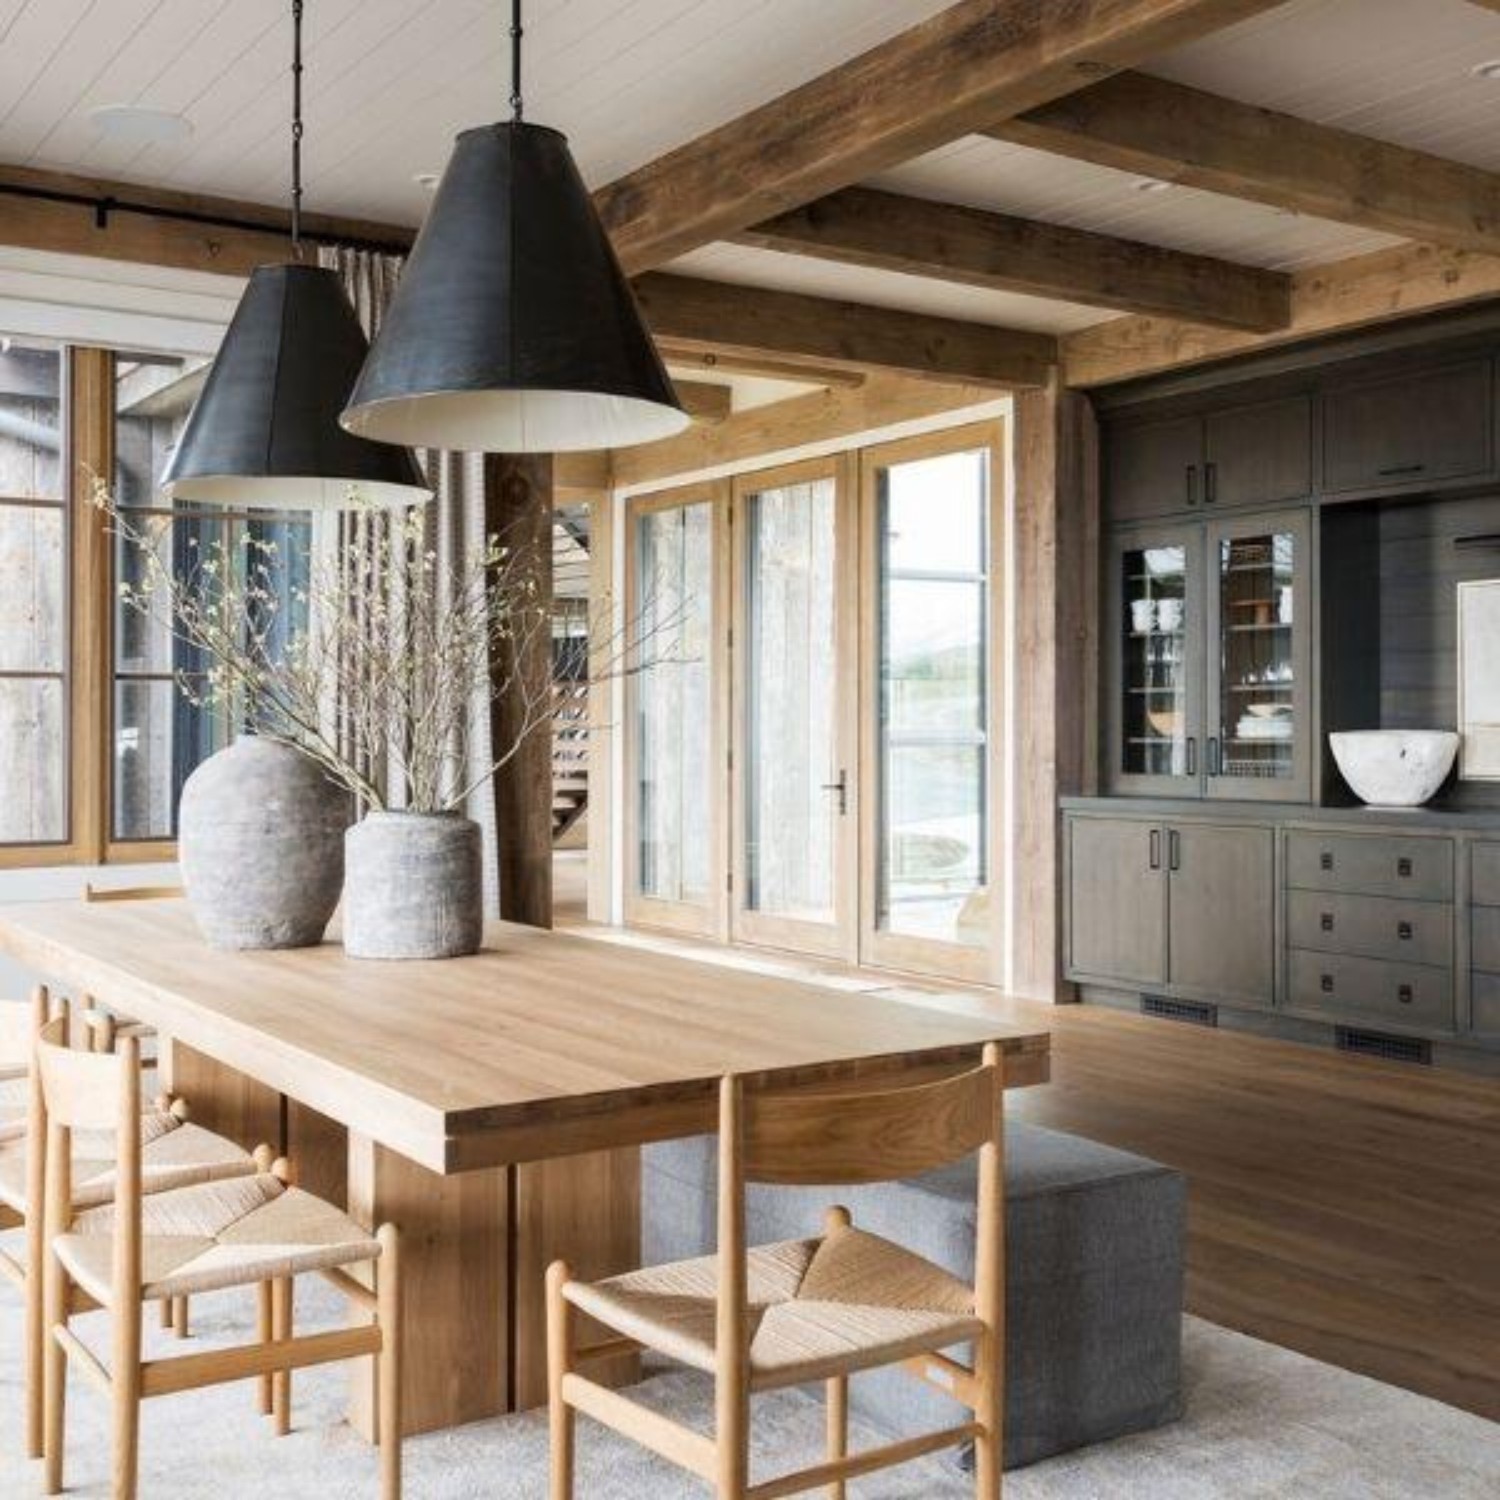
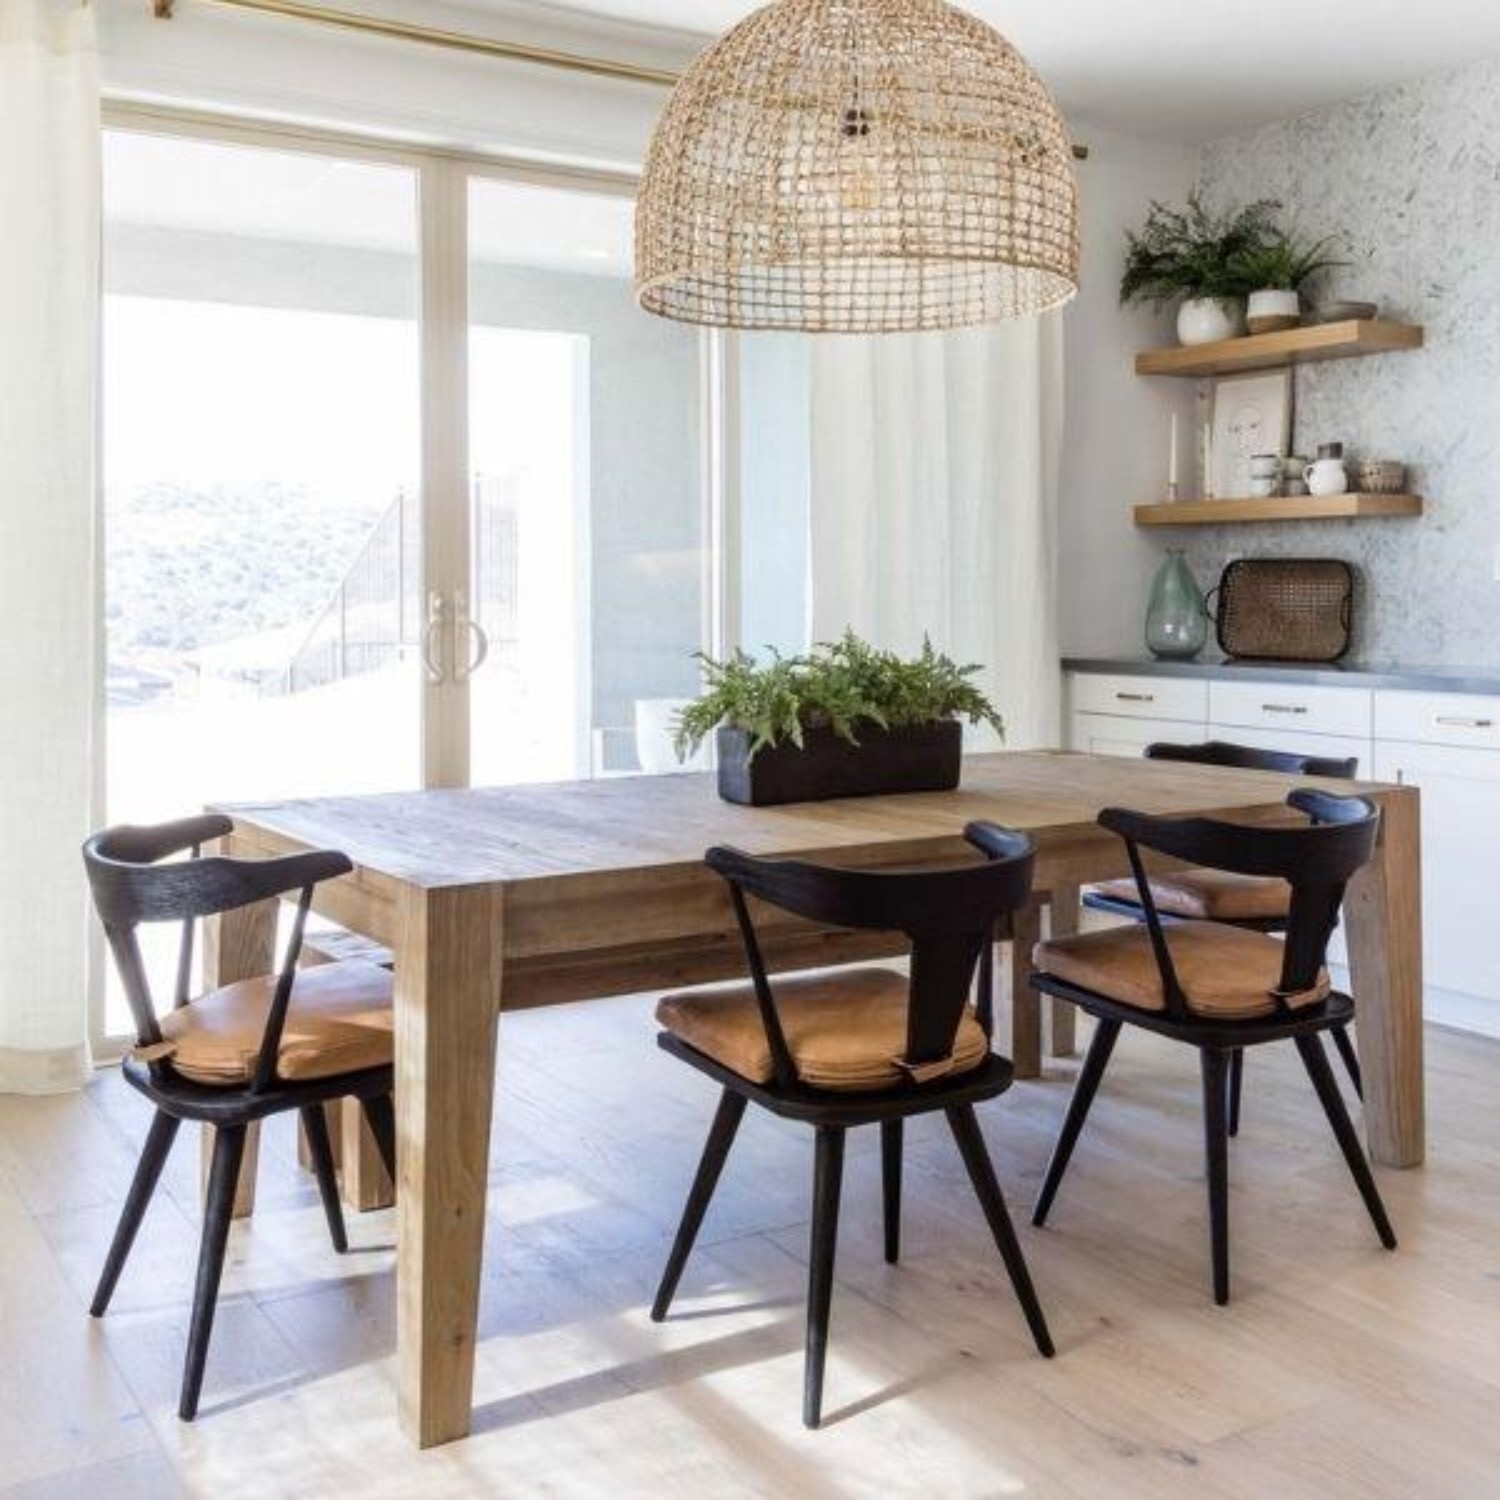
PRO TIP: If you’re mixing different species of wood together, try to avoid pairing two woods with notable wood grains as they will compete with one another. Instead choose woods with subtle wood grains or one dominate wood grain and ensuring the rest are subtle.
3. Play with Contrast and Have Some Fun
Like other aspects of design, contrast is always a good thing. Using contrasting values in wood creates visual interest and adds more depth to a design. Conversely, matching wood tones like in the image below, gives the space continuity.
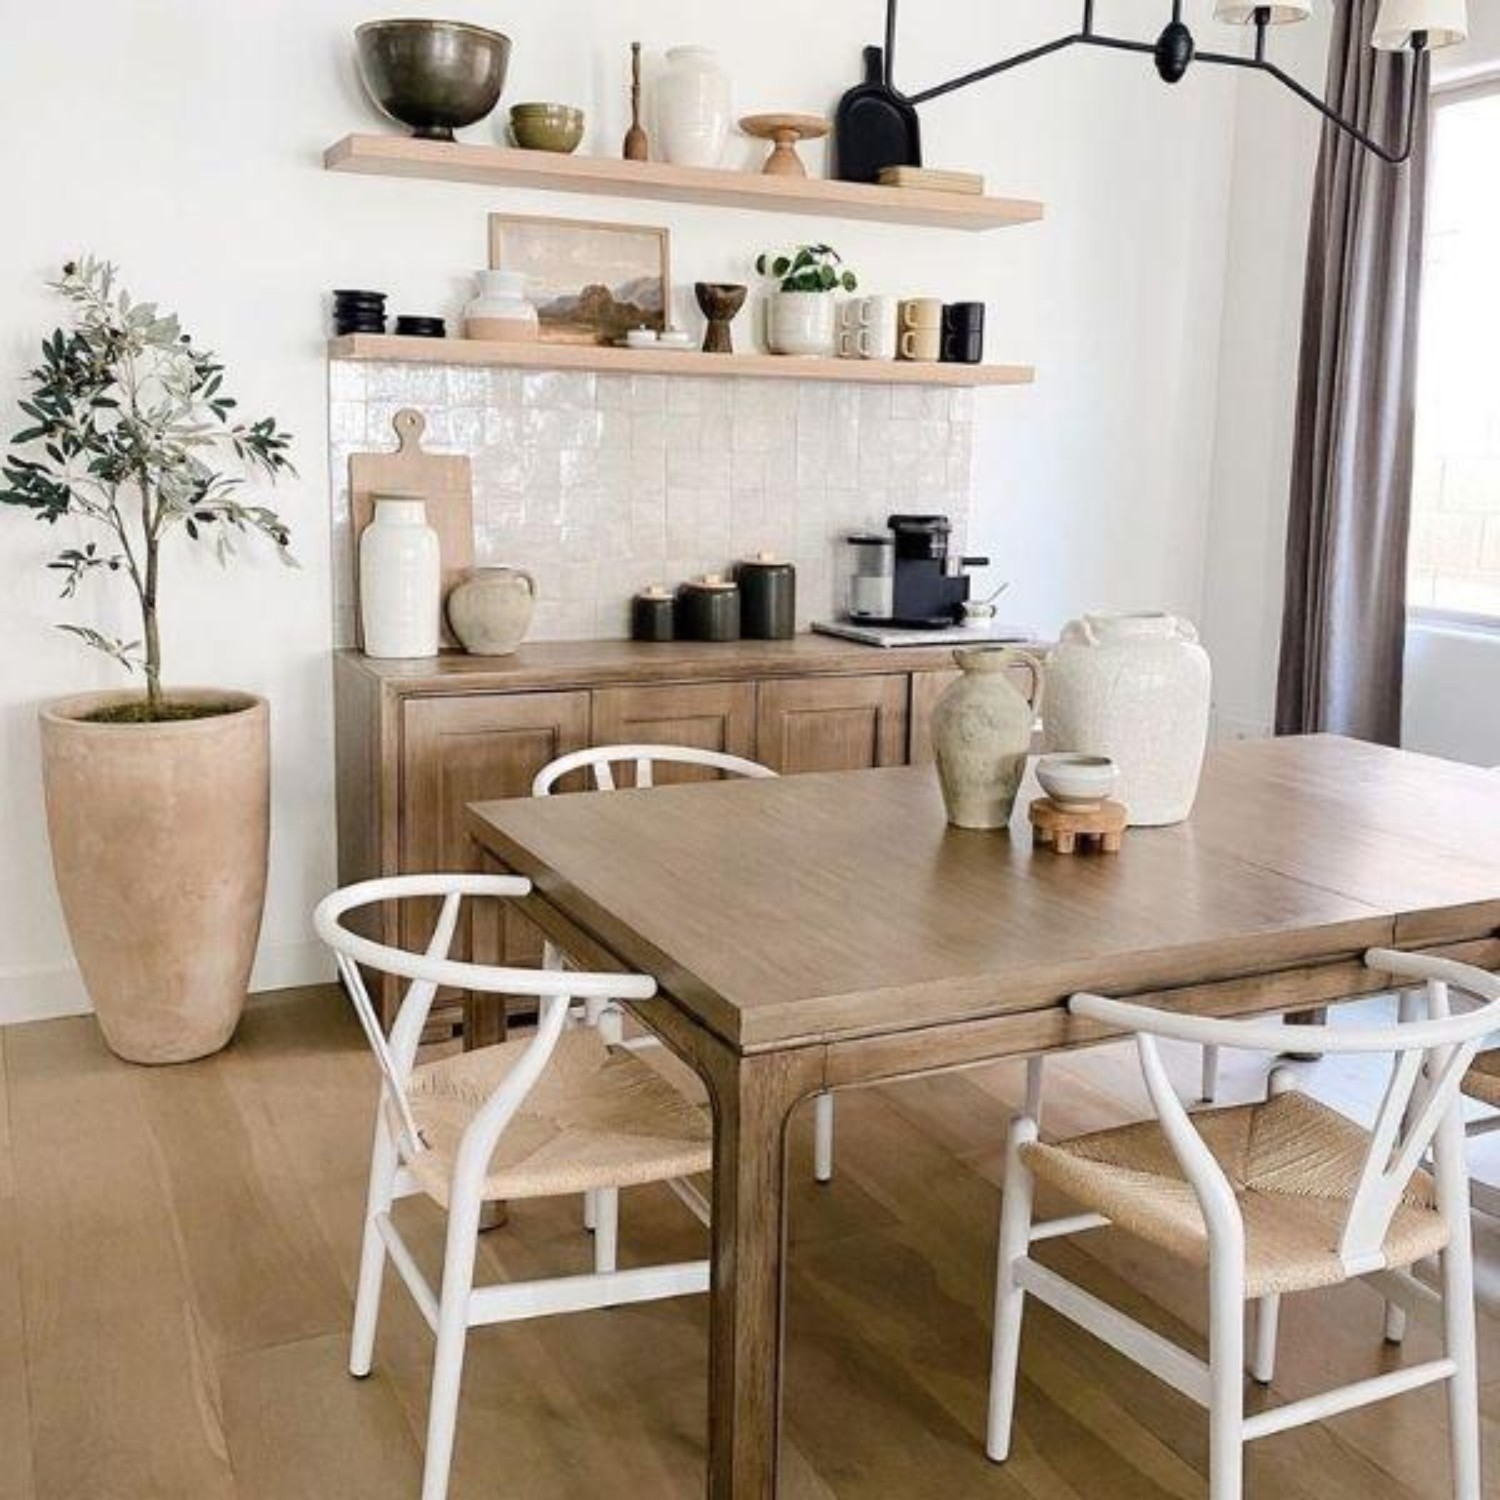
A good guideline to follow when using contrasting woods in a design, is to pick a light, medium, and dark wood tone that all have a similar undertone to use within the space. This will make sure that the variations you choose will coordinate well with one another.
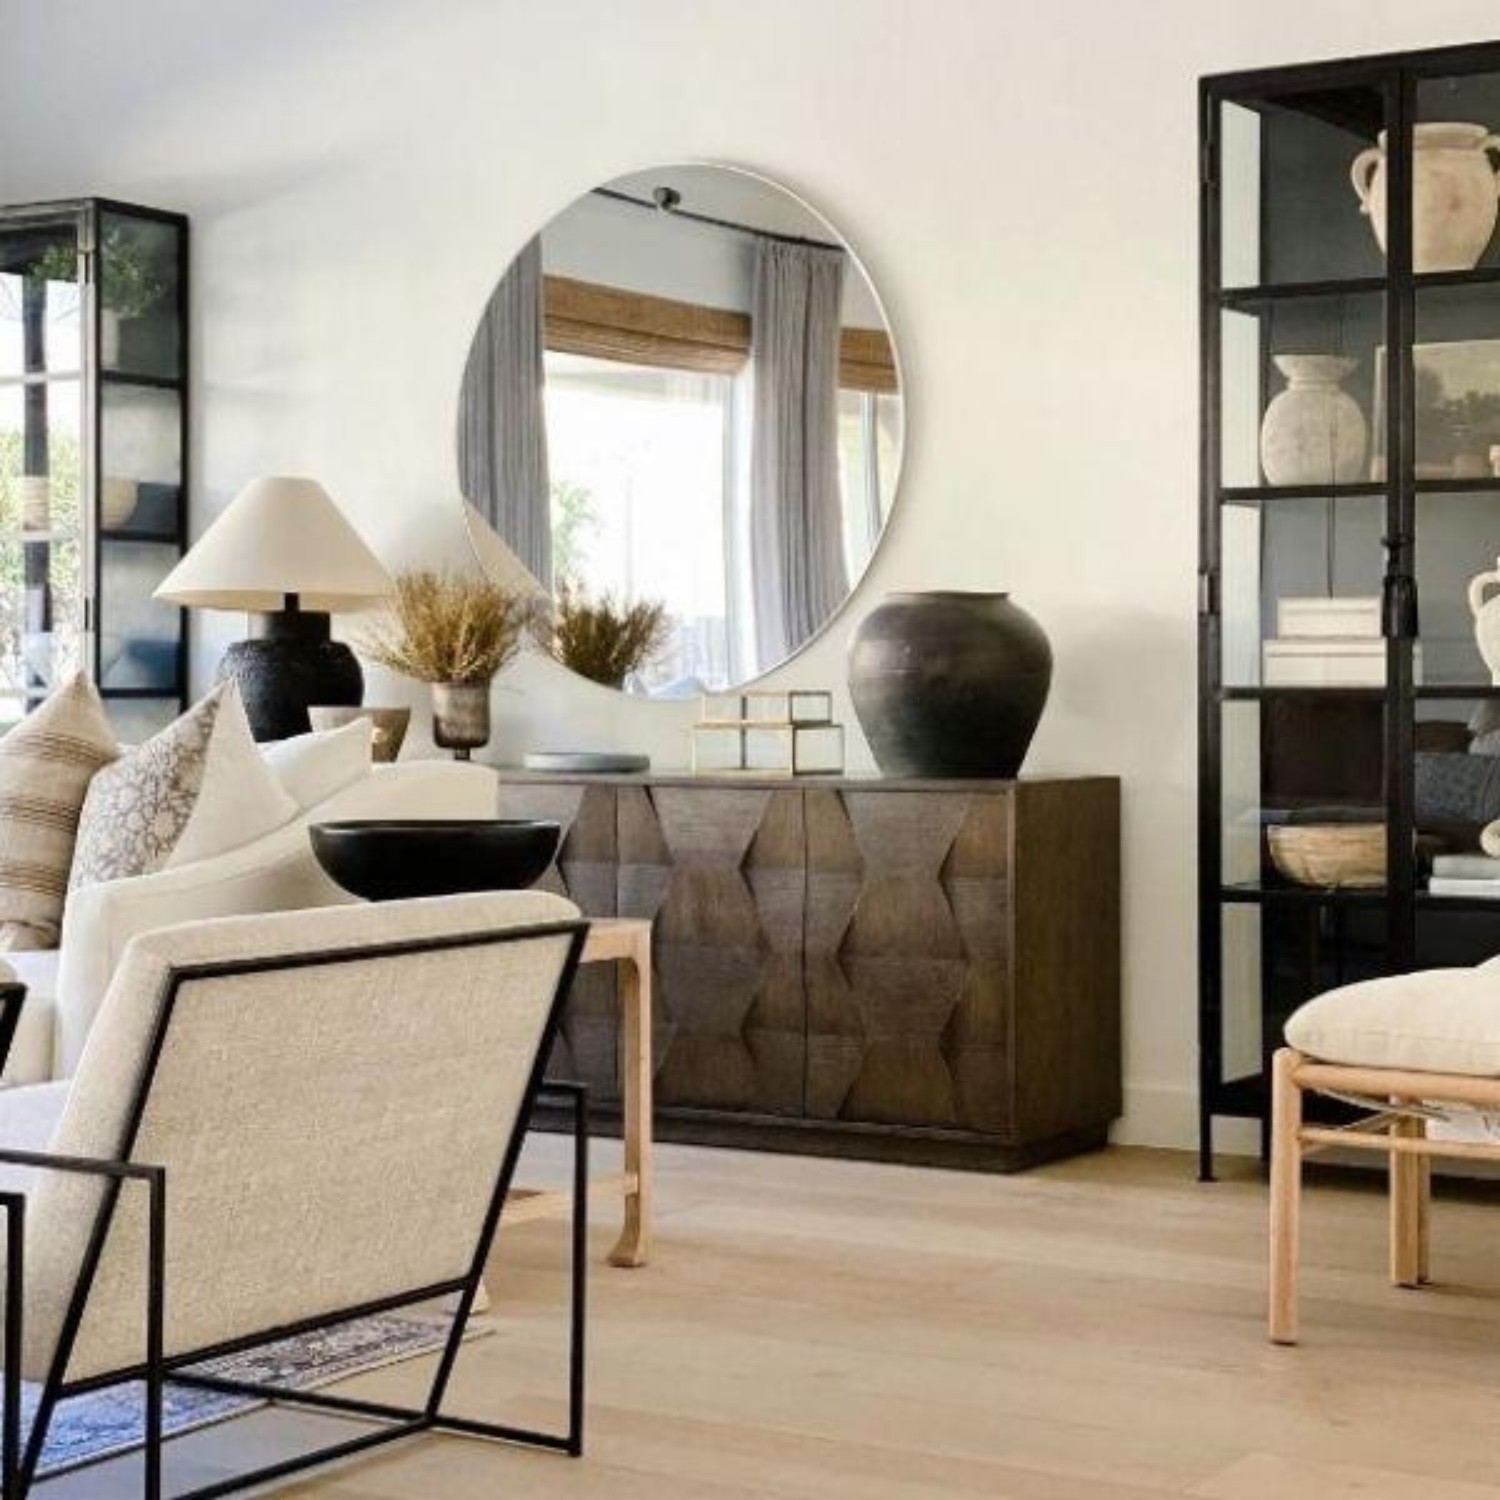
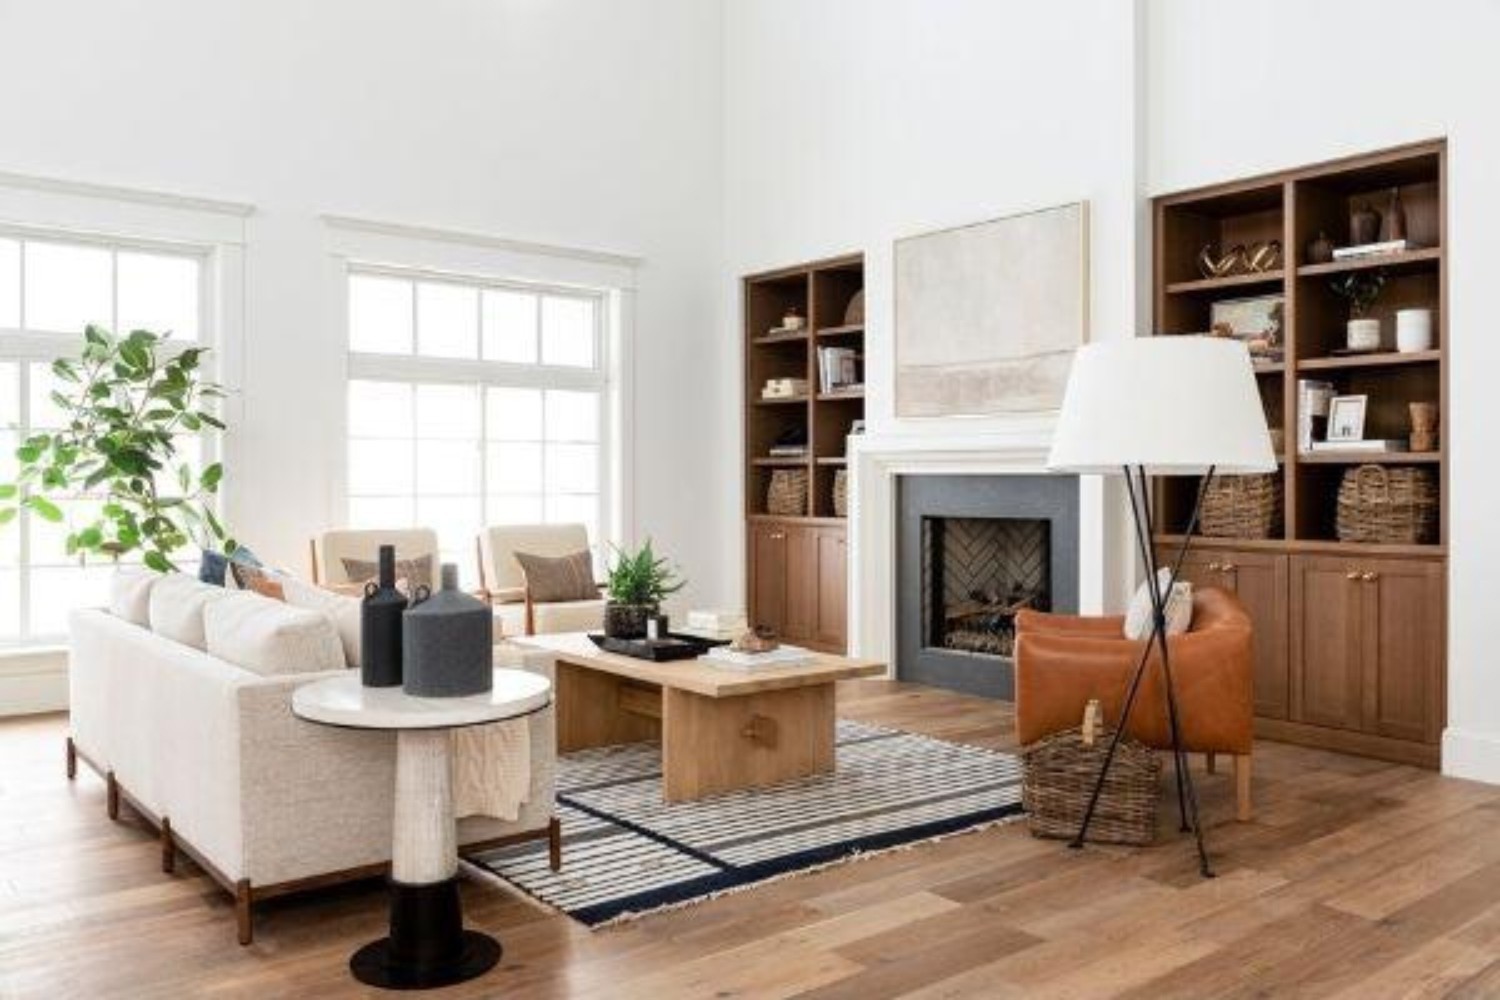
Another way to add contrast and interest to your space via wood elements is to use reclaimed or raw edged wood materials. These can be incorporated as an accent and help unify the varying wood tones in a space. Note that you should use these types of pieces sparingly as they make a significant visual impact and should help enhance a design, rather than overpower it.
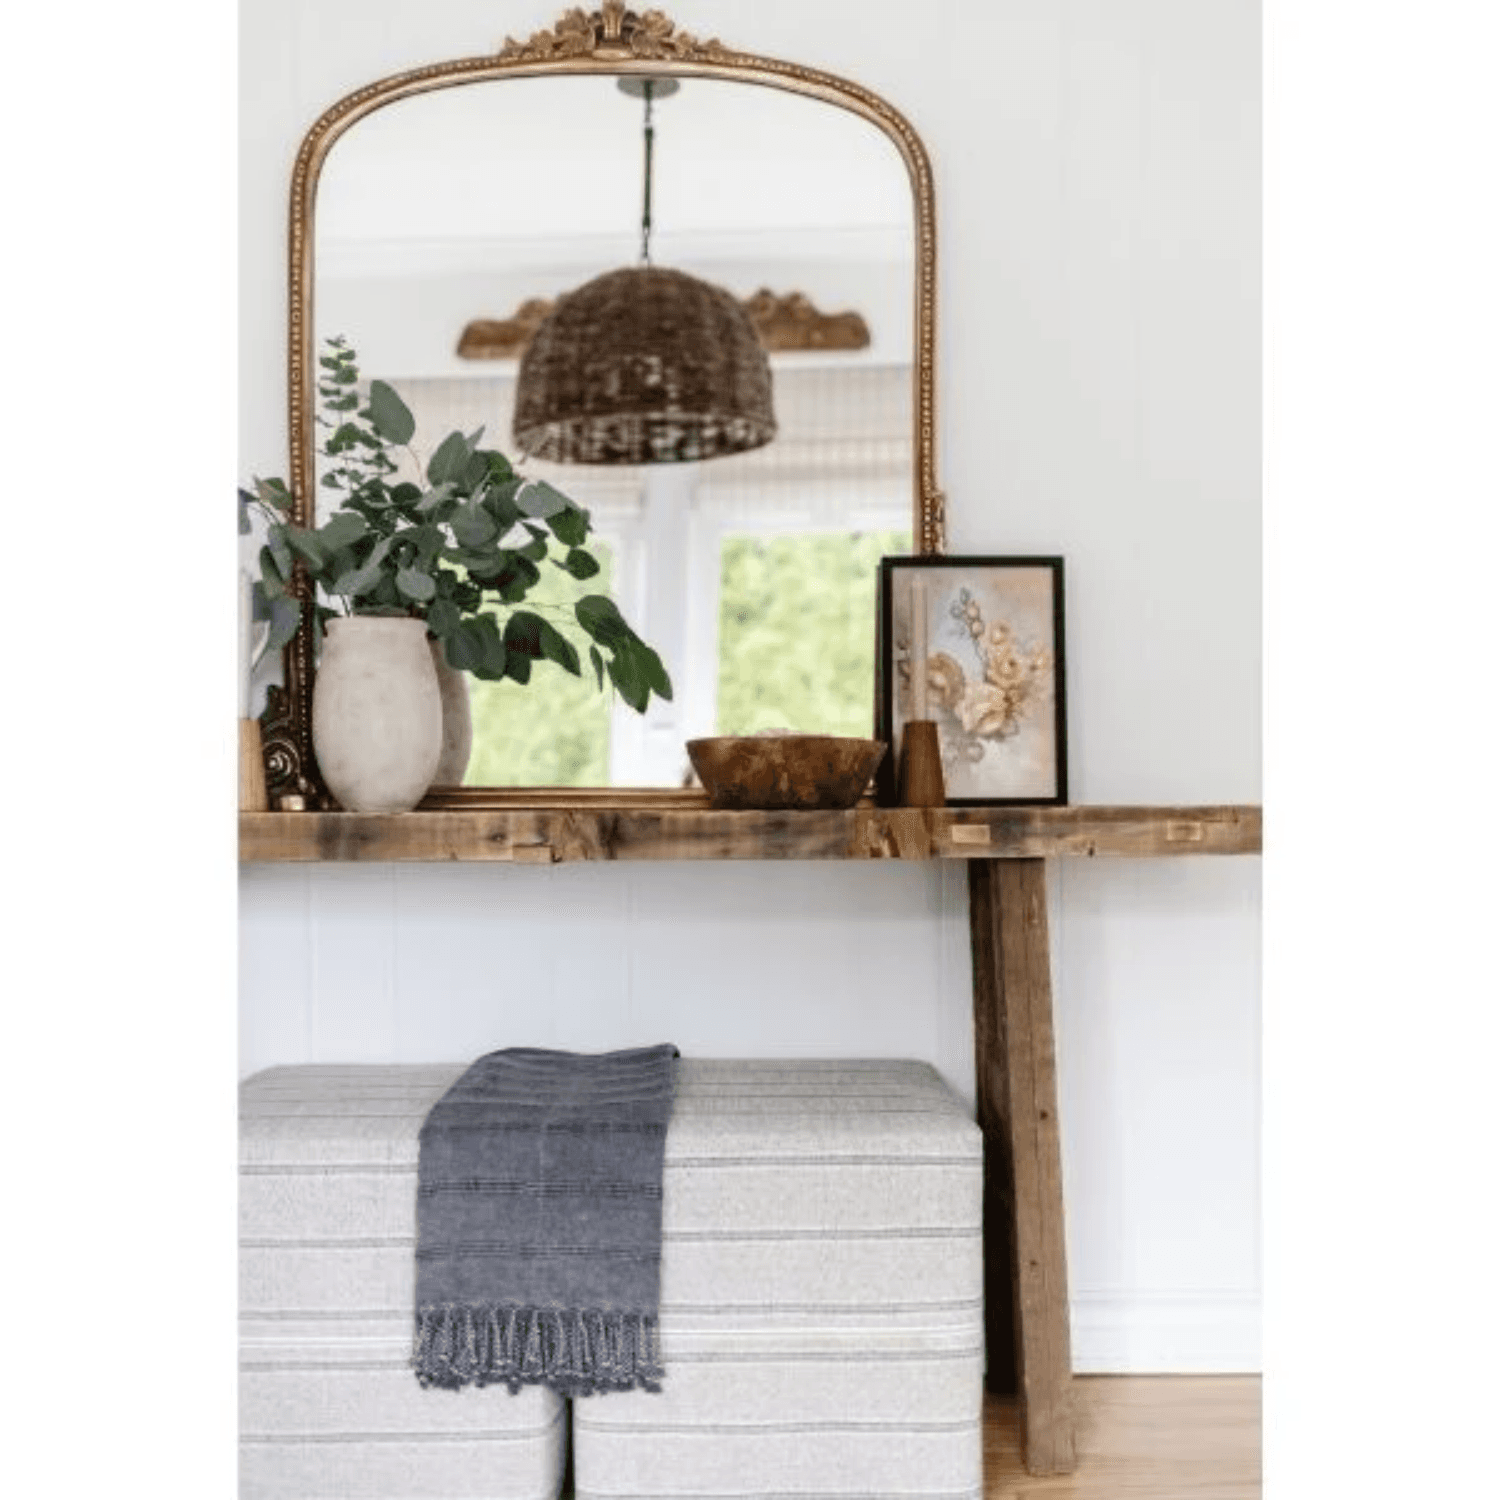
4. If You Have A LOT of Wood, Create Separation
Even when following these guidelines, sometimes a space can start to blend and feel overwhelming when there is a significant amount of wood. Here’s a couple of tips to help downplay a space that incorporates more wood than you're used to.
Use an area rug to create a connection between your flooring and furniture. Using a rug can take the attention away from the colour variation in the wood tones and level out the contrast.
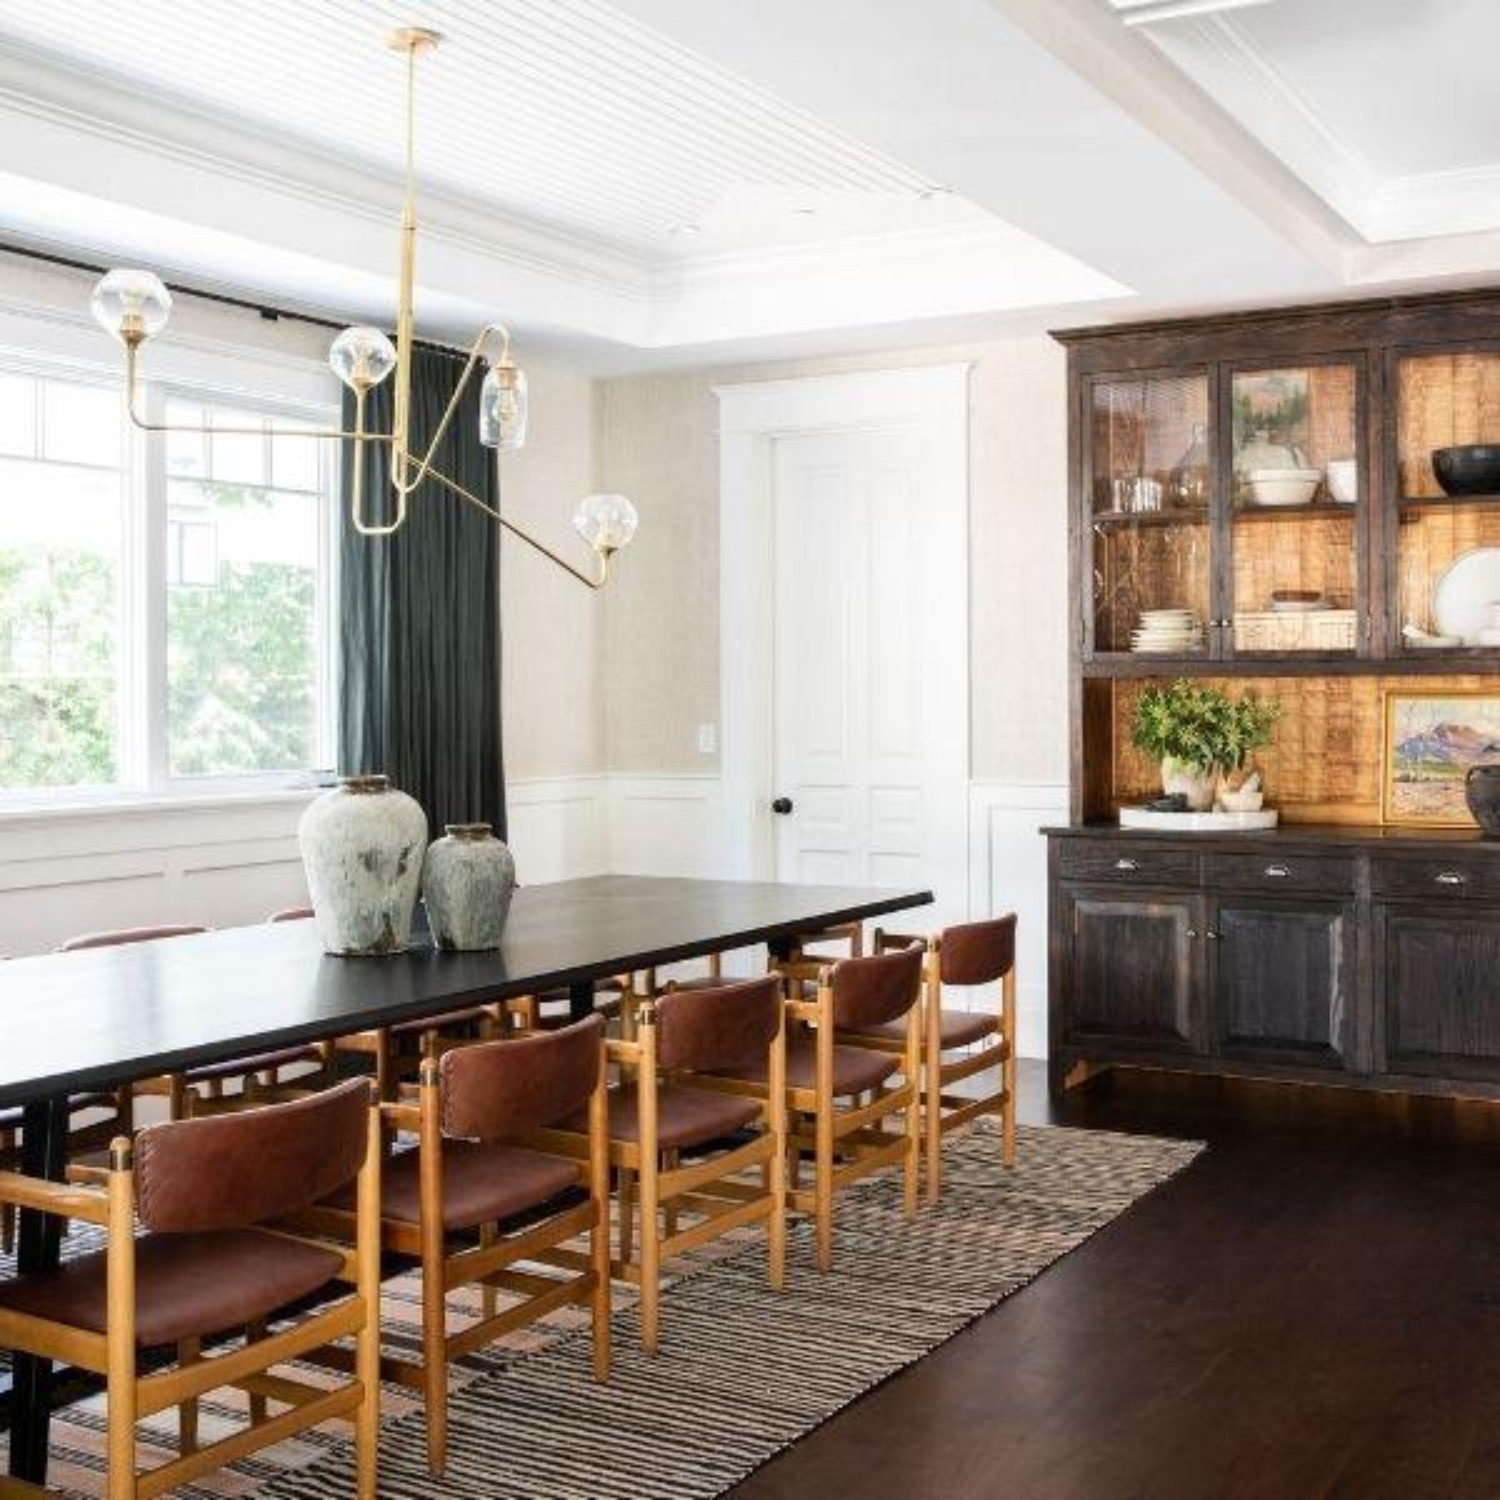
If the colour of your wood flooring and furniture are similar in tone, you can use an area rug as well. However in this way, the rug will break up the similar colours and help to create more contrast. Just like the example explained before, adding an area rug will level out the design for more balanced contrast.
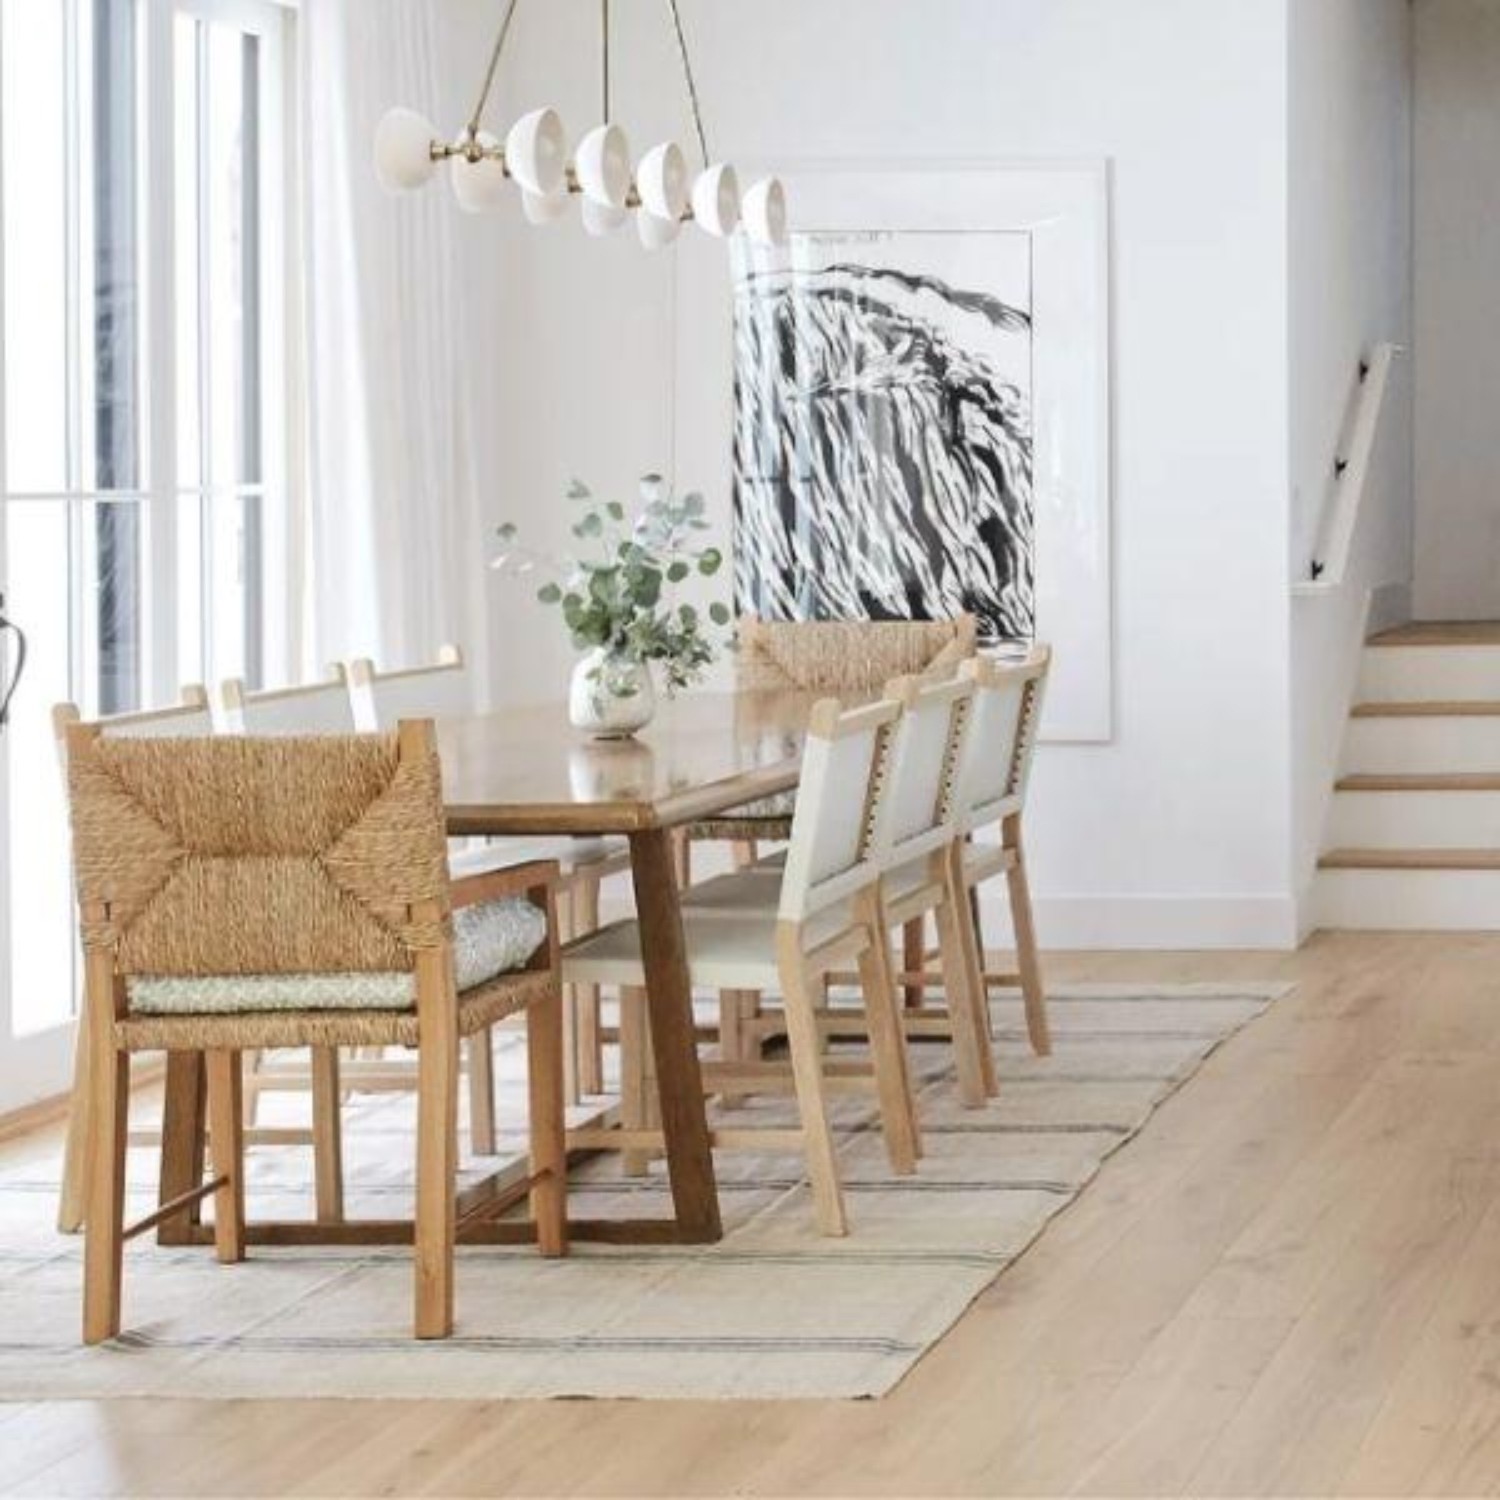
PRO TIP: If the amount of wood in your home seems overpowering, you can balance the wood tones by incorporating painted or neutral-stained wood pieces in black, white or grey.
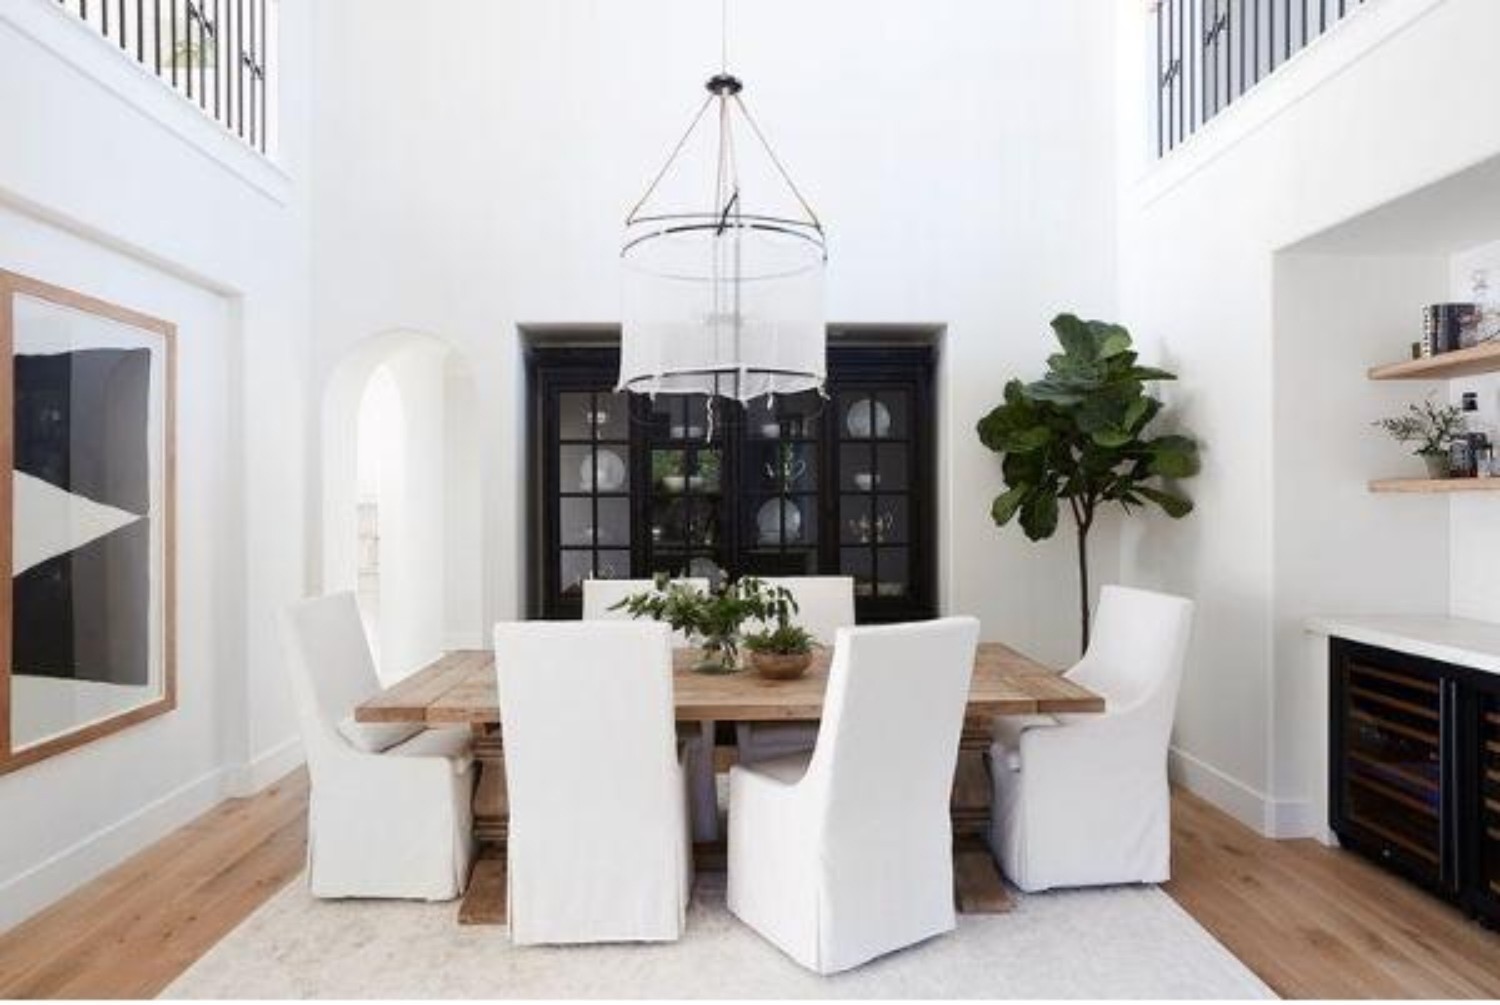
5. Keep it Cohesive
A huge factor in making a room feel cohesive is through repetition. When you pay close attention to the undertones, finishes and wood grains of the wood selections in your home it becomes easier to mix and coordinate effectively.
Once you’ve discovered the undertones and shades that work within your space, repeat these selections throughout. A good rule of thumb is to make sure that each wood tone variation is used at least 2-3 times throughout a space. Mixing wood tones is all about balance. When you use various tones, scattering them throughout the room will make the design feel more connected and intentional.
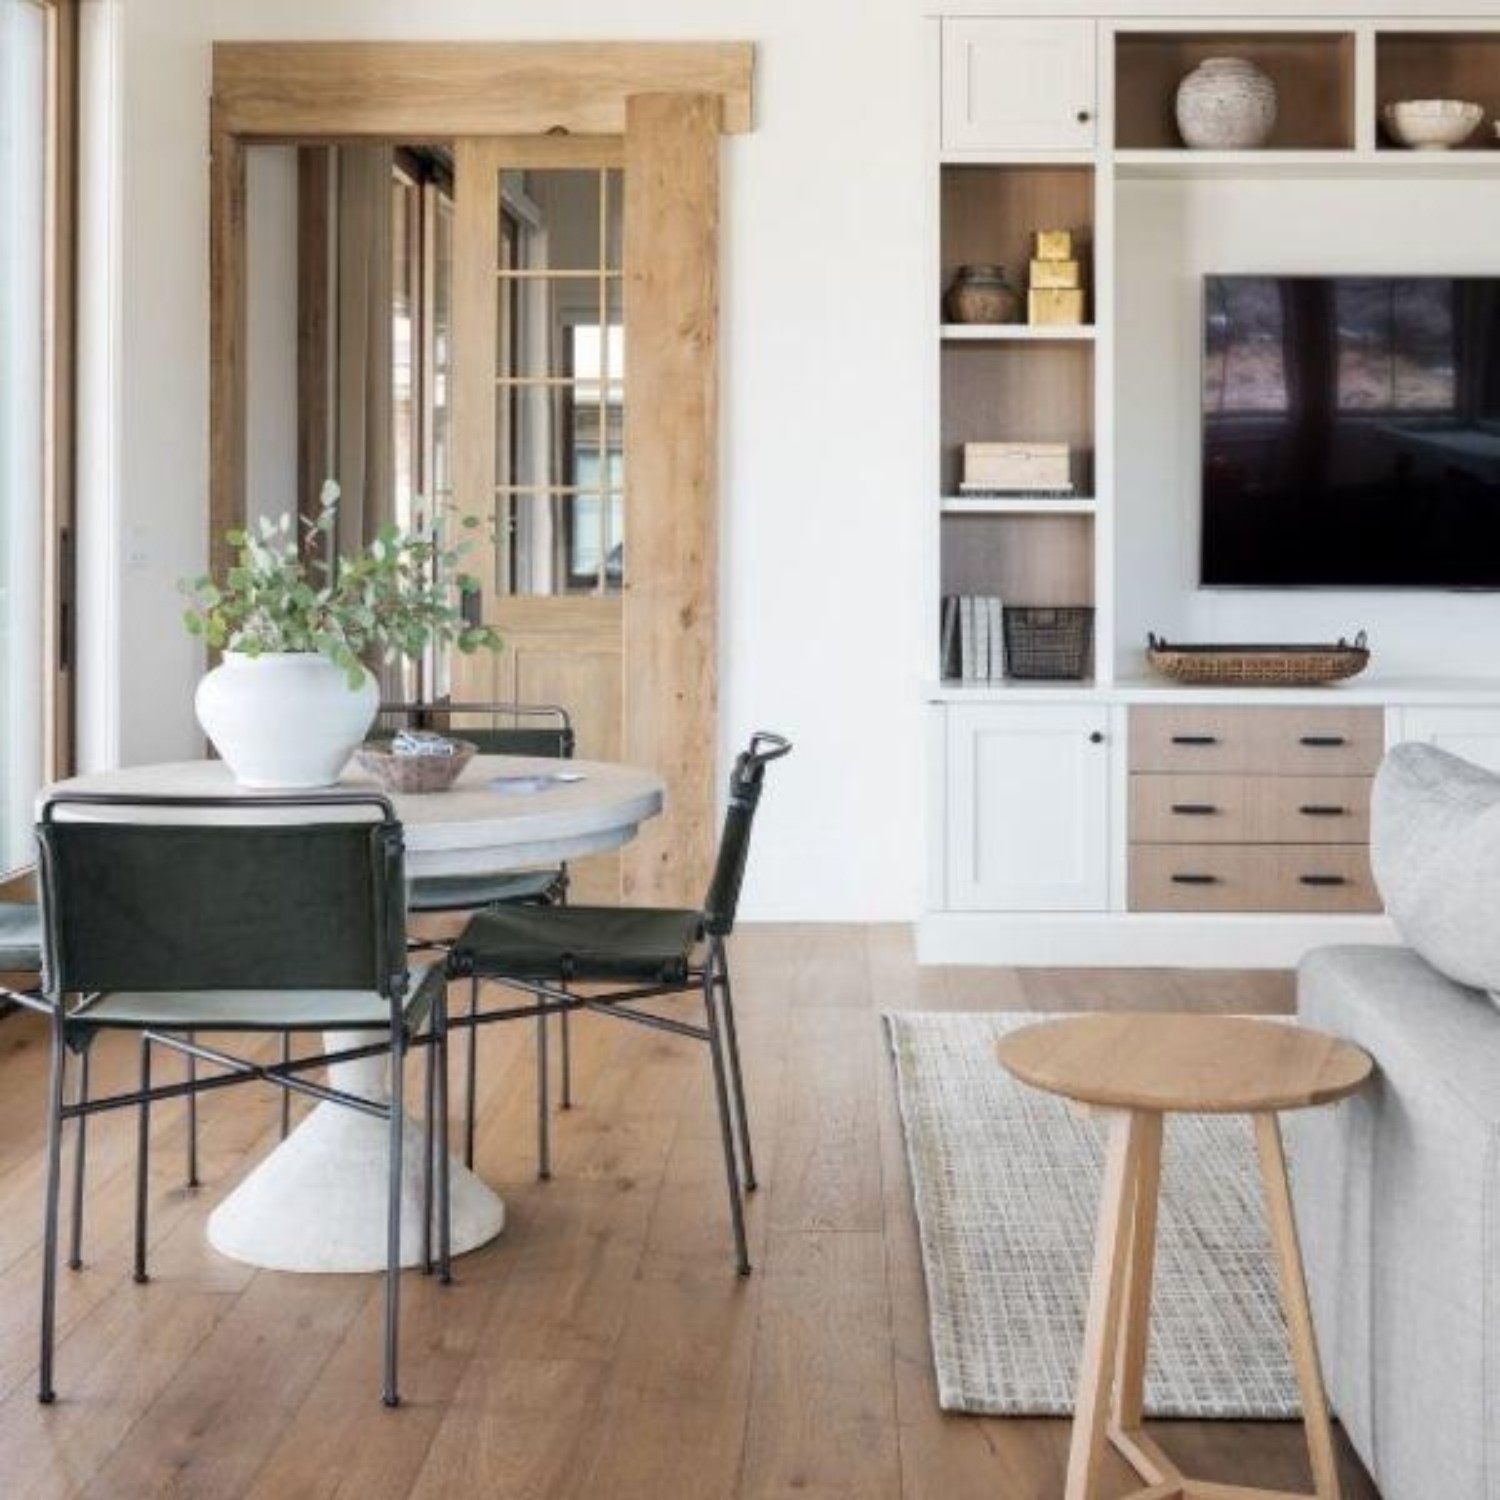
PRO TIP: If you feel that there are too many options available for your selected wood tone, don’t put too much pressure on yourself. You can create cohesion by picking similar grains and finishes.
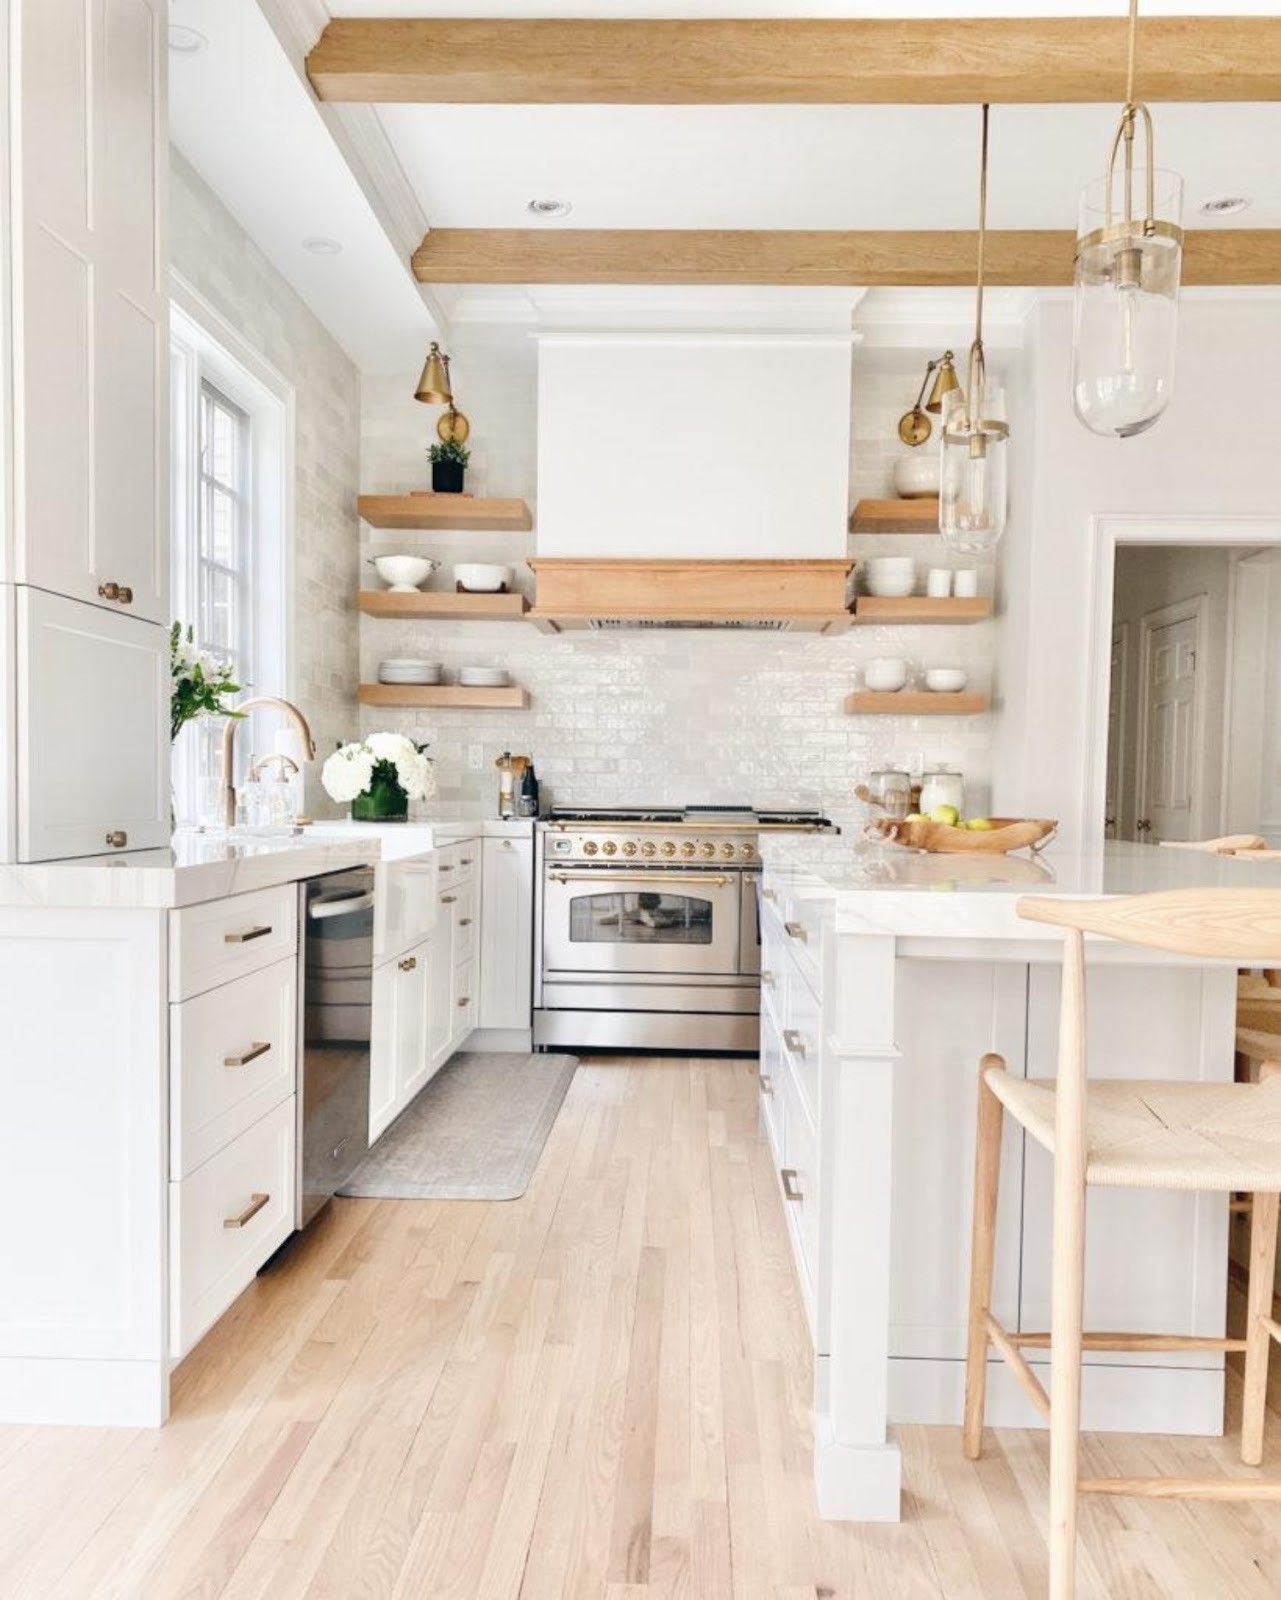
PRO TIP: If you want to create a rustic, relaxed vibe, use at least one large visible wood grain. If prefer a more sophisticated aesthetic use subtle wood grains.
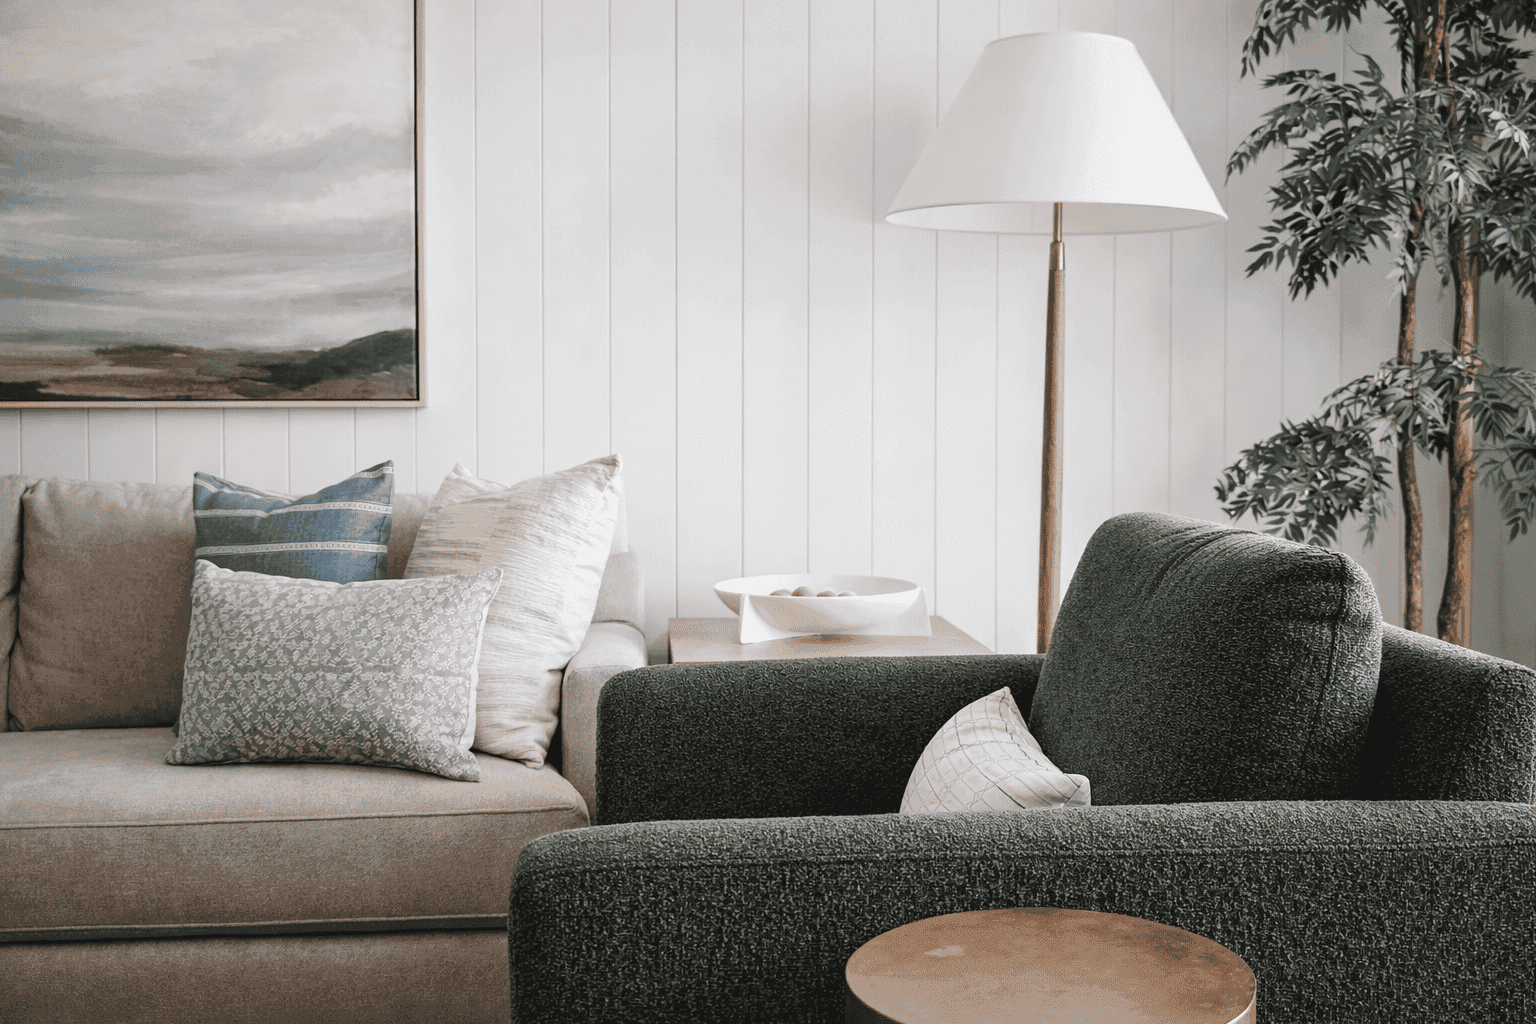
We actually love working with and mixing different wood tones in our designs as doing so really elevates each design. We hope you've enjoyed these five tips on how to effectively mix wood tones in your home. Here are some examples to show you how you can mix wood tones in your home to create a beautiful design full of contrast and interest.
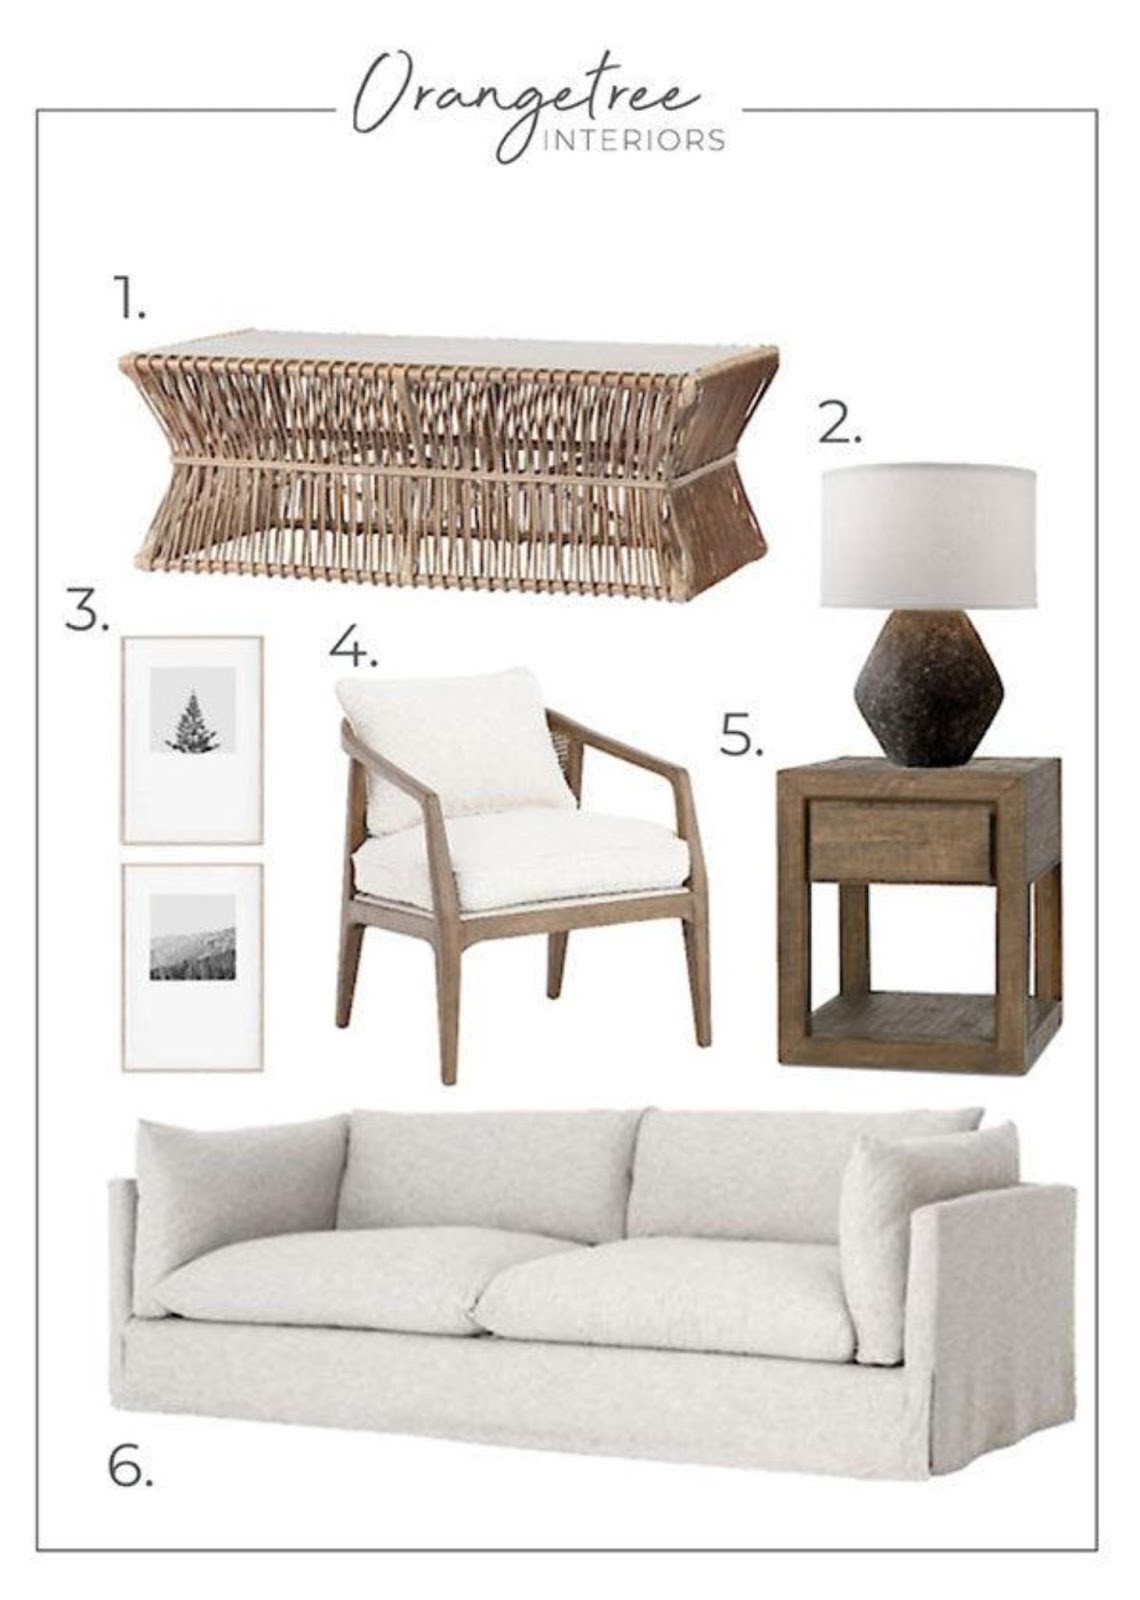
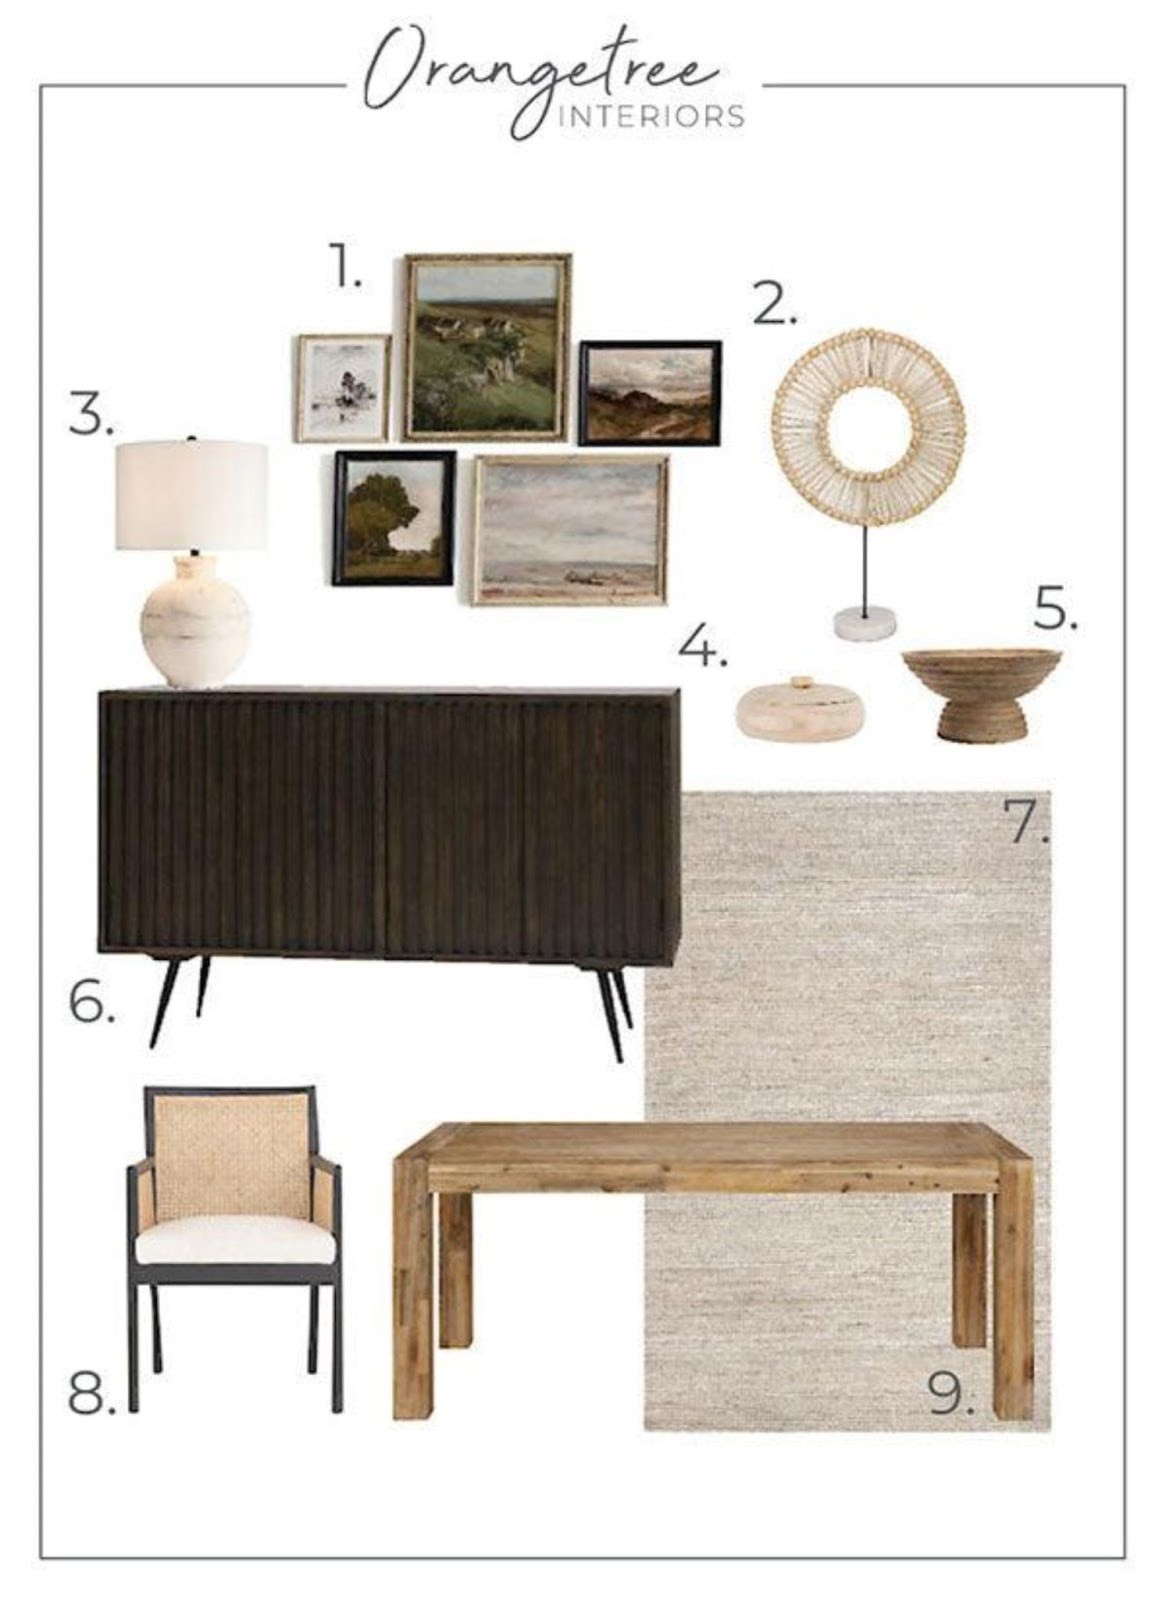
1 | 2 | 3 | 4 | 5 | 6 | 7 | 8 | 9
We hope you find this helpful and wish you luck with your home decorating project!
Let's talk about your project. No pressure, no obligation, just a friendly conversation about your vision and how we can help bring it to life.

