Hey there!
Getting into the Christmas spirit? Well, if you haven’t put up your Christmas tree yet and you want some tips on how to craft a beautifully designed tree, keep reading!
P.S. This is the last weekend for Black Friday & Cyber Monday sales. Scroll to the end for details.
[WARNING.....AMATEUR PHOTOGRAPHY COMING ATCHA!]
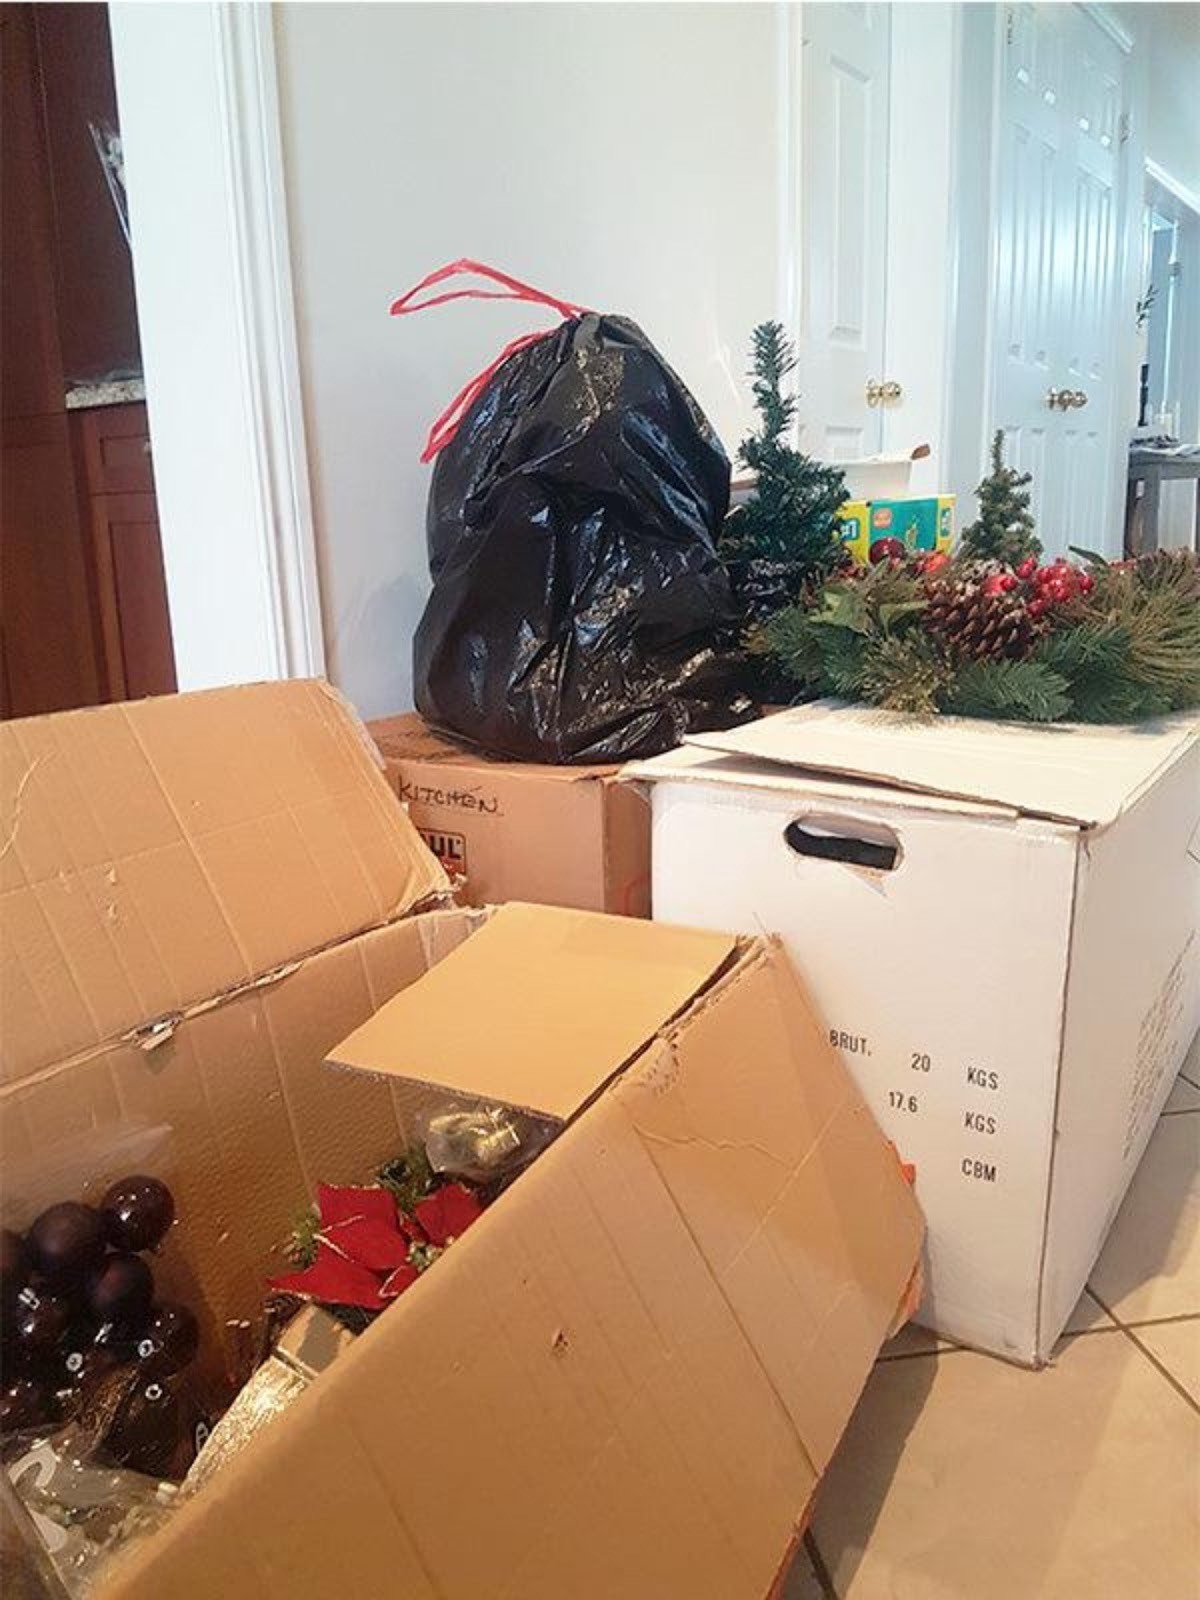
STEP 1
Take an inventory of your current Christmas décor. Decide what you want to work with and what you want to change out. I like to change my tree up a bit each year, but that’s just me. Once you have a keep list figured out, decide on a colour scheme for your tree. I typically choose neutral coloured bulbs/ornaments as a base and then add décor in my preferred colour palette, which usually results in me purchasing a few new items each year. I like doing it this way because it keeps the design fresh without incurring too much cost.
STEP 2
Sort your décor into colour/texture categories (eg. wood décor, gold matte, gold shiny, red berries, red bulbs, etc.) Sorting the décor will help you to see how much you have of each colour and texture. You need to know this so that you can keep your Christmas tree balanced. How you distribute the décor on your tree will vary depending on the style you’re trying to achieve. I’m going to walk you through how I separated all my bulbs and ornaments so you get an idea about how to tackle this.
My Christmas Tree Inventory
Existing
Matte Gold Bulbs – 8
Silver Star Christmas Tree Topper - 1
Shiny Silver Bulbs – 4
Glittery Silver Bulbs – 8
Matte Silver Bulbs – 8
Uniquely Shaped Silver Décor – 6
Silver Spirals – 3
Burlap and Silver Reindeer – 3
Pinecones – 9
Wood Word Décor – 3
Purchased New
Round Wood Bead Décor – 5
Red Berries -9
Blue Ribbon Tied Into a Bow – 7
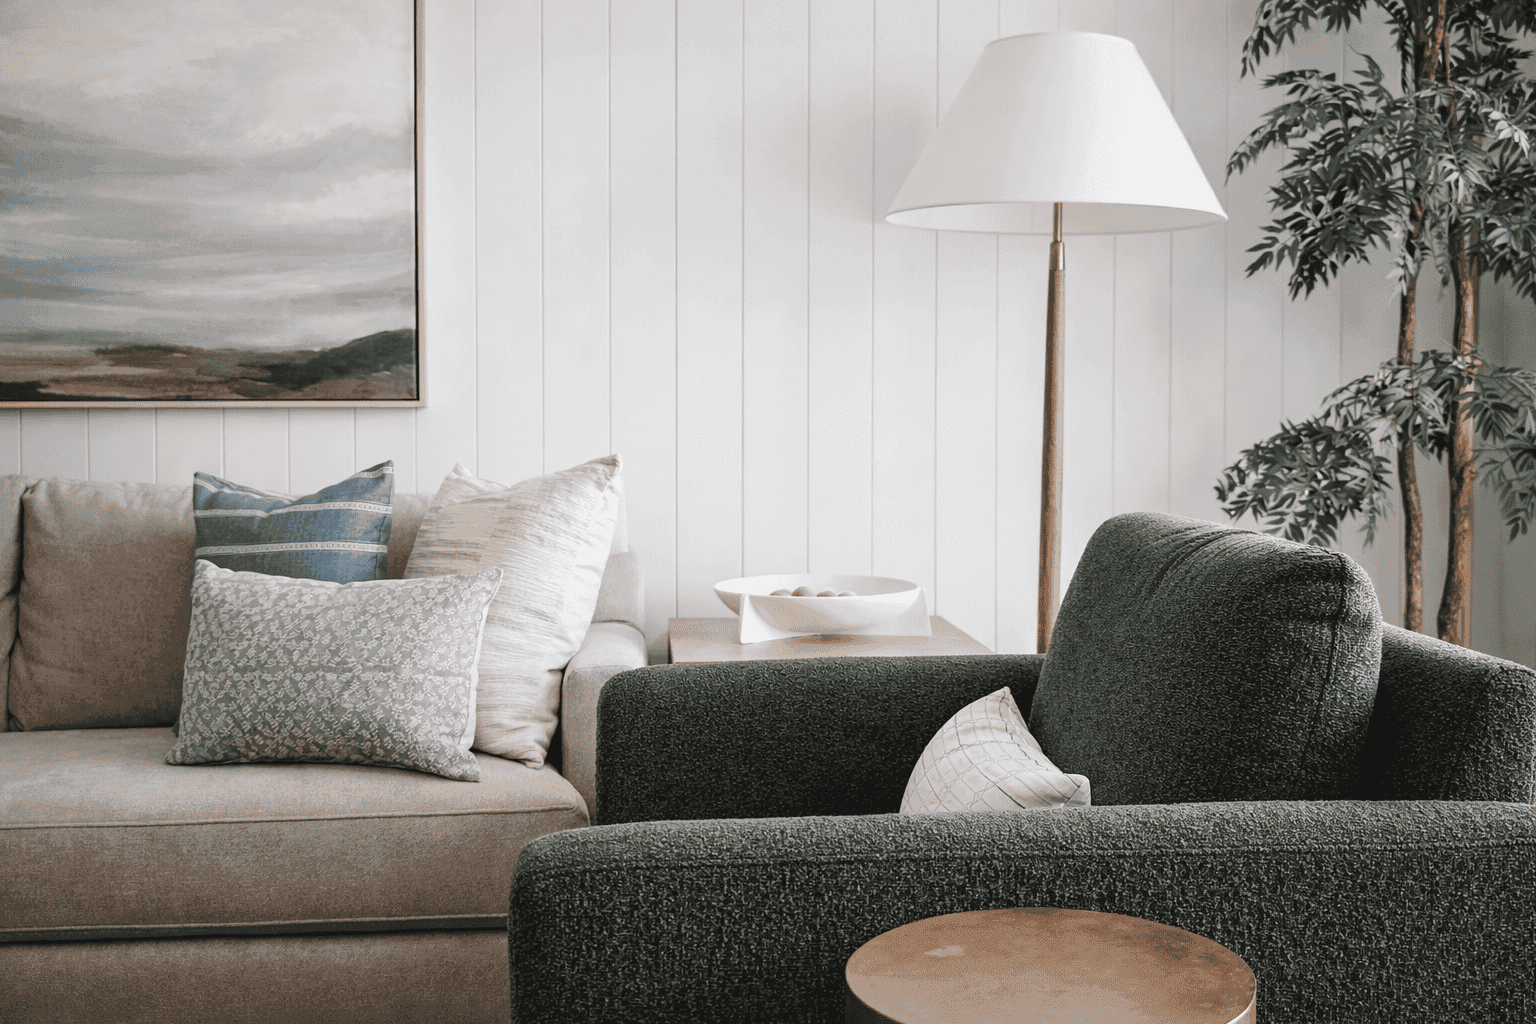
So you can see that I have mostly neutral coloured décor and specifically silver. The reason for this is that I wanted my tree to feel really bright this year and I felt that the silver would tie in nicely with our light grey sofa and Classic Grey wall colour.
STEP 3
Find a spot for your tree and place it so that the most flattering side of it faces into the room.
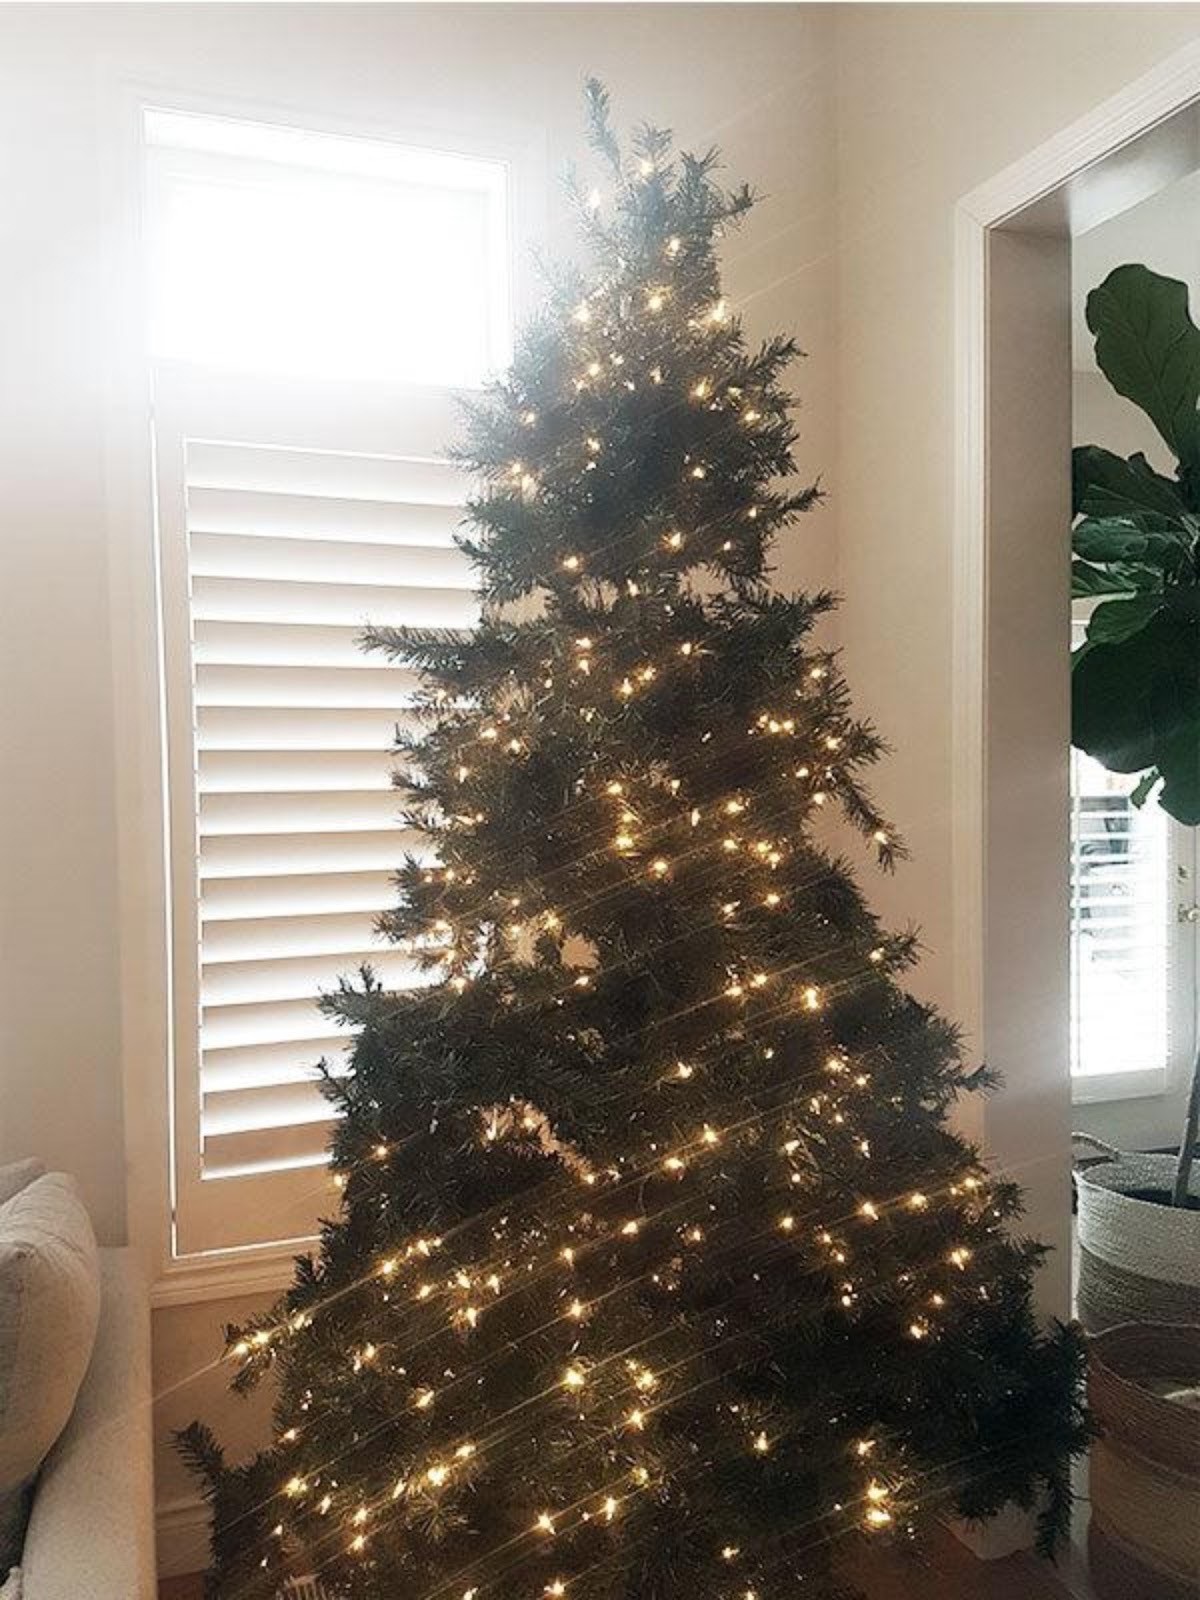
STEP 4
Distribute a plentiful amount of lights all over your Christmas tree. I prefer warm white lights because they go with everything and the warm glow is great for ambience.
STEP 5
I didn’t use any garland this year, but if I had, I would tell you to place it on your tree after you’ve distributed your lights.
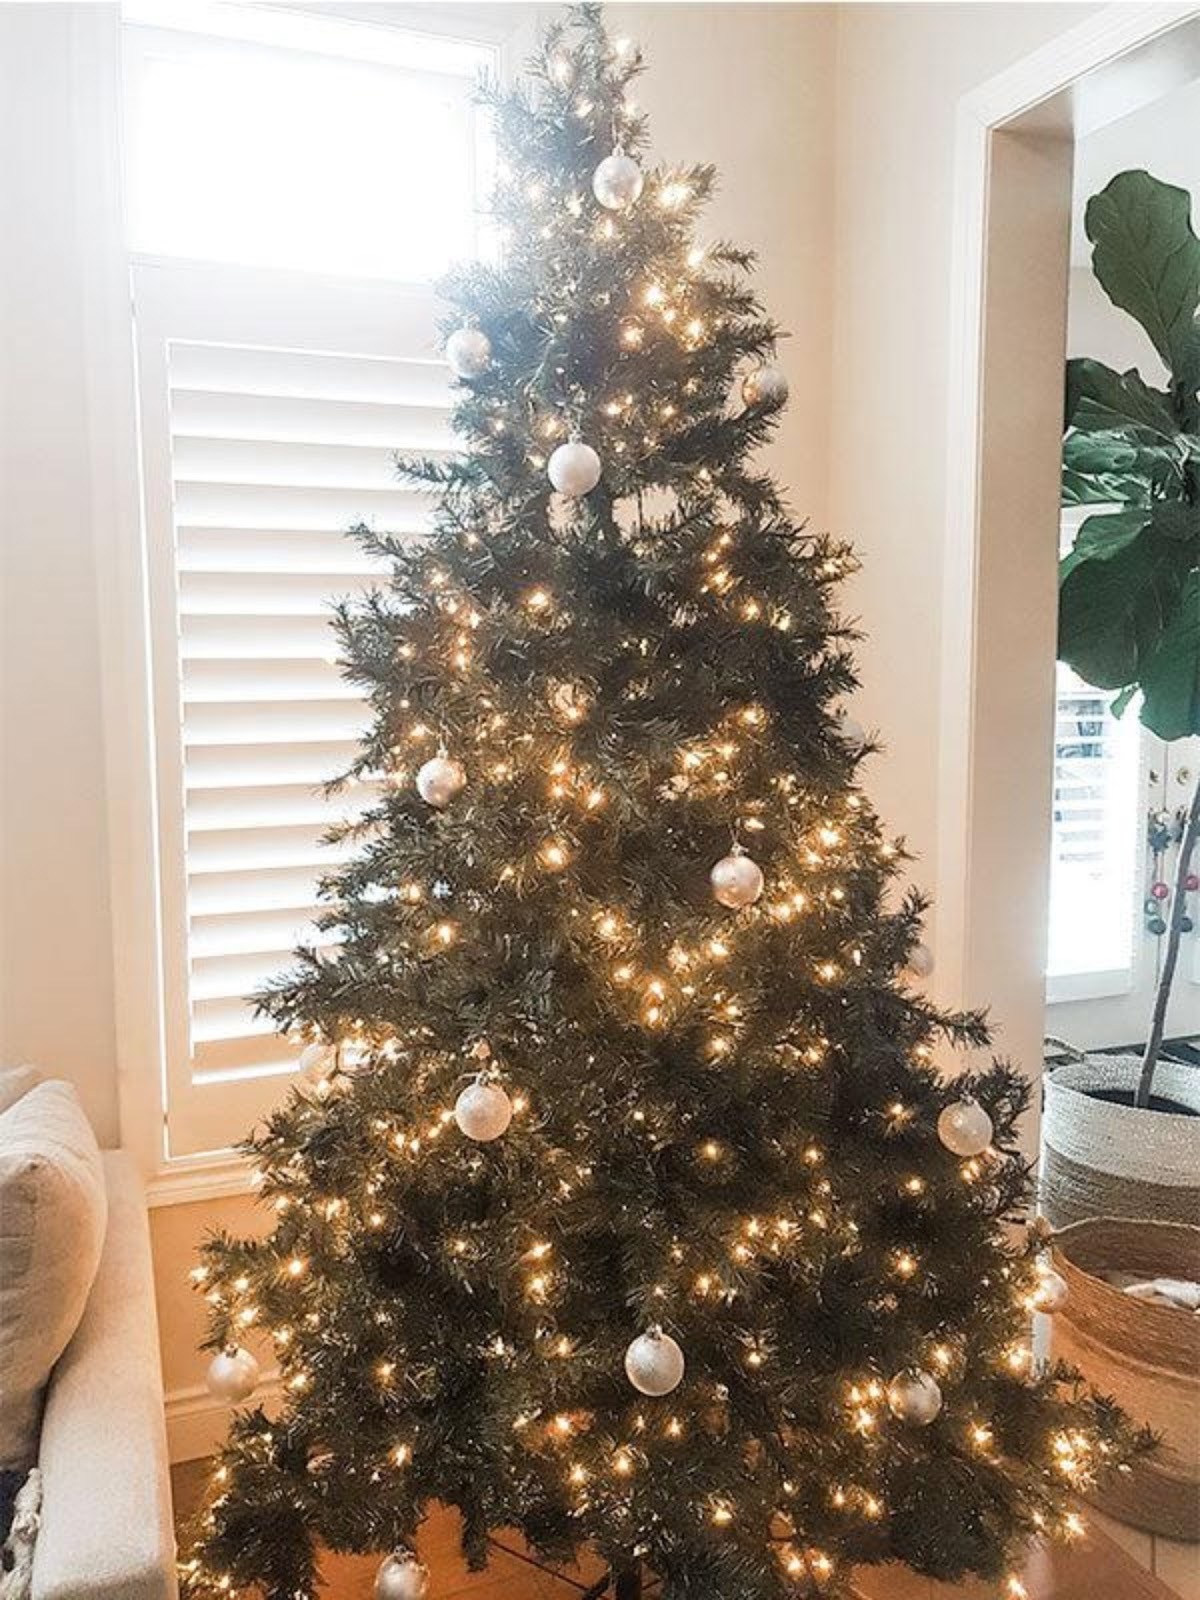
STEP 6
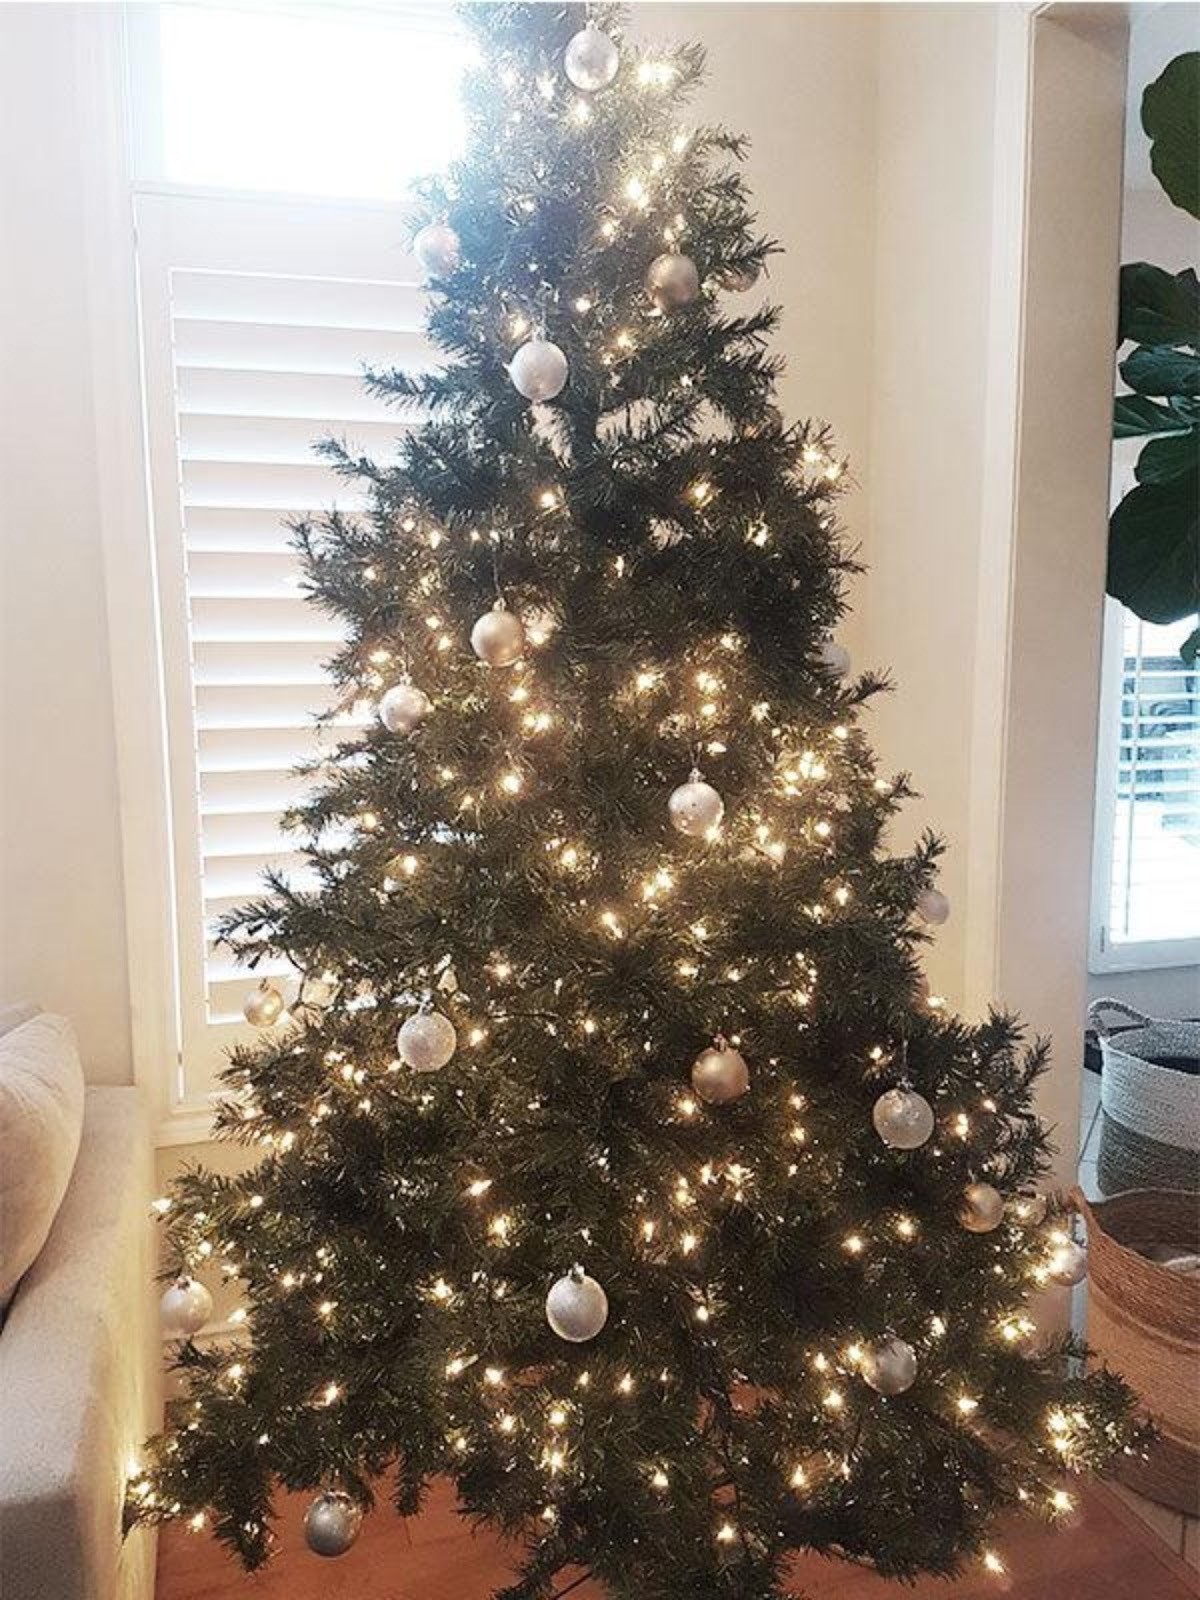
Next, you’ll need to add all of your décor. Be careful to sprinkle the décor evenly throughout your tree based on the categories you created. Layer the decor one category at a time. See the pics below to see what I mean.
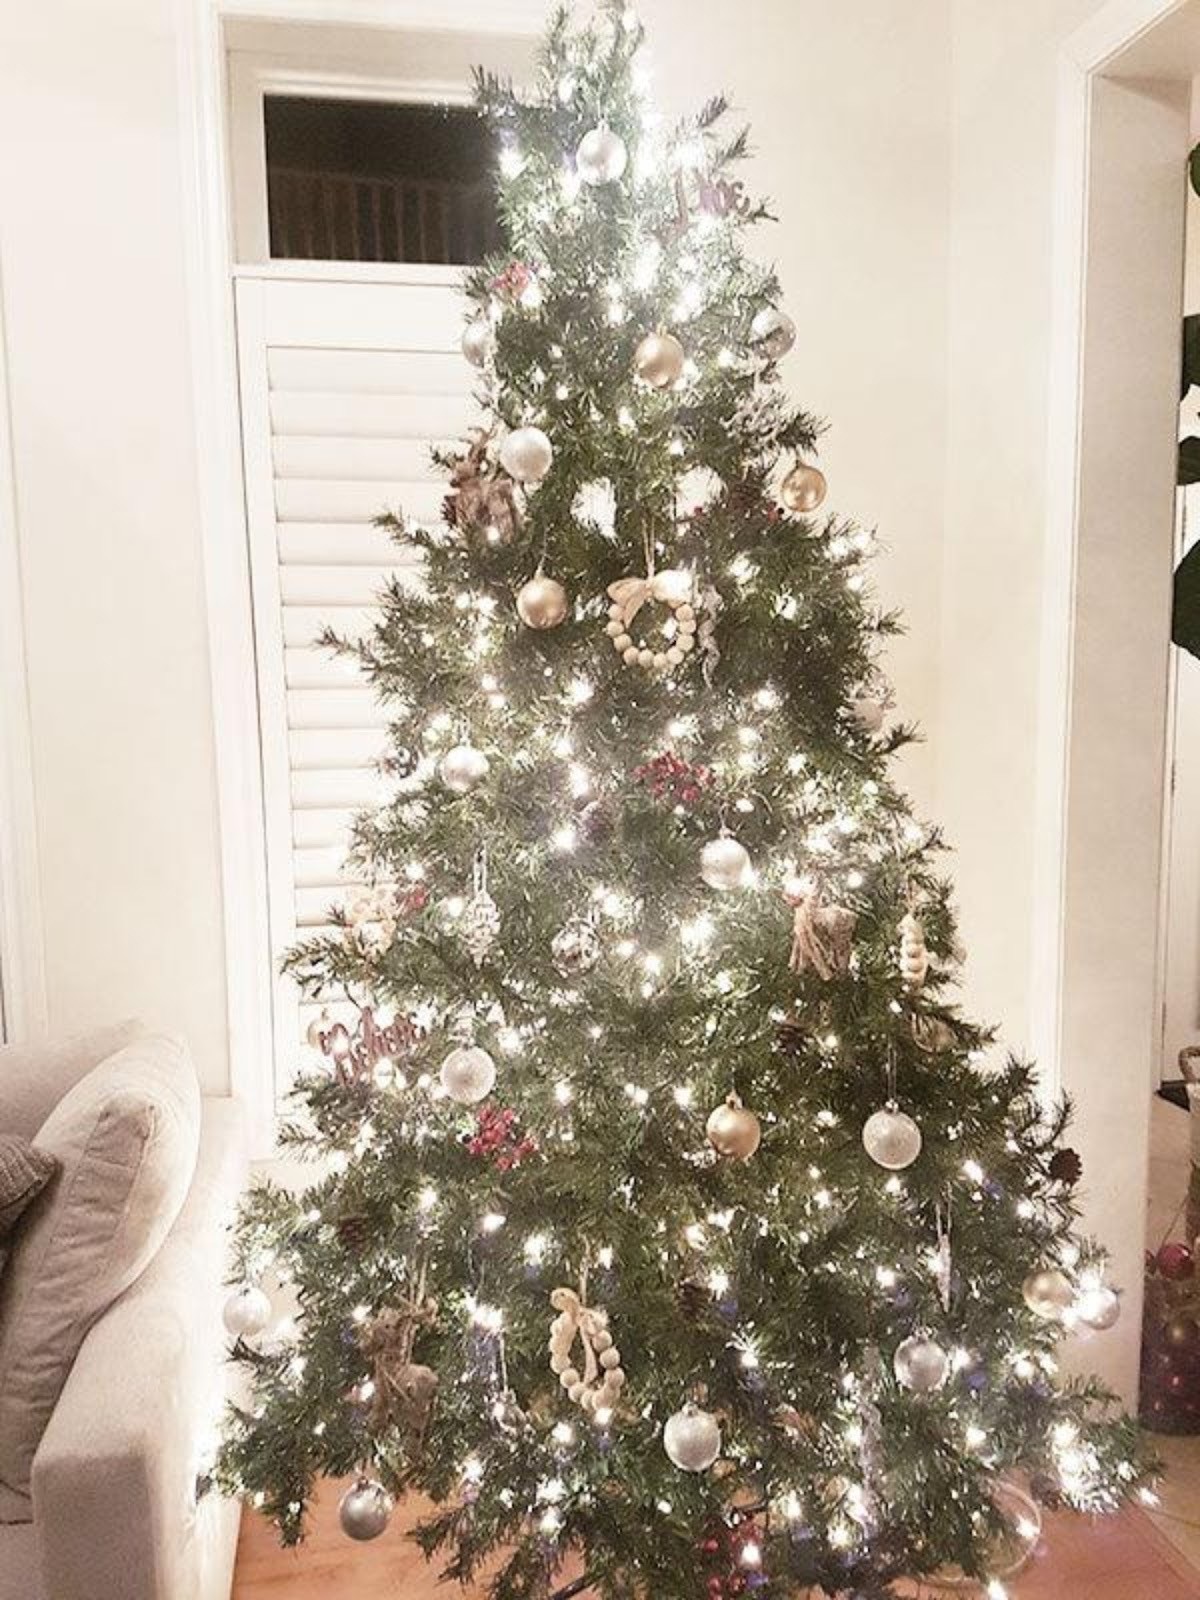
Evenly distributed silver bulbs
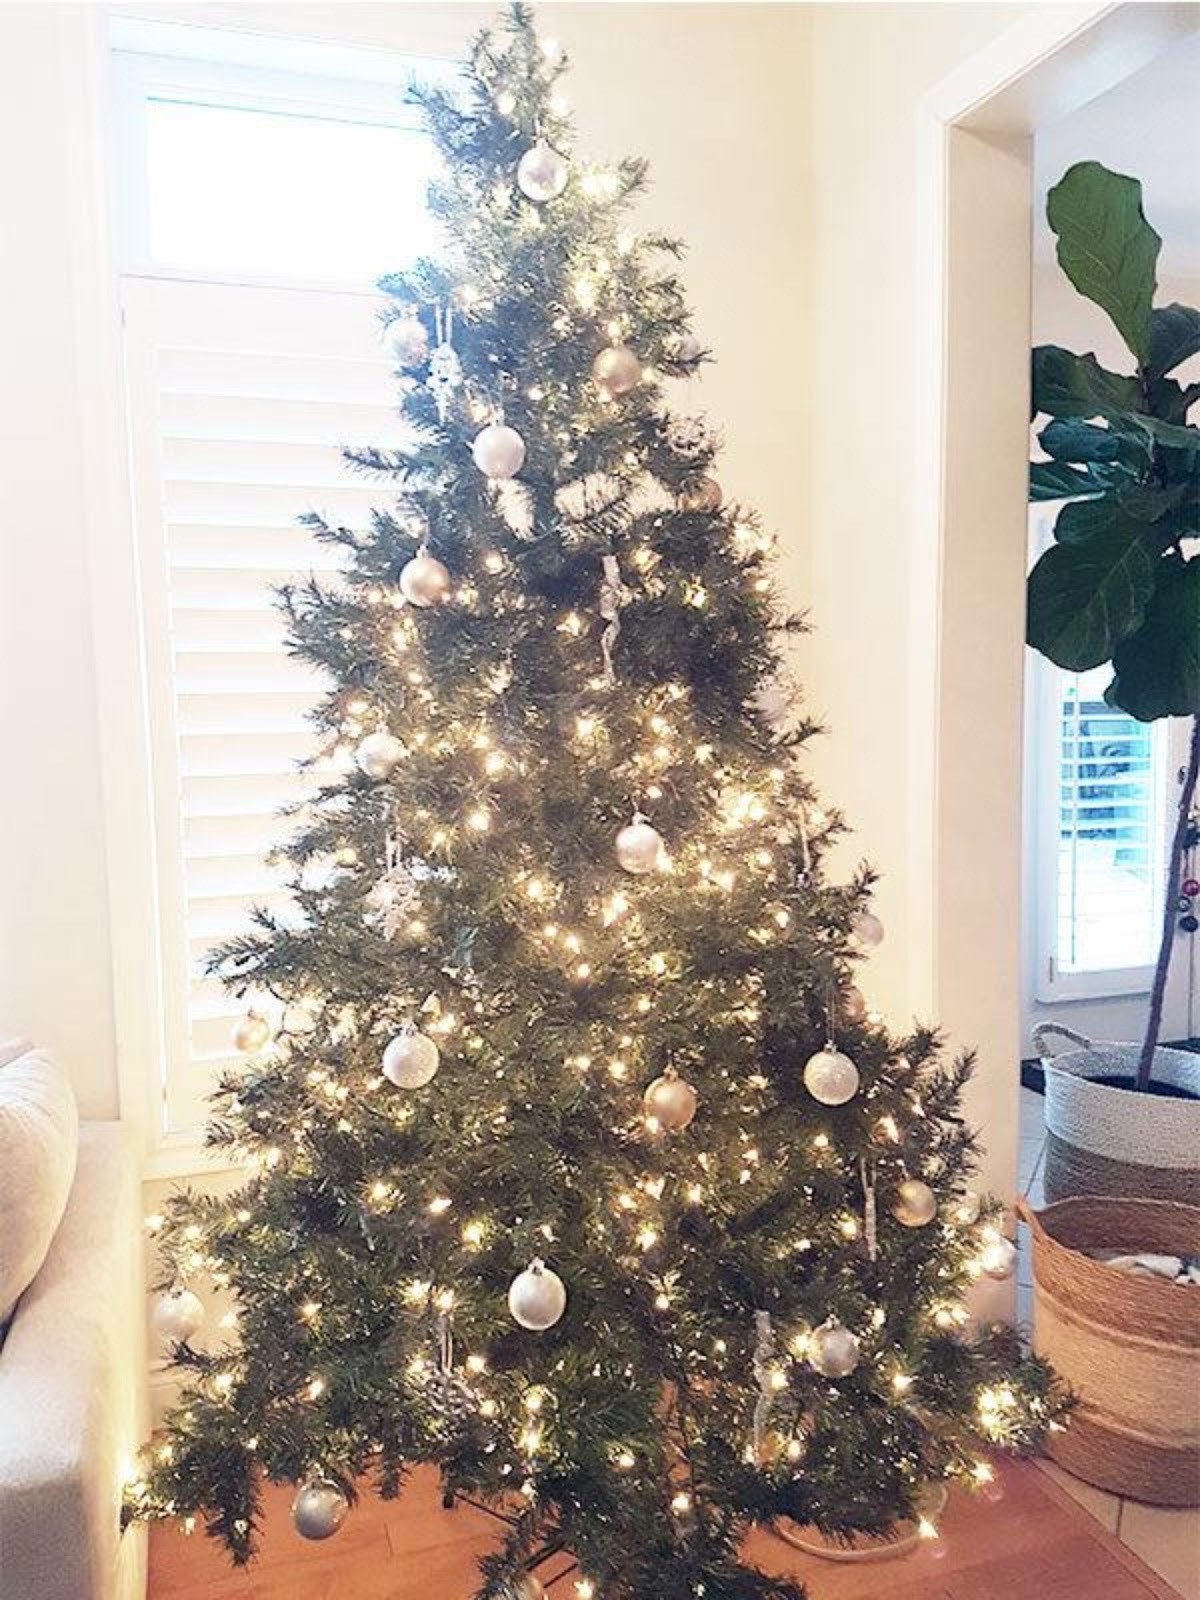
Evenly distributed silver & gold bulbs
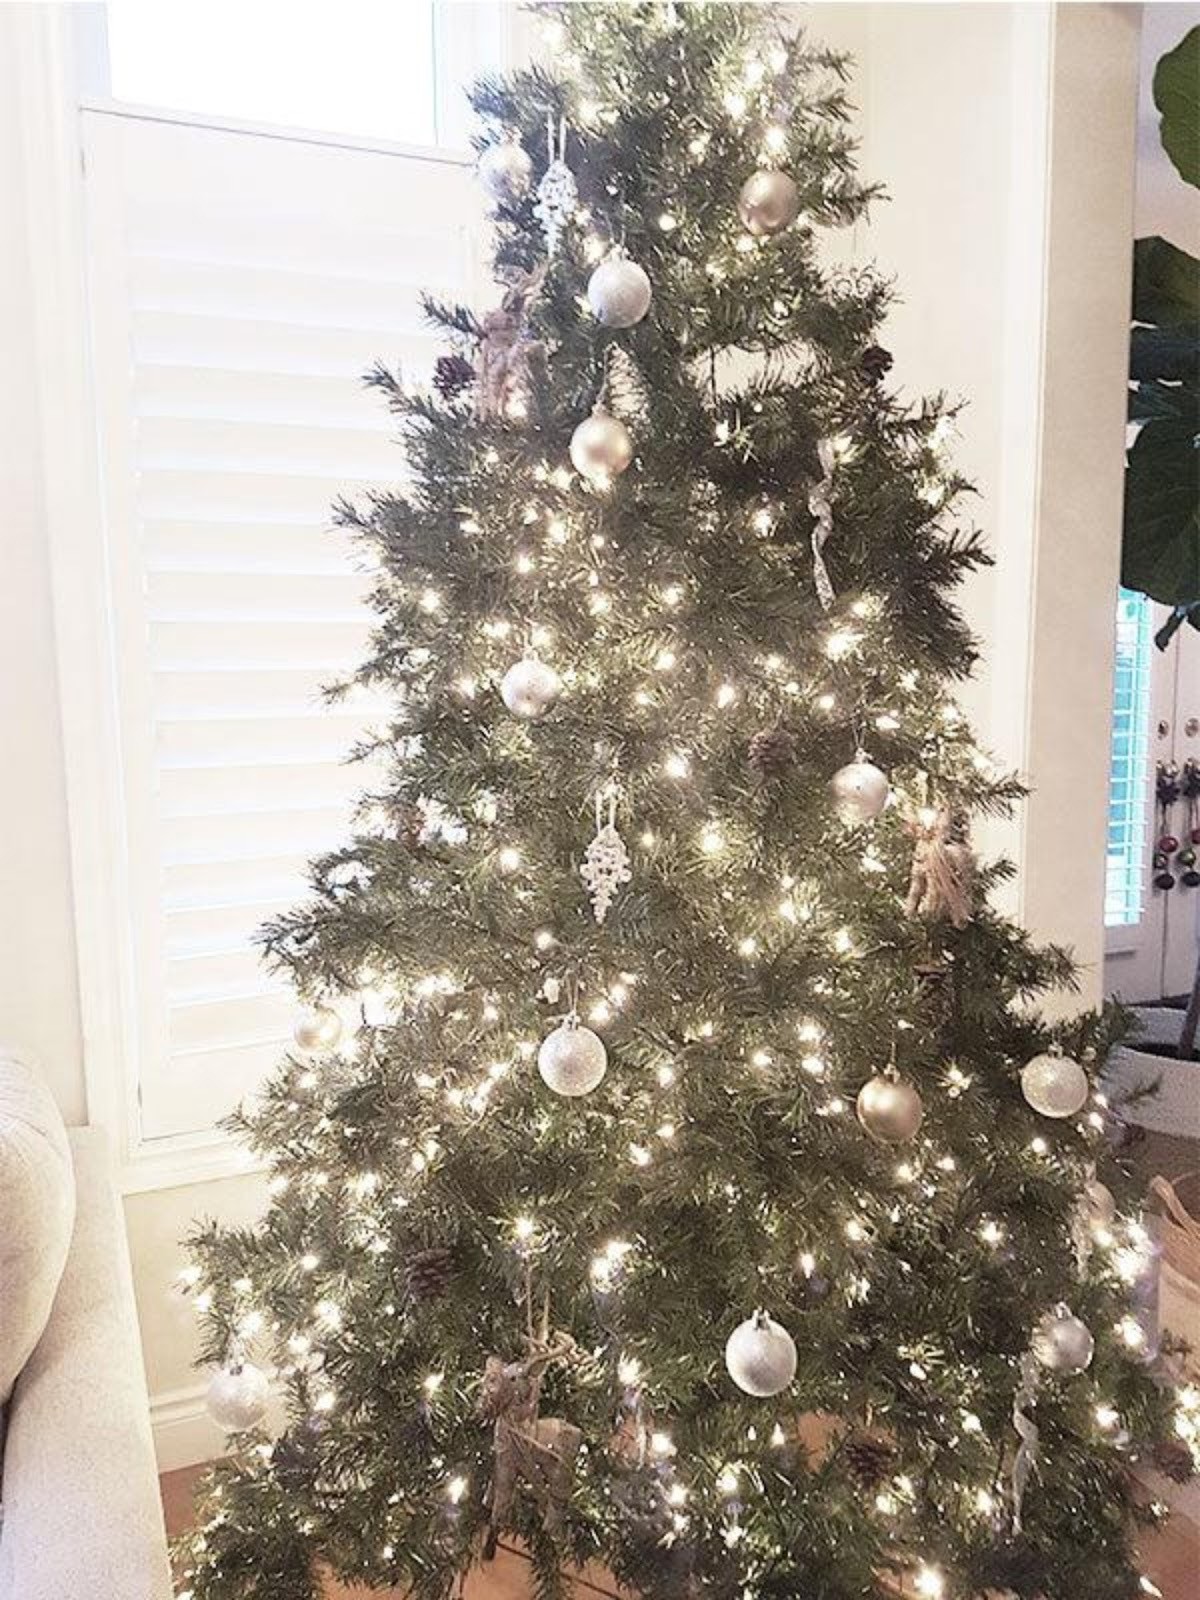
Evenly distributed silver & Gold bulbs with Unique Silver Decor Added
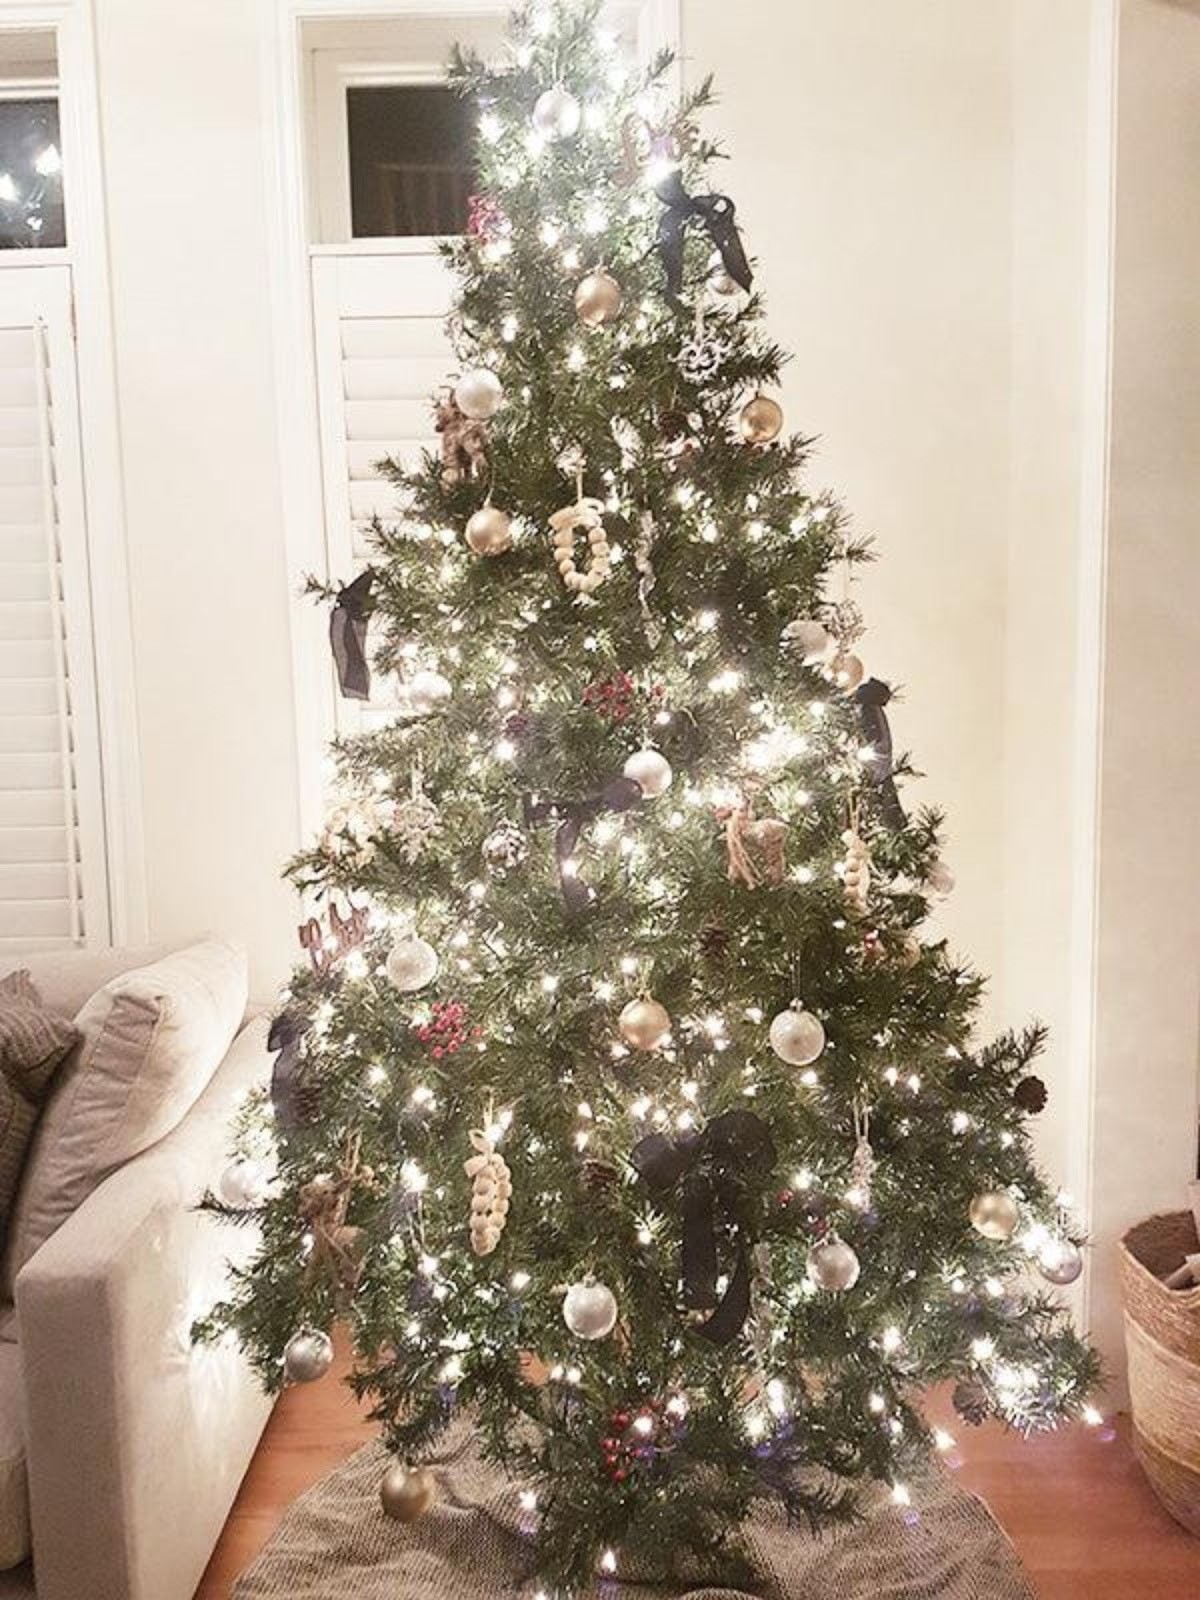
Evenly distributed silver & Gold bulbs with Unique Silver Decor, Pinecones & Reindeer Added
Evenly distributed silver & Gold bulbs with Unique Silver Decor, Pinecones, Reindeer & wood Beads Added
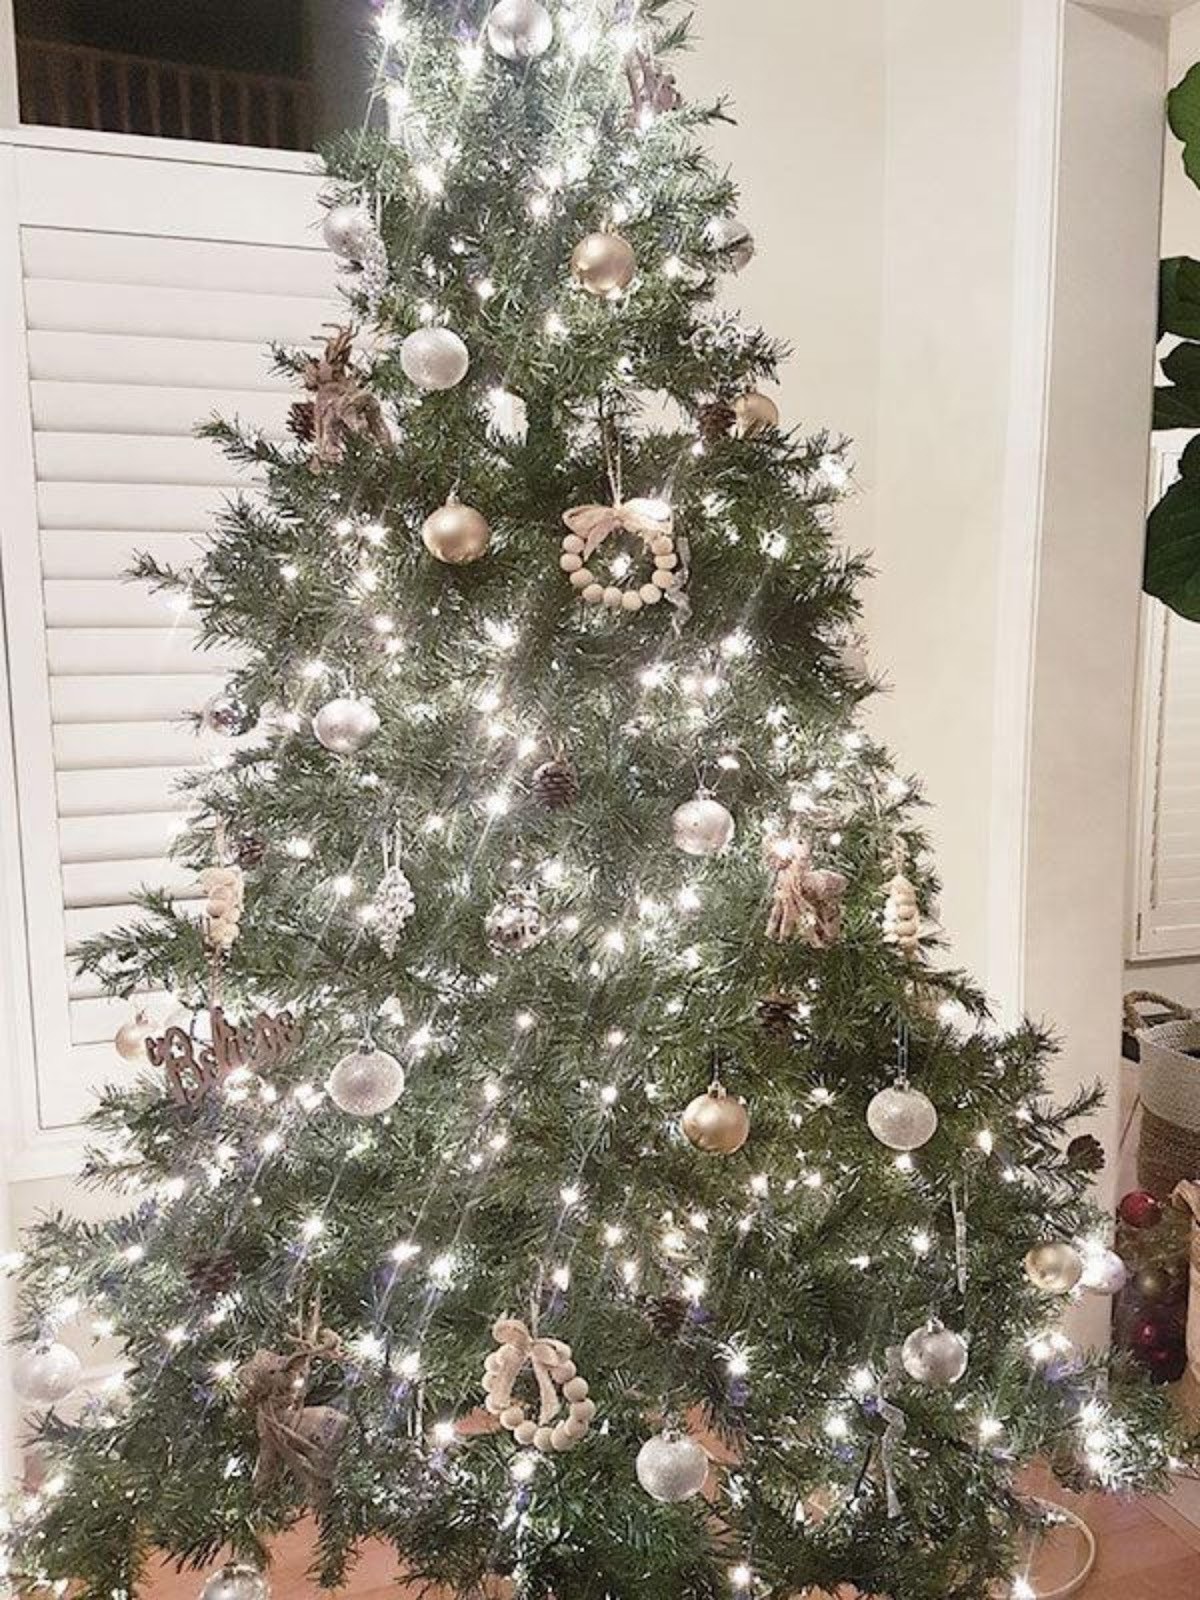
Evenly distributed silver & Gold bulbs with Unique Silver Decor, Pinecones, Reindeer, wood Beads & Berries Added
STEP 7
Add any ribbon or bows that you want to include on your tree. I typically use a wired ribbon because you can shape it as you place it on the tree and it will stay in place, but this year I wanted to do something different so I added some navy bows instead to coordinate with my great room’s colour scheme.
STEP 8
Add a tree skirt using one of the colours from your colour scheme.
PRO TIP – If you can’t find a tree skirt that works with your Christmas tree design, use a throw blanket instead. There are so many more options and price points to choose from.
STEP 9
Carefully add your tree topper.
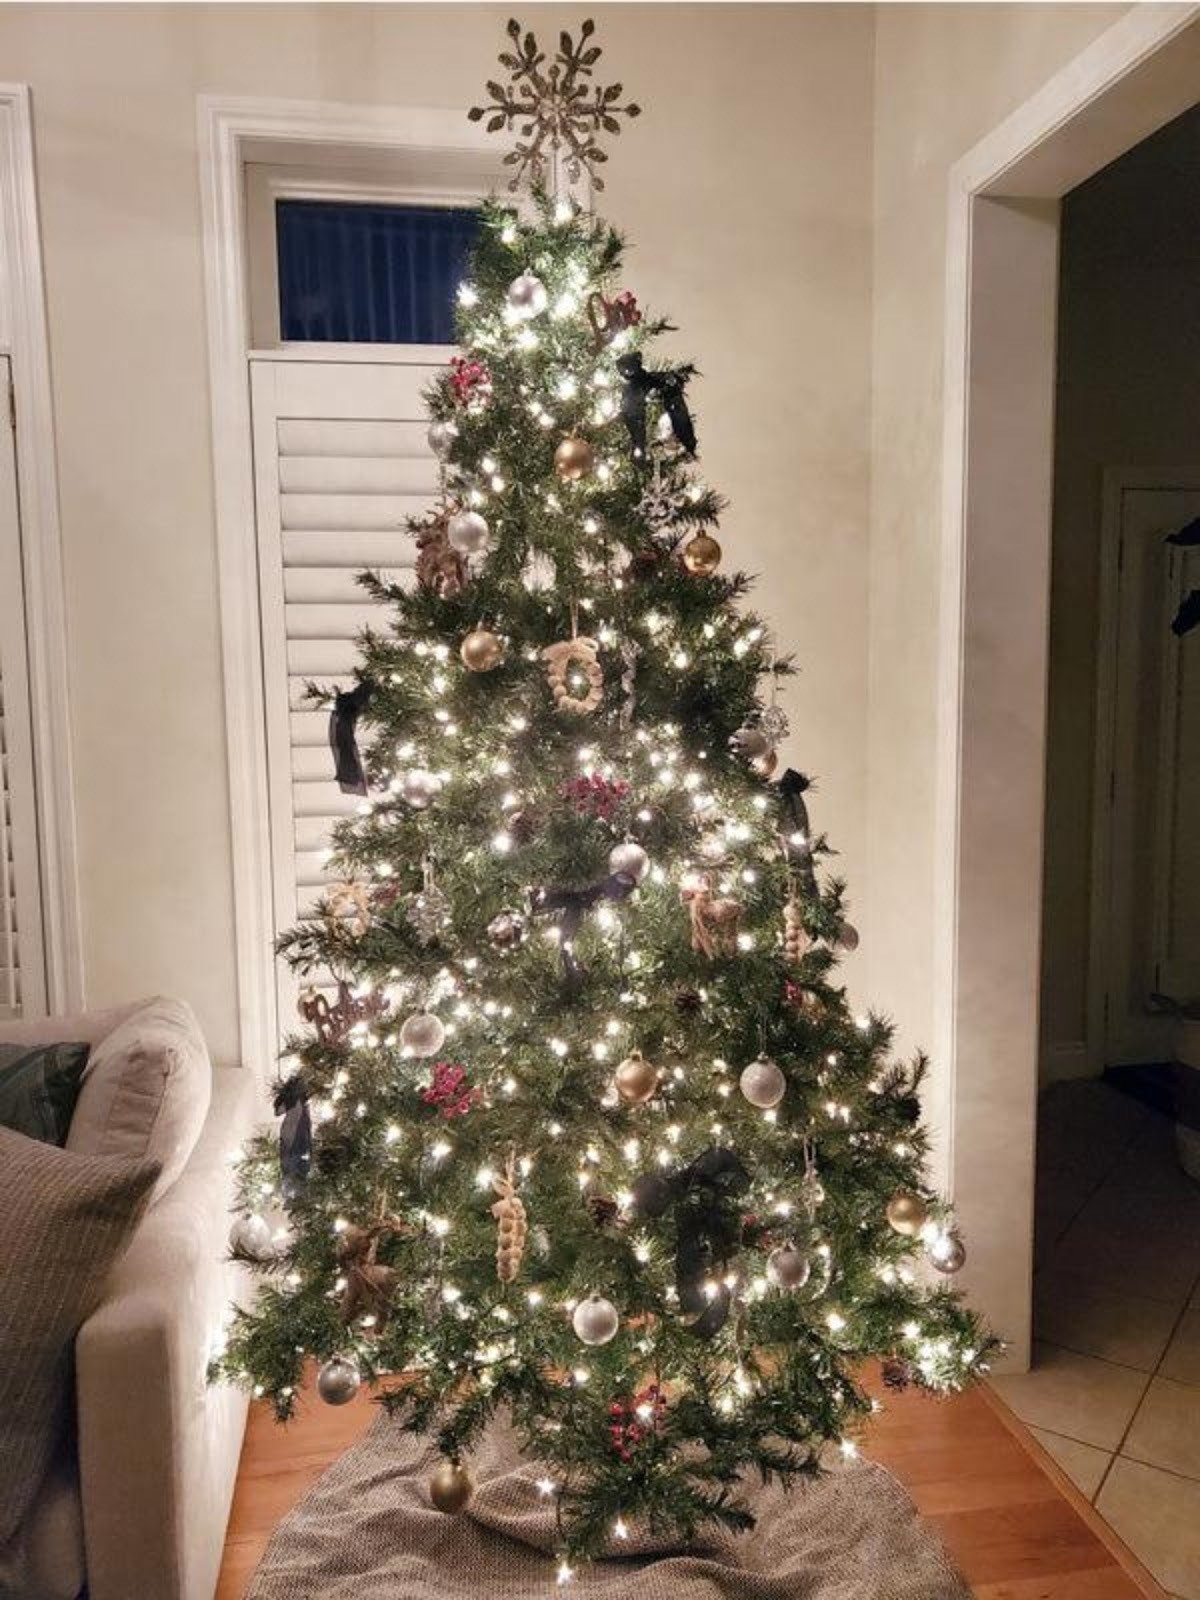
STEP 10
Enjoy a gorgeously designed Christmas tree that your friends and family….AND Santa will swoon over!
Let's talk about your project. No pressure, no obligation, just a friendly conversation about your vision and how we can help bring it to life.